4 Star Rating
Product information: TLSO-250 Posture Corrector
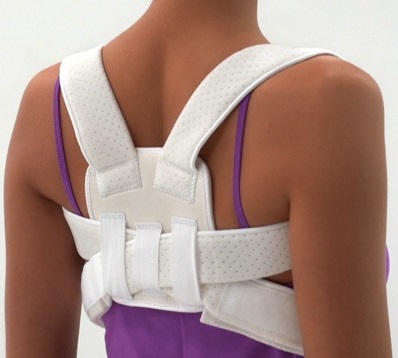
 According to the manufacturer, the Thoracic Lumbo-Sacral Orthosis abbreviated “TLSO” model number 250 is used to correct poor posture by providing support to four key areas, the Lumbo-Sacral (lower back), middle back, upper back, and the abdominal area. Other uses suggested by the manufacturer include the prevention and treatment of scoliosis and other spine related issues as well as improvement of overall figure.
While such products are often prescribed by a doctor, the TLSO can be purchased without a prescription from a number of different online retailers. The manufacturer currently sells their products at the wholesale level which means that in order to get one, you will be required to purchase from one of their retailers.
Please keep in mind that it’s best to consult with your doctor prior to treating any medical condition with a device such as the TLSO.
About ITA-MED
 The TLSO-250 is made by ITA-MED, a company based out of San Francisco, California. The company manufactures and sells a number of different home health care and orthopedic products including back supports, shoulder braces, support belts, knee braces, as well as compression hosiery and related products. Their posture correctors are only one of the many product lines that the company designs, produces, and sells.
ITA-Med is a privately held company that was originally incorporated in 1992. It is currently headed by Lev Tripolsky who according to online records, is listed as the founder, president, and CEO of the company.
ITA MED takes pride in designing and manufacturing “medically correct” products using natural, breathable materials that are comfortable to wear. According to their website, their manufacturing facility is considered to be one of the greenest of its kind.
Fitting instructions
In order to ensure proper function, you must fit the TLSO before wearing it. The manufacturer offers the following seven step process to help you achieve a proper fit:
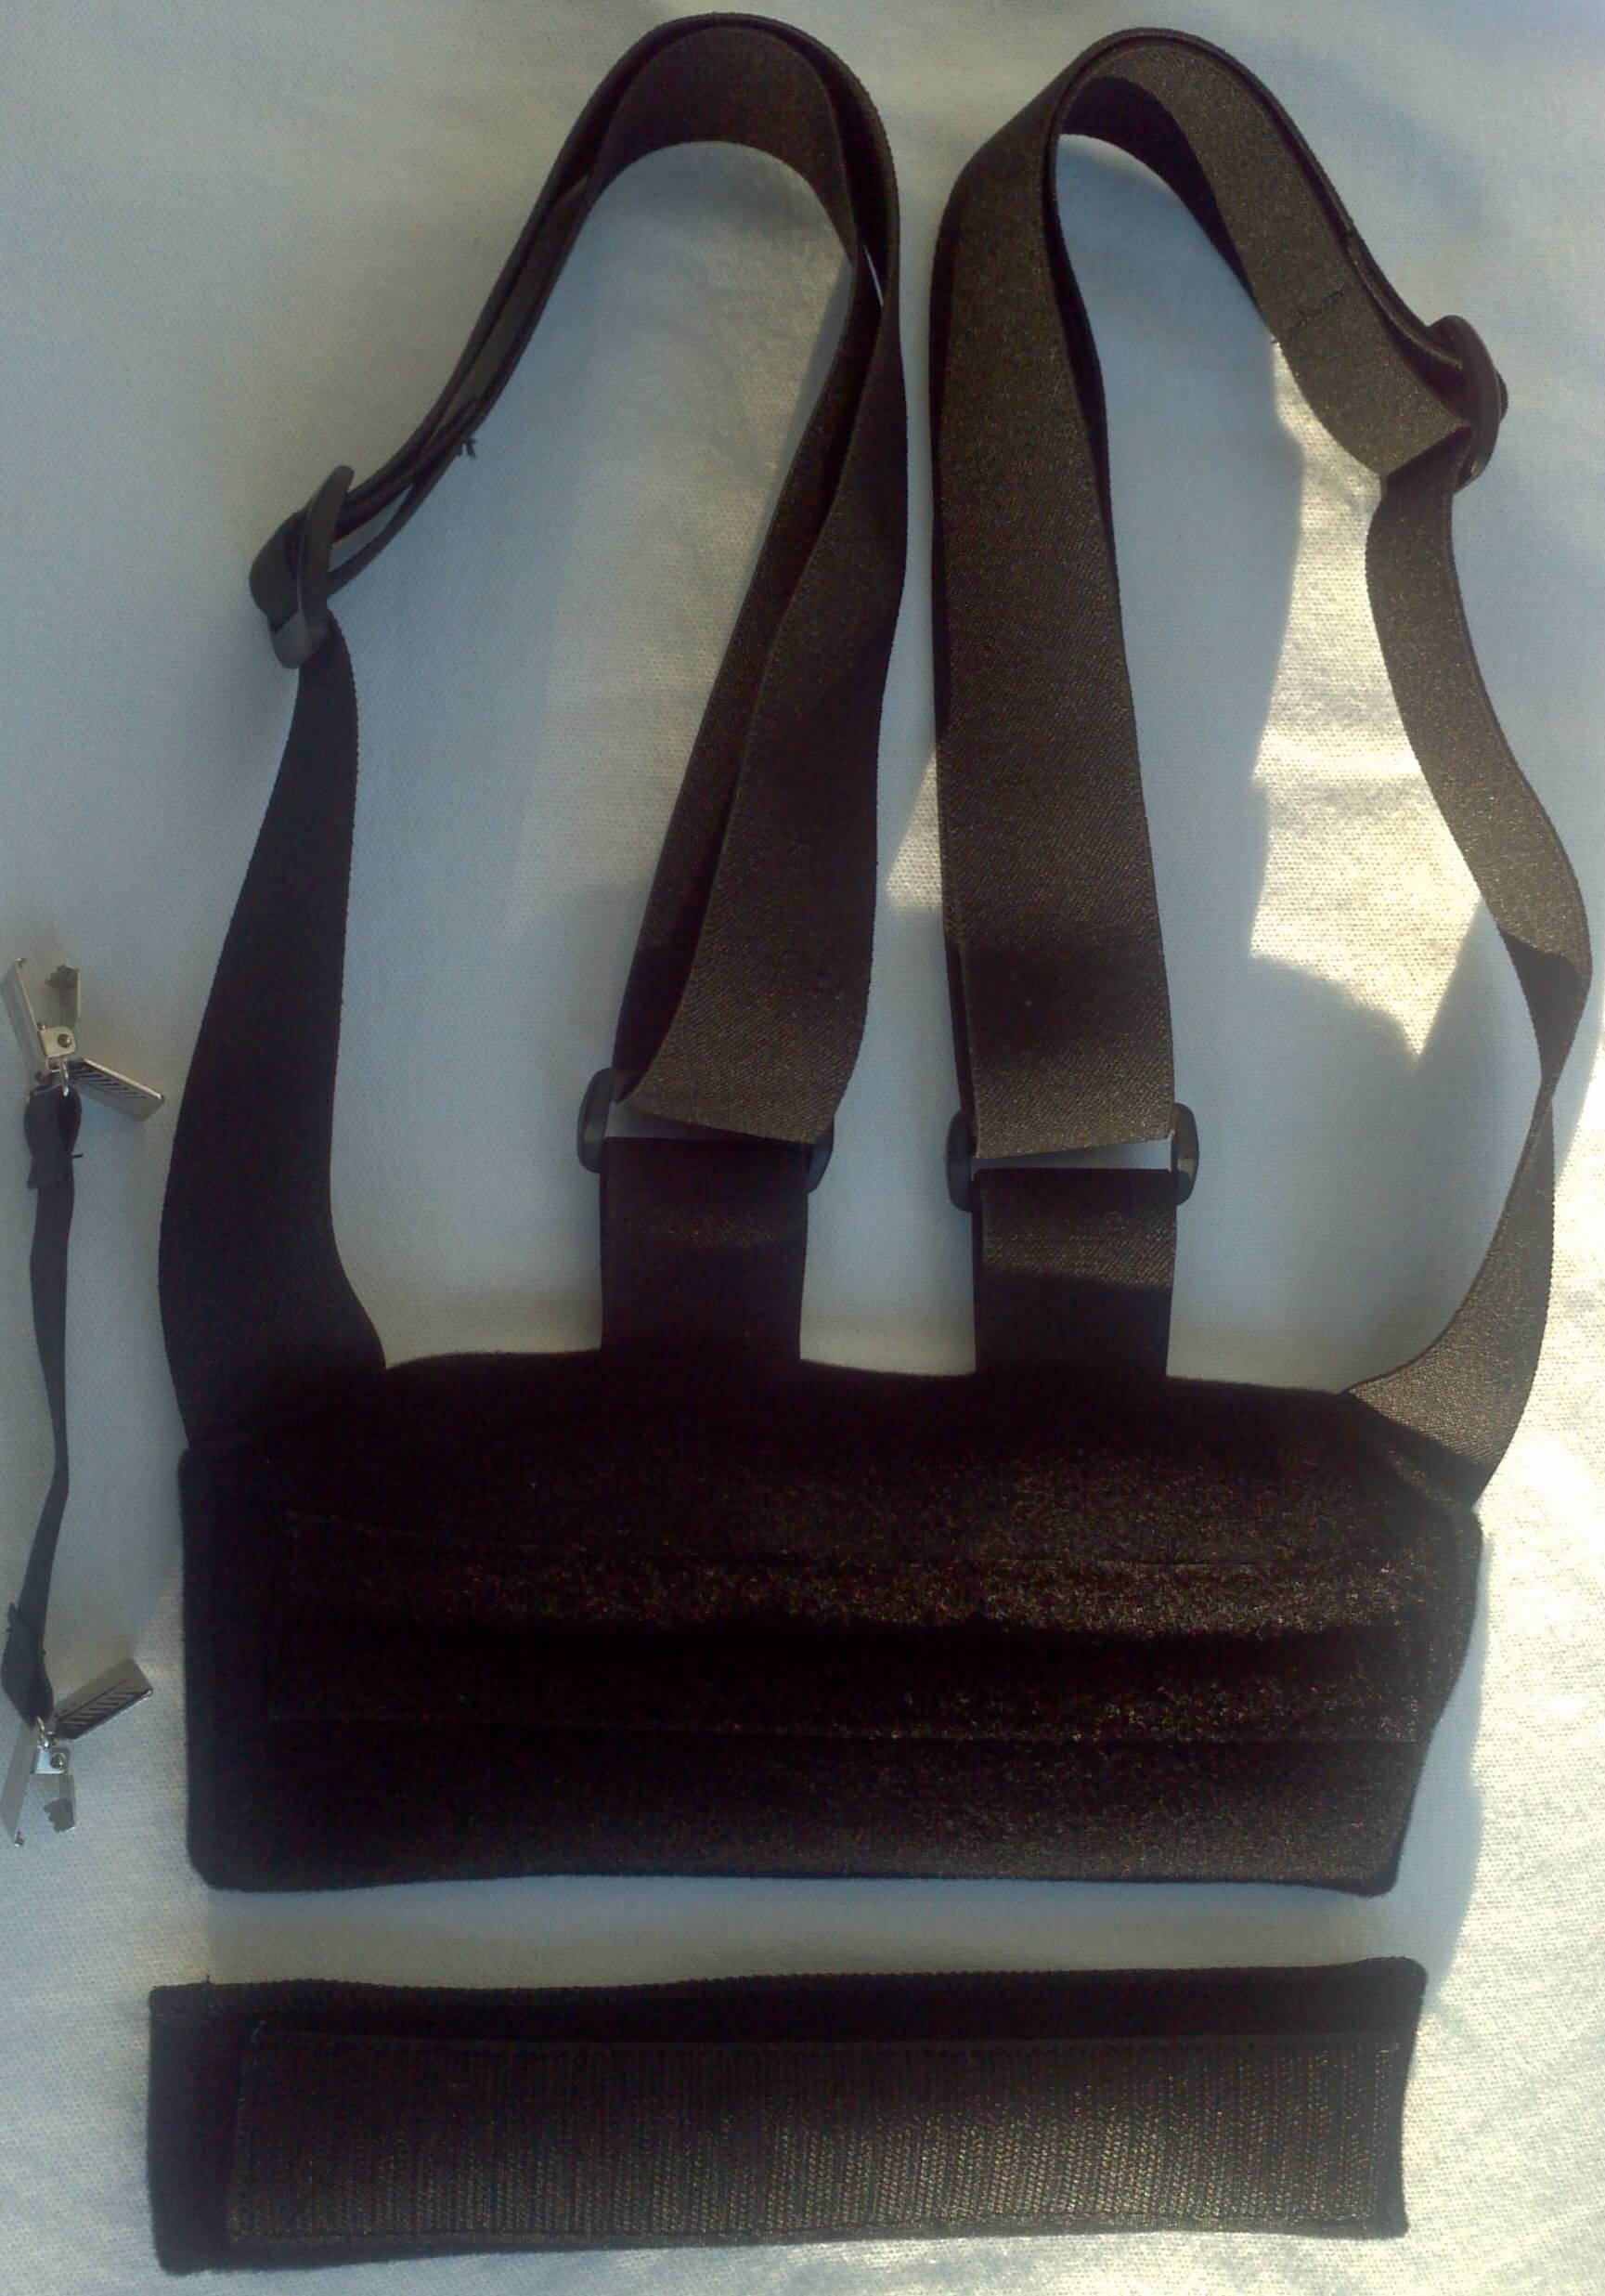
- Remove the two vertical aluminum back stays and bend each to fit the contour of your upper back. It may be a good idea to allow a medical professional help you complete this step. Once properly adjusted, place the stays back into the posture corrector.
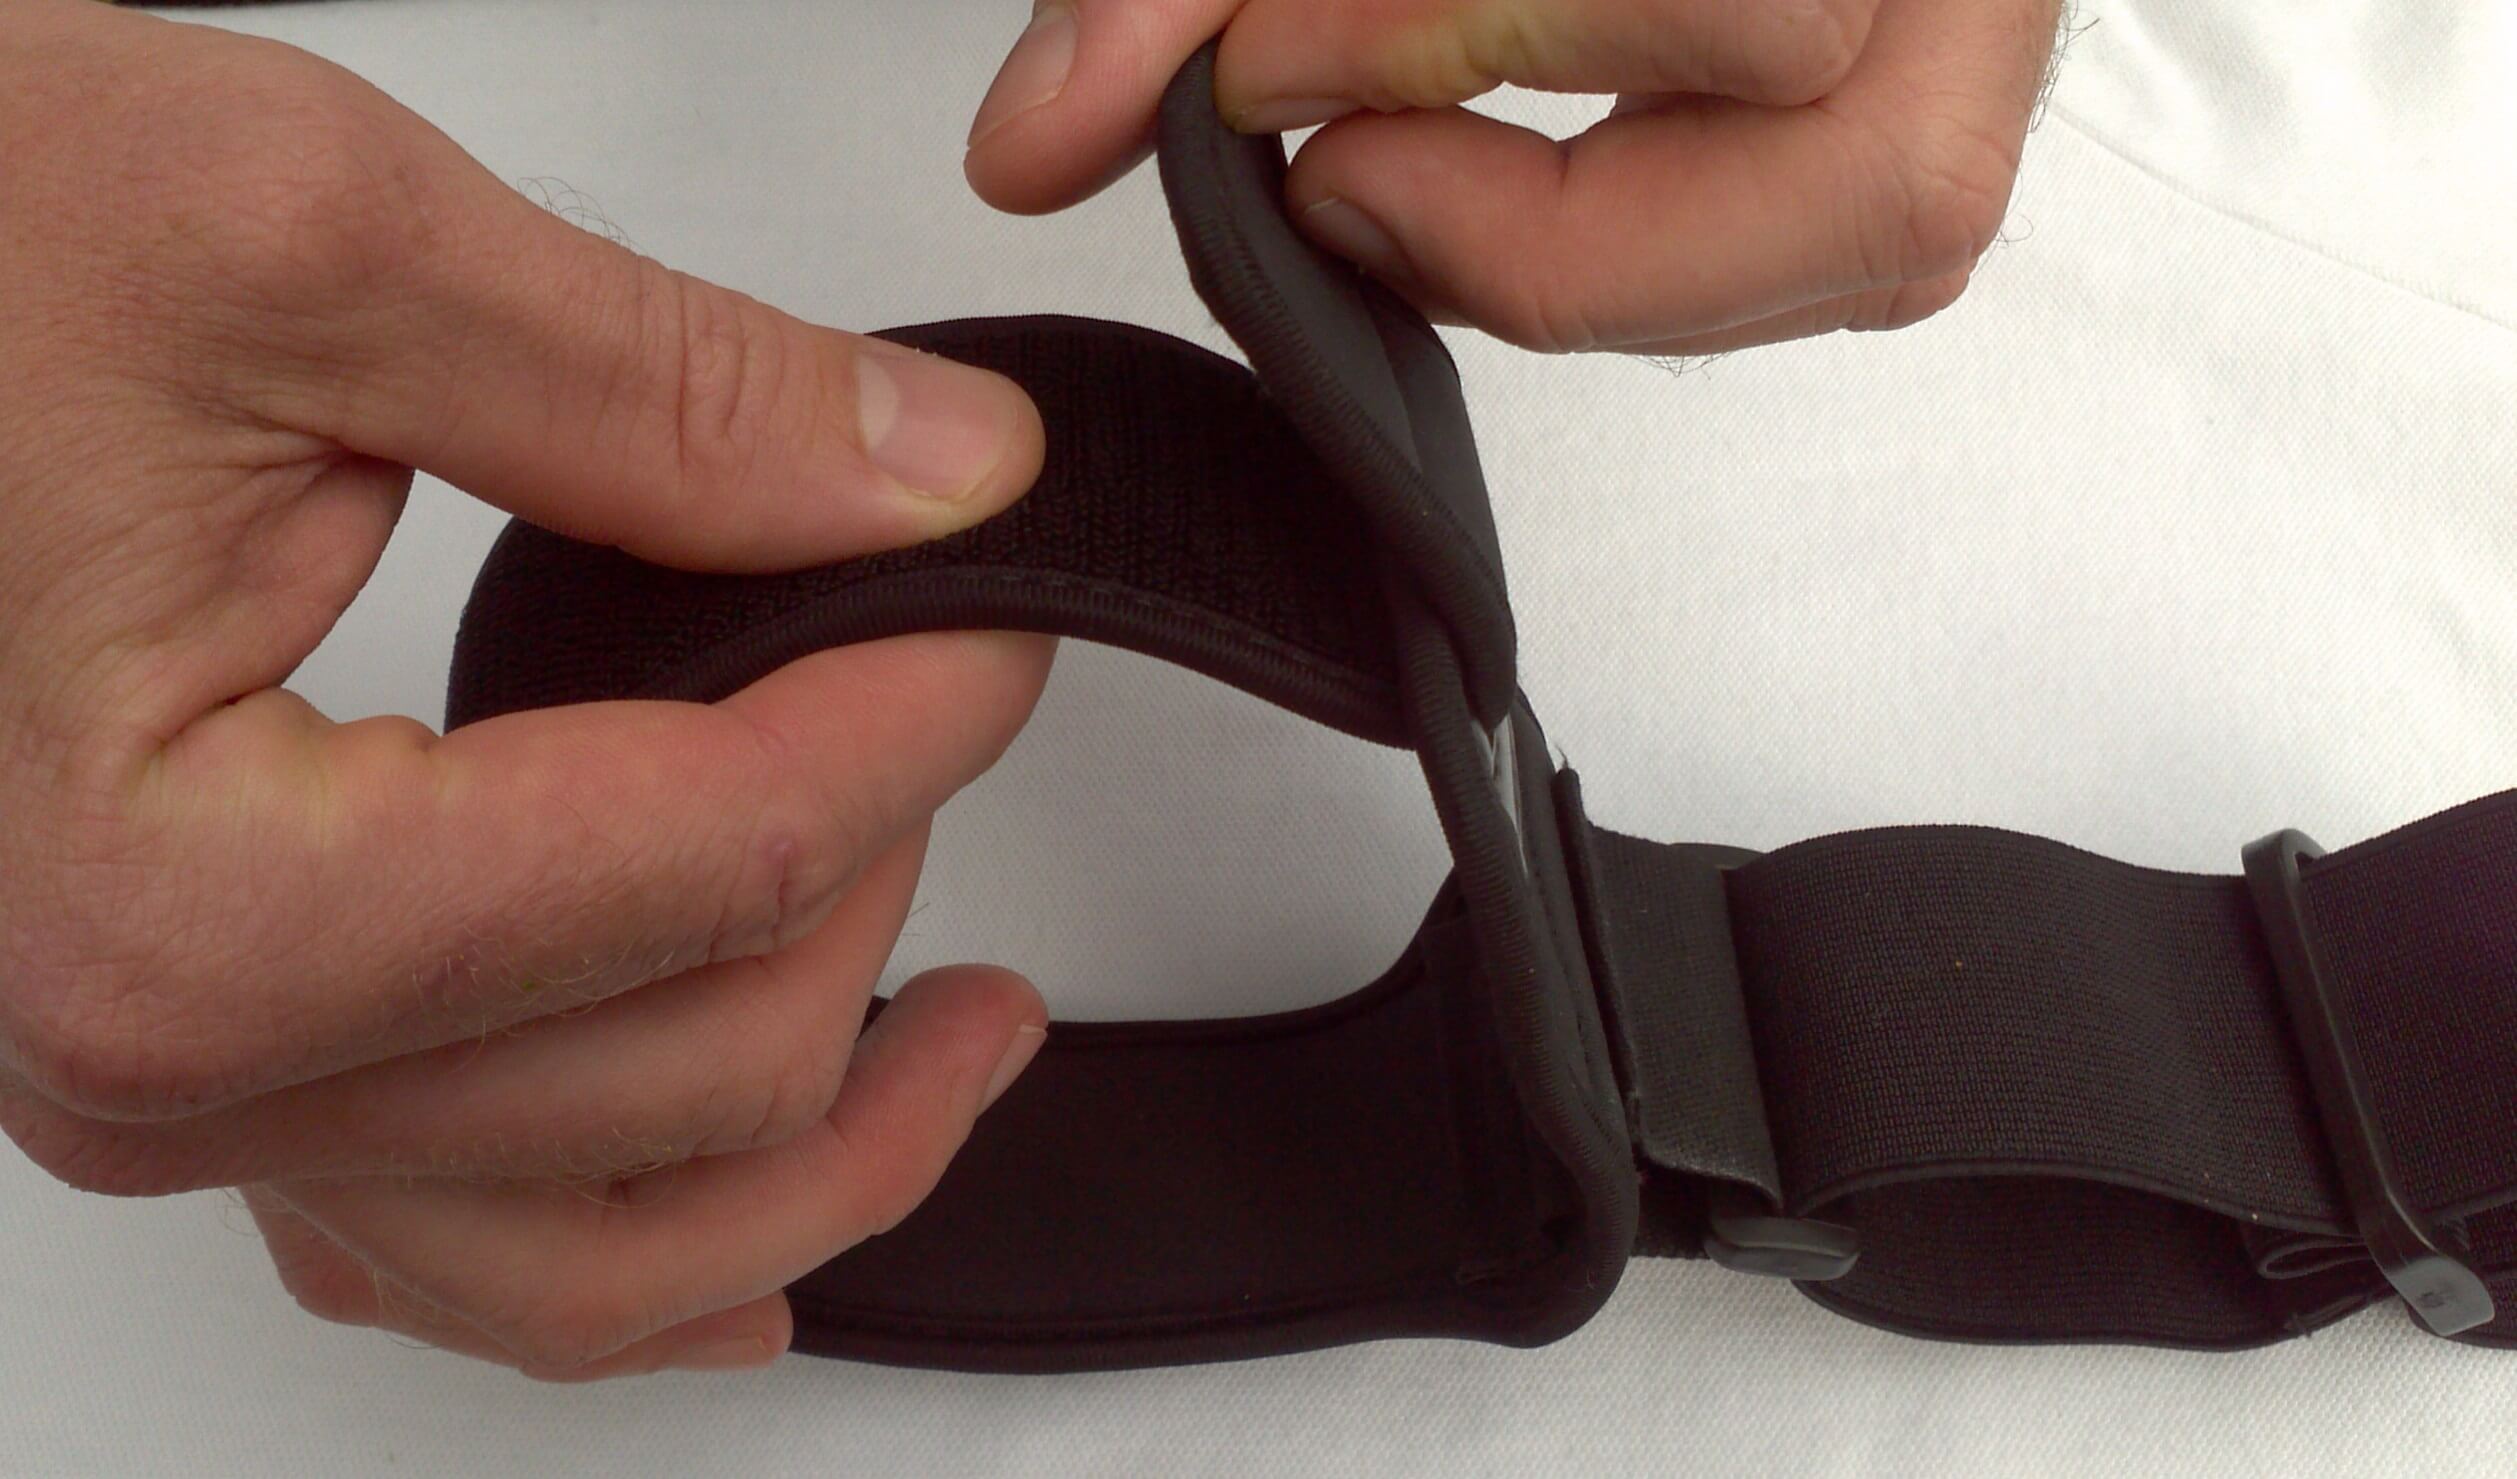
- Unfasten all Velcro straps that may be adhered to each other.
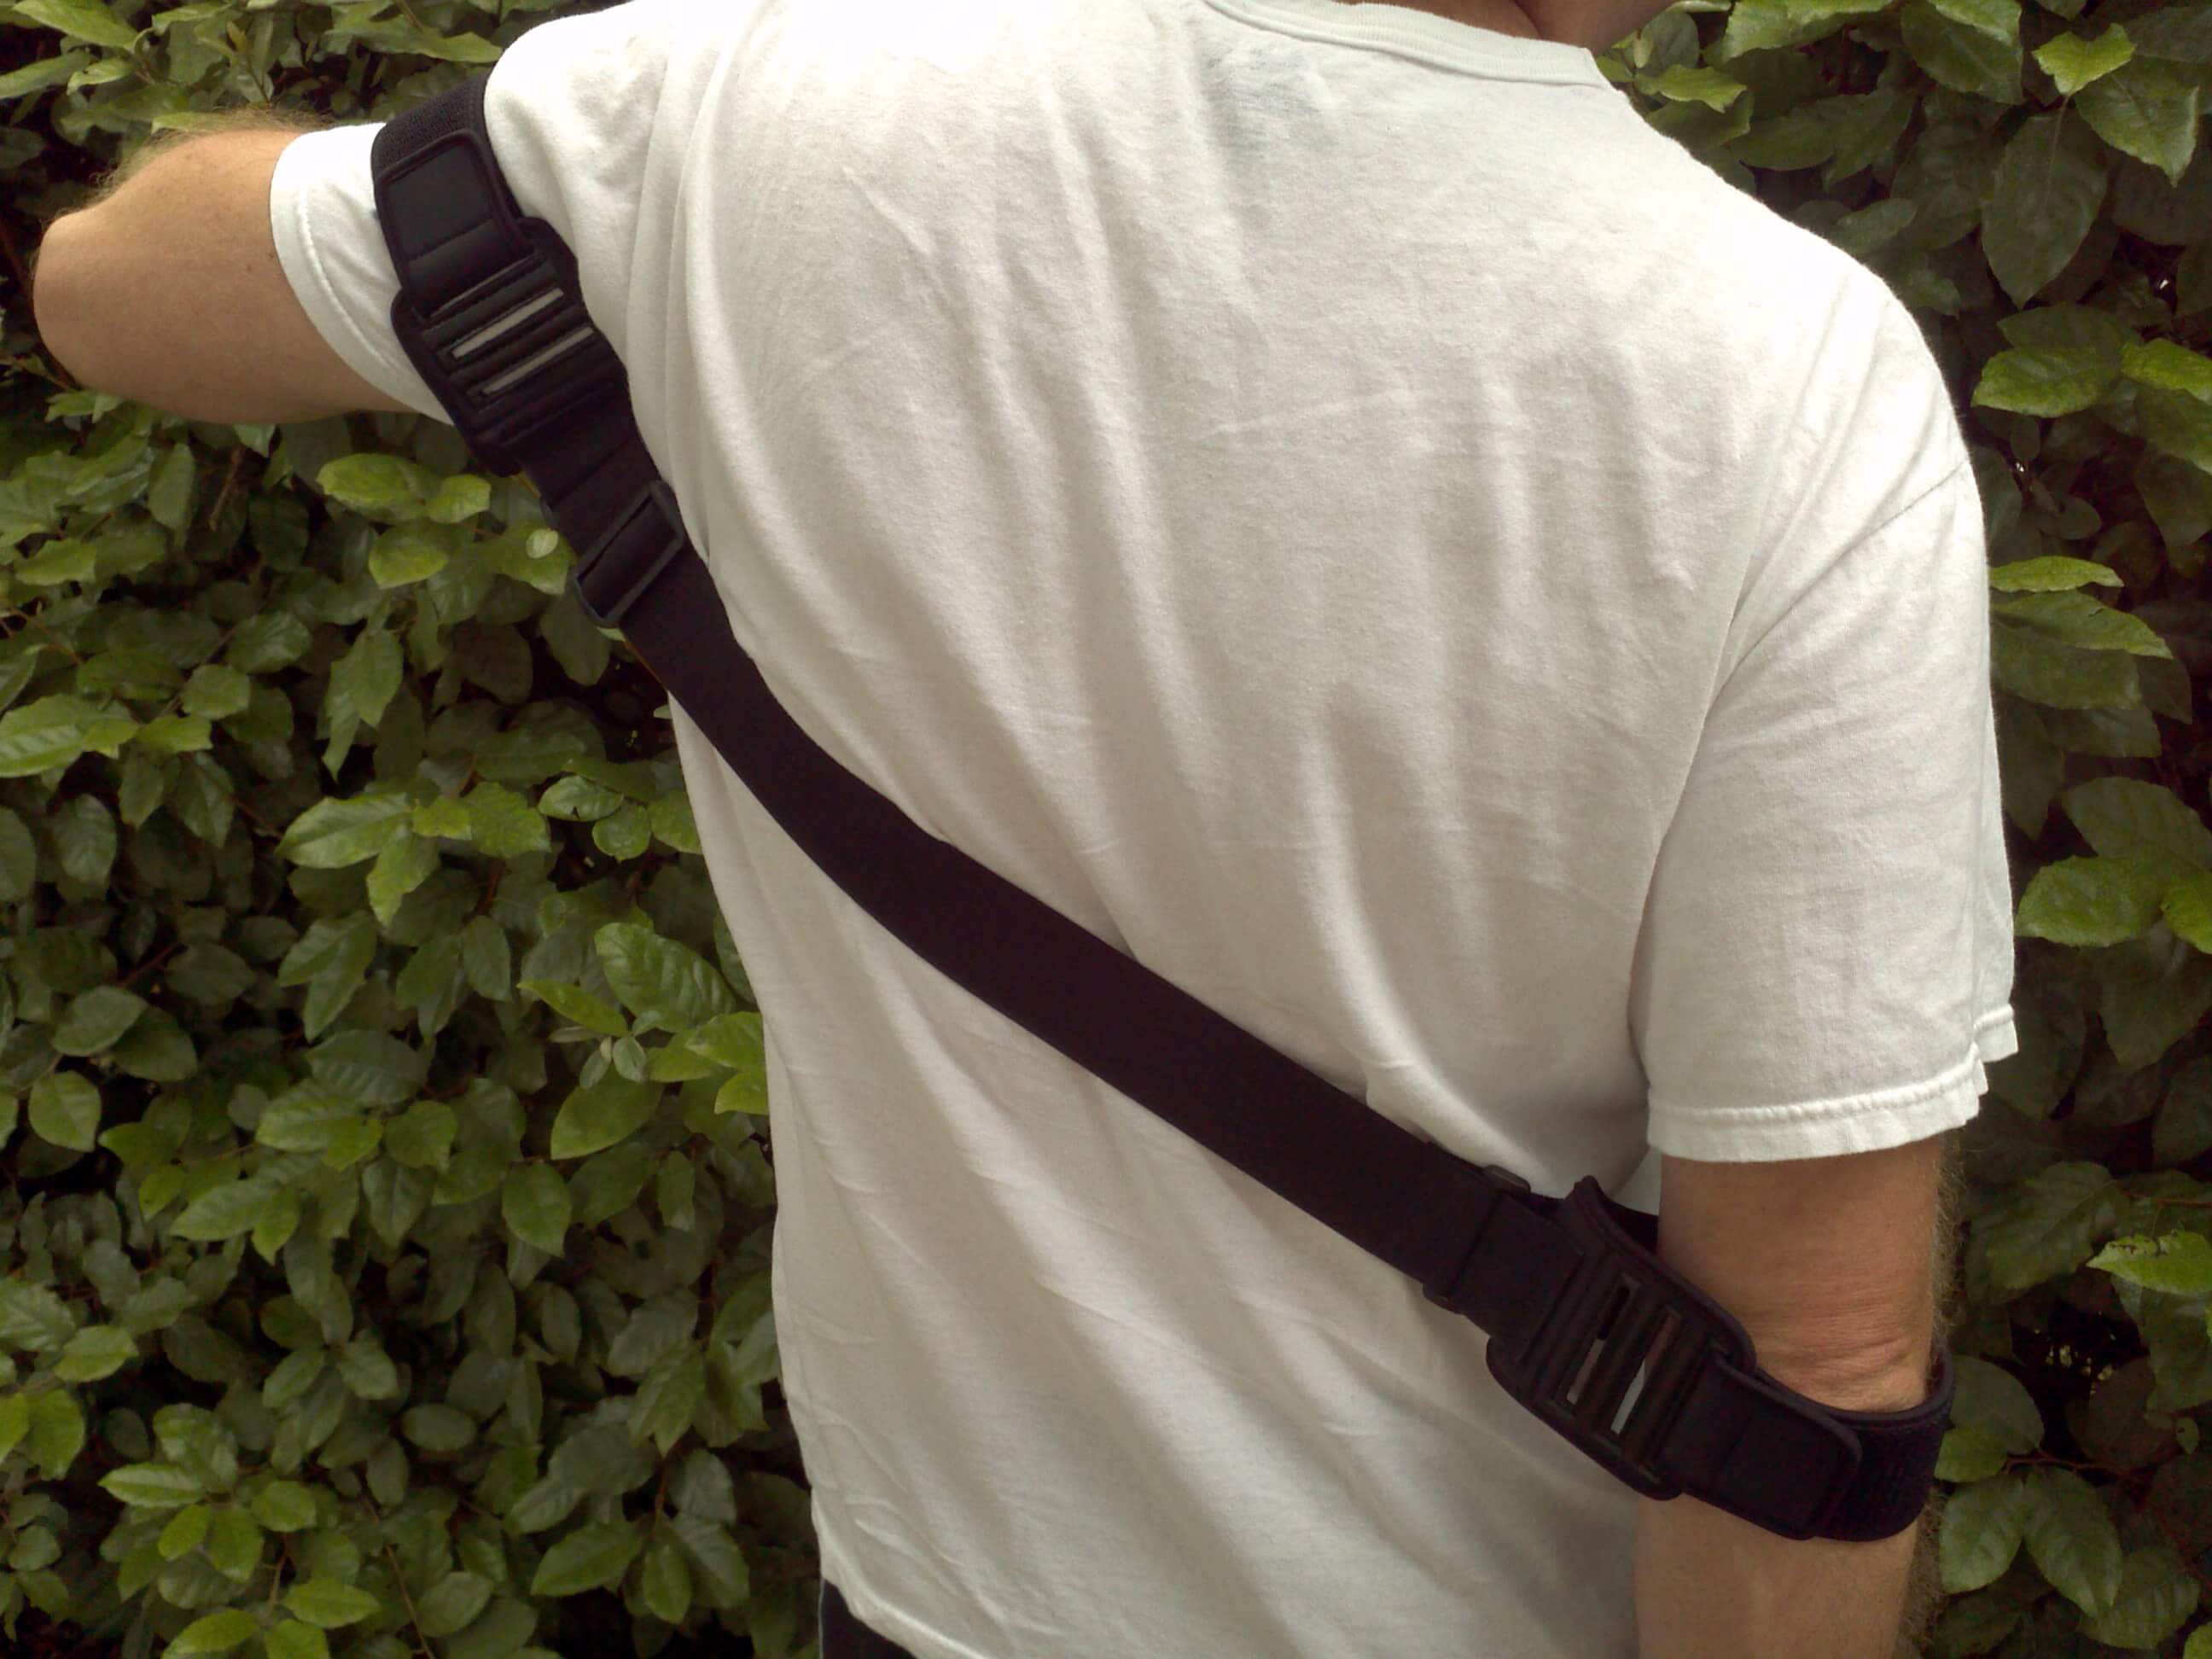
- Place the posture corrector over your back and feed each arm through the corresponding shoulder strap.
- While leaning slightly forward, center the brace against your back. Position the vertical stays evenly on each side of your spine and ensure that they are resting flat against your back.
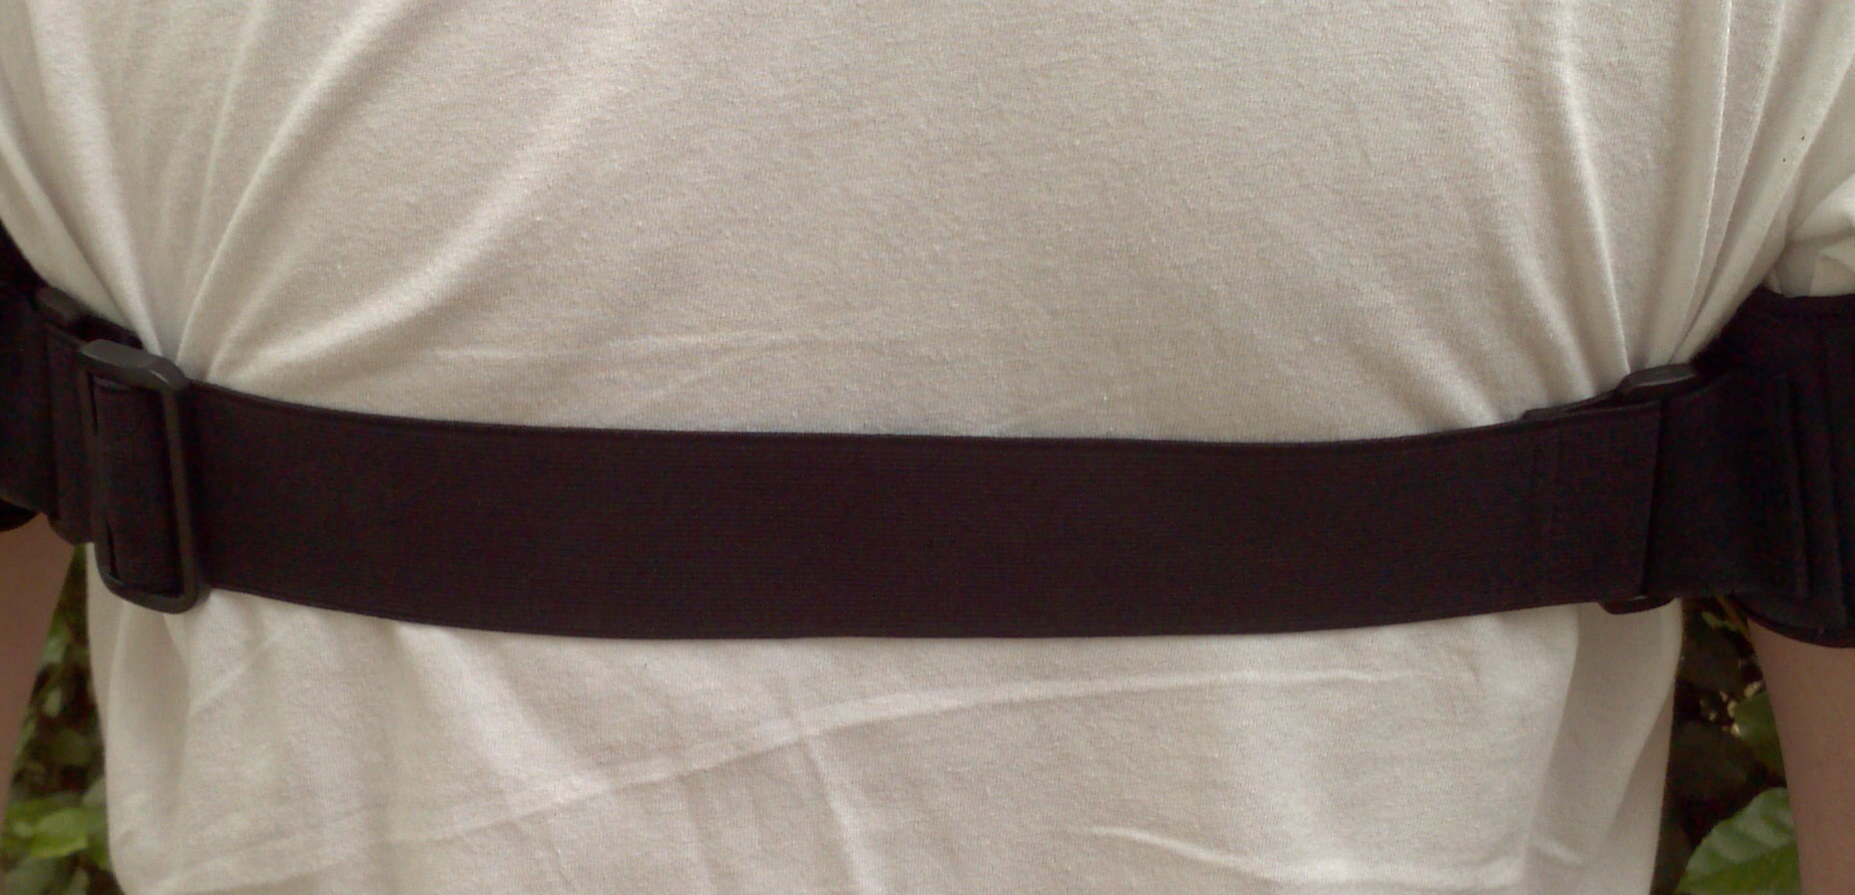
- Fasten the large elastic waist strap at the front. Be sure not to over tighten.
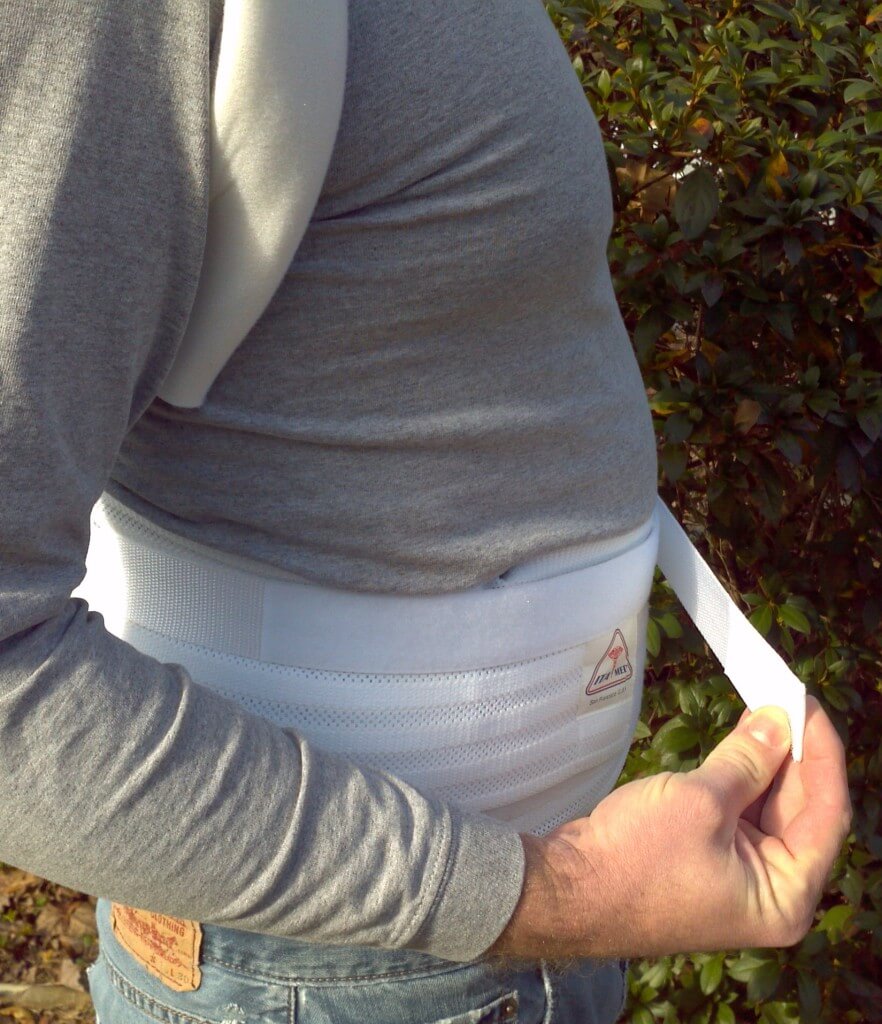
- Pull the smaller waist straps to provide additional support and to increase comfort.
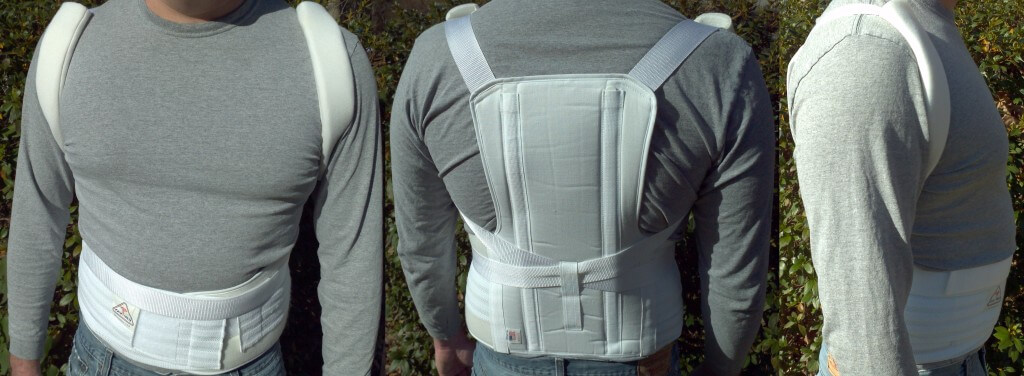
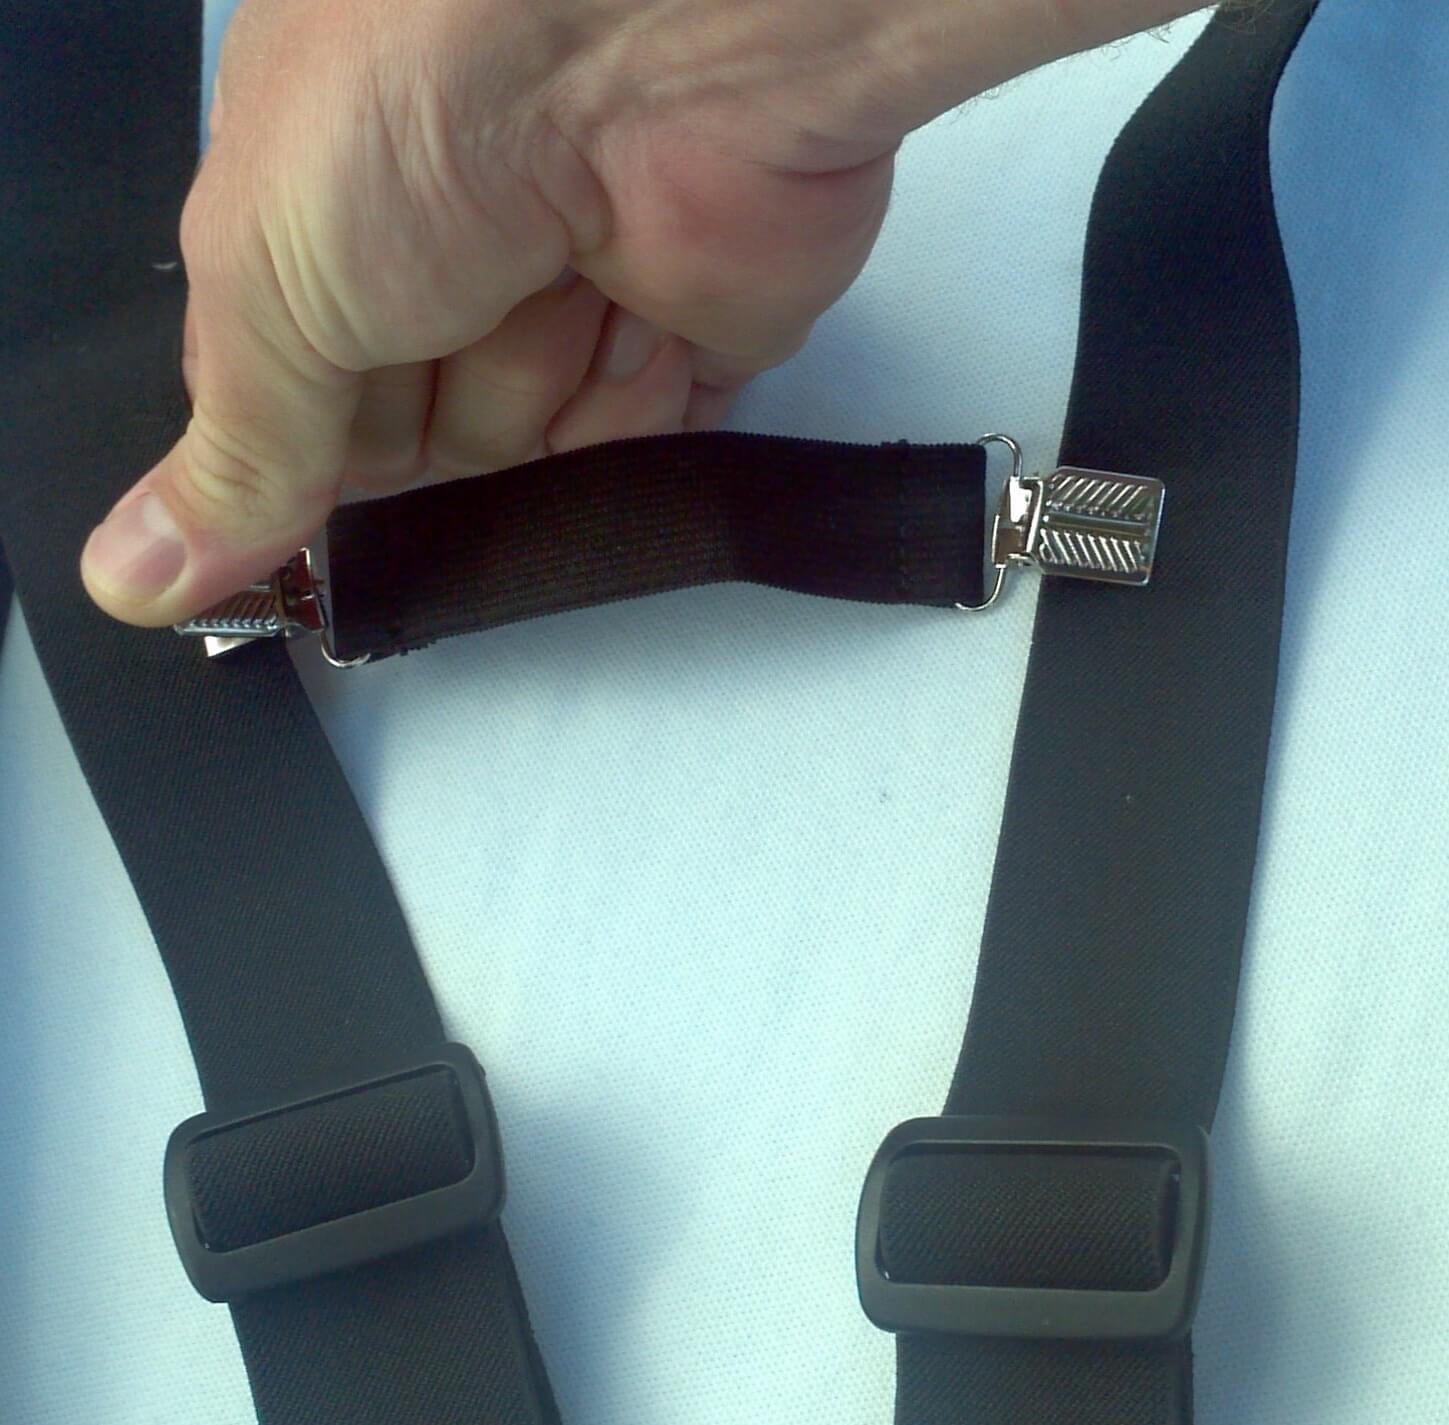
- Sit up in the good posture position, tighten the shoulder straps and secure them together at the front using the Velcro closure system.
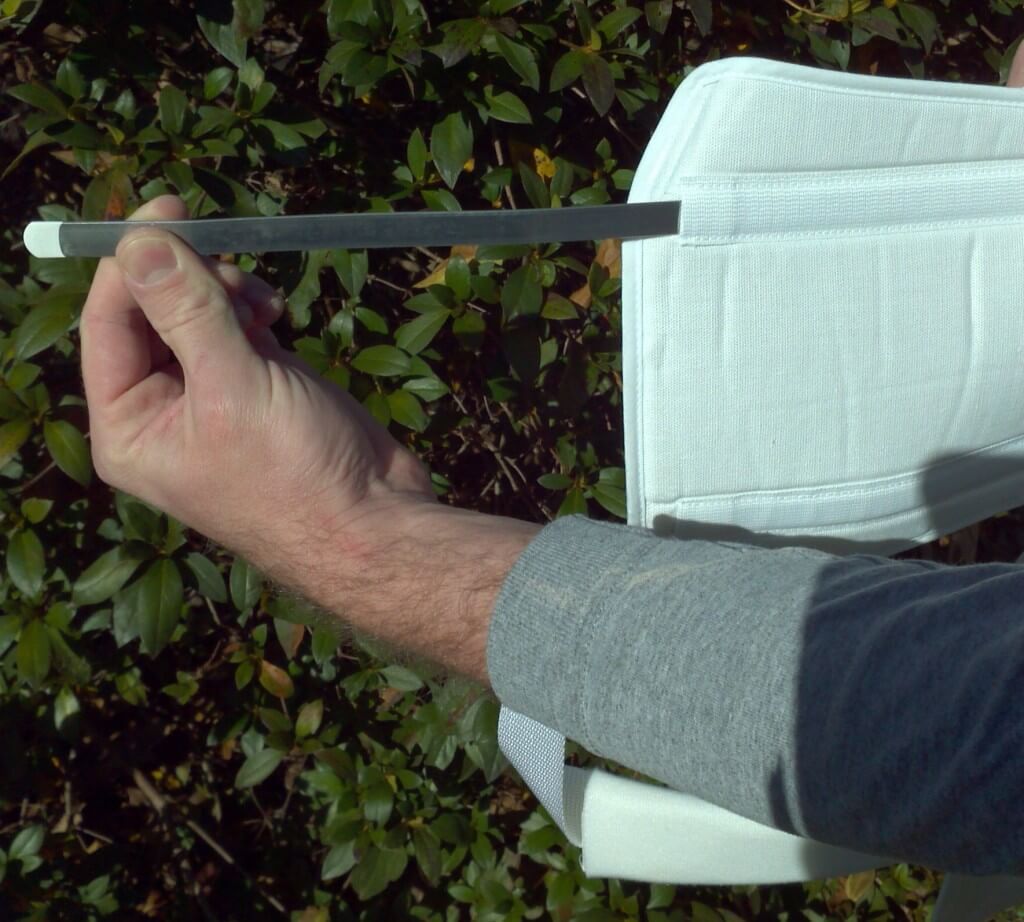
Remove, shape, and replace aluminum back stays
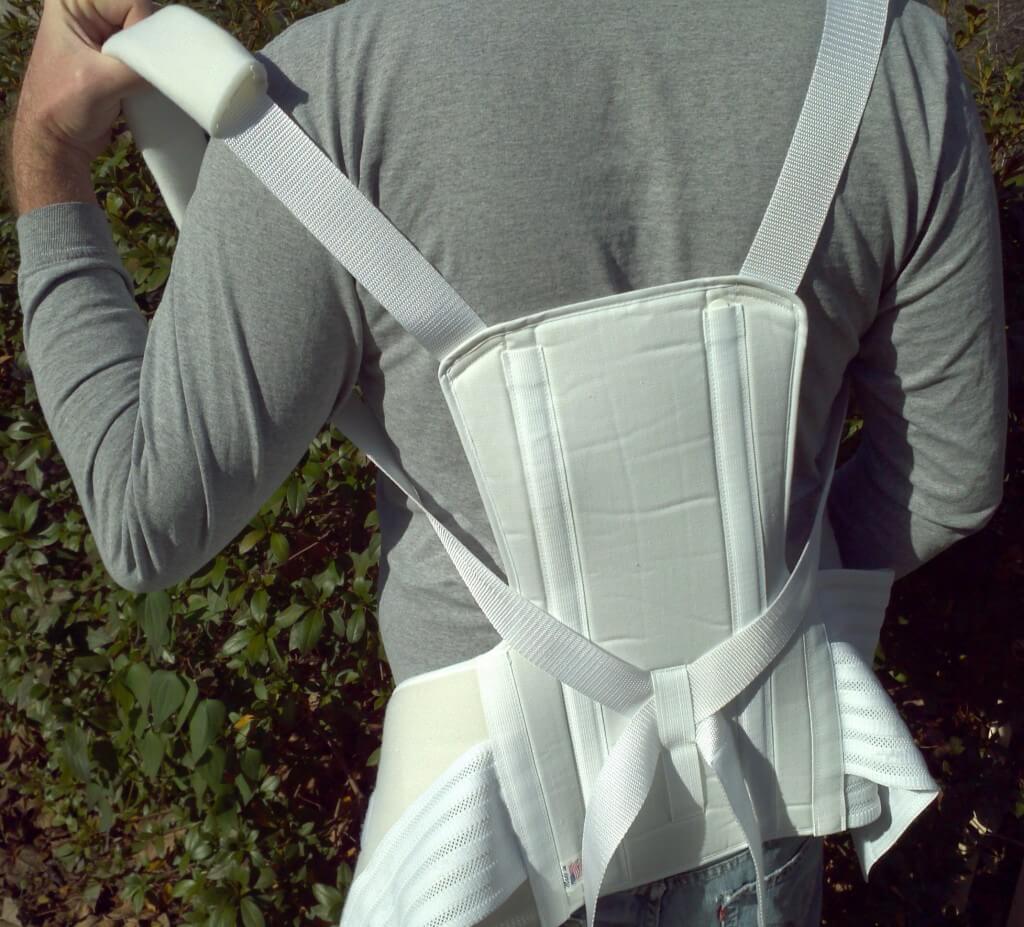
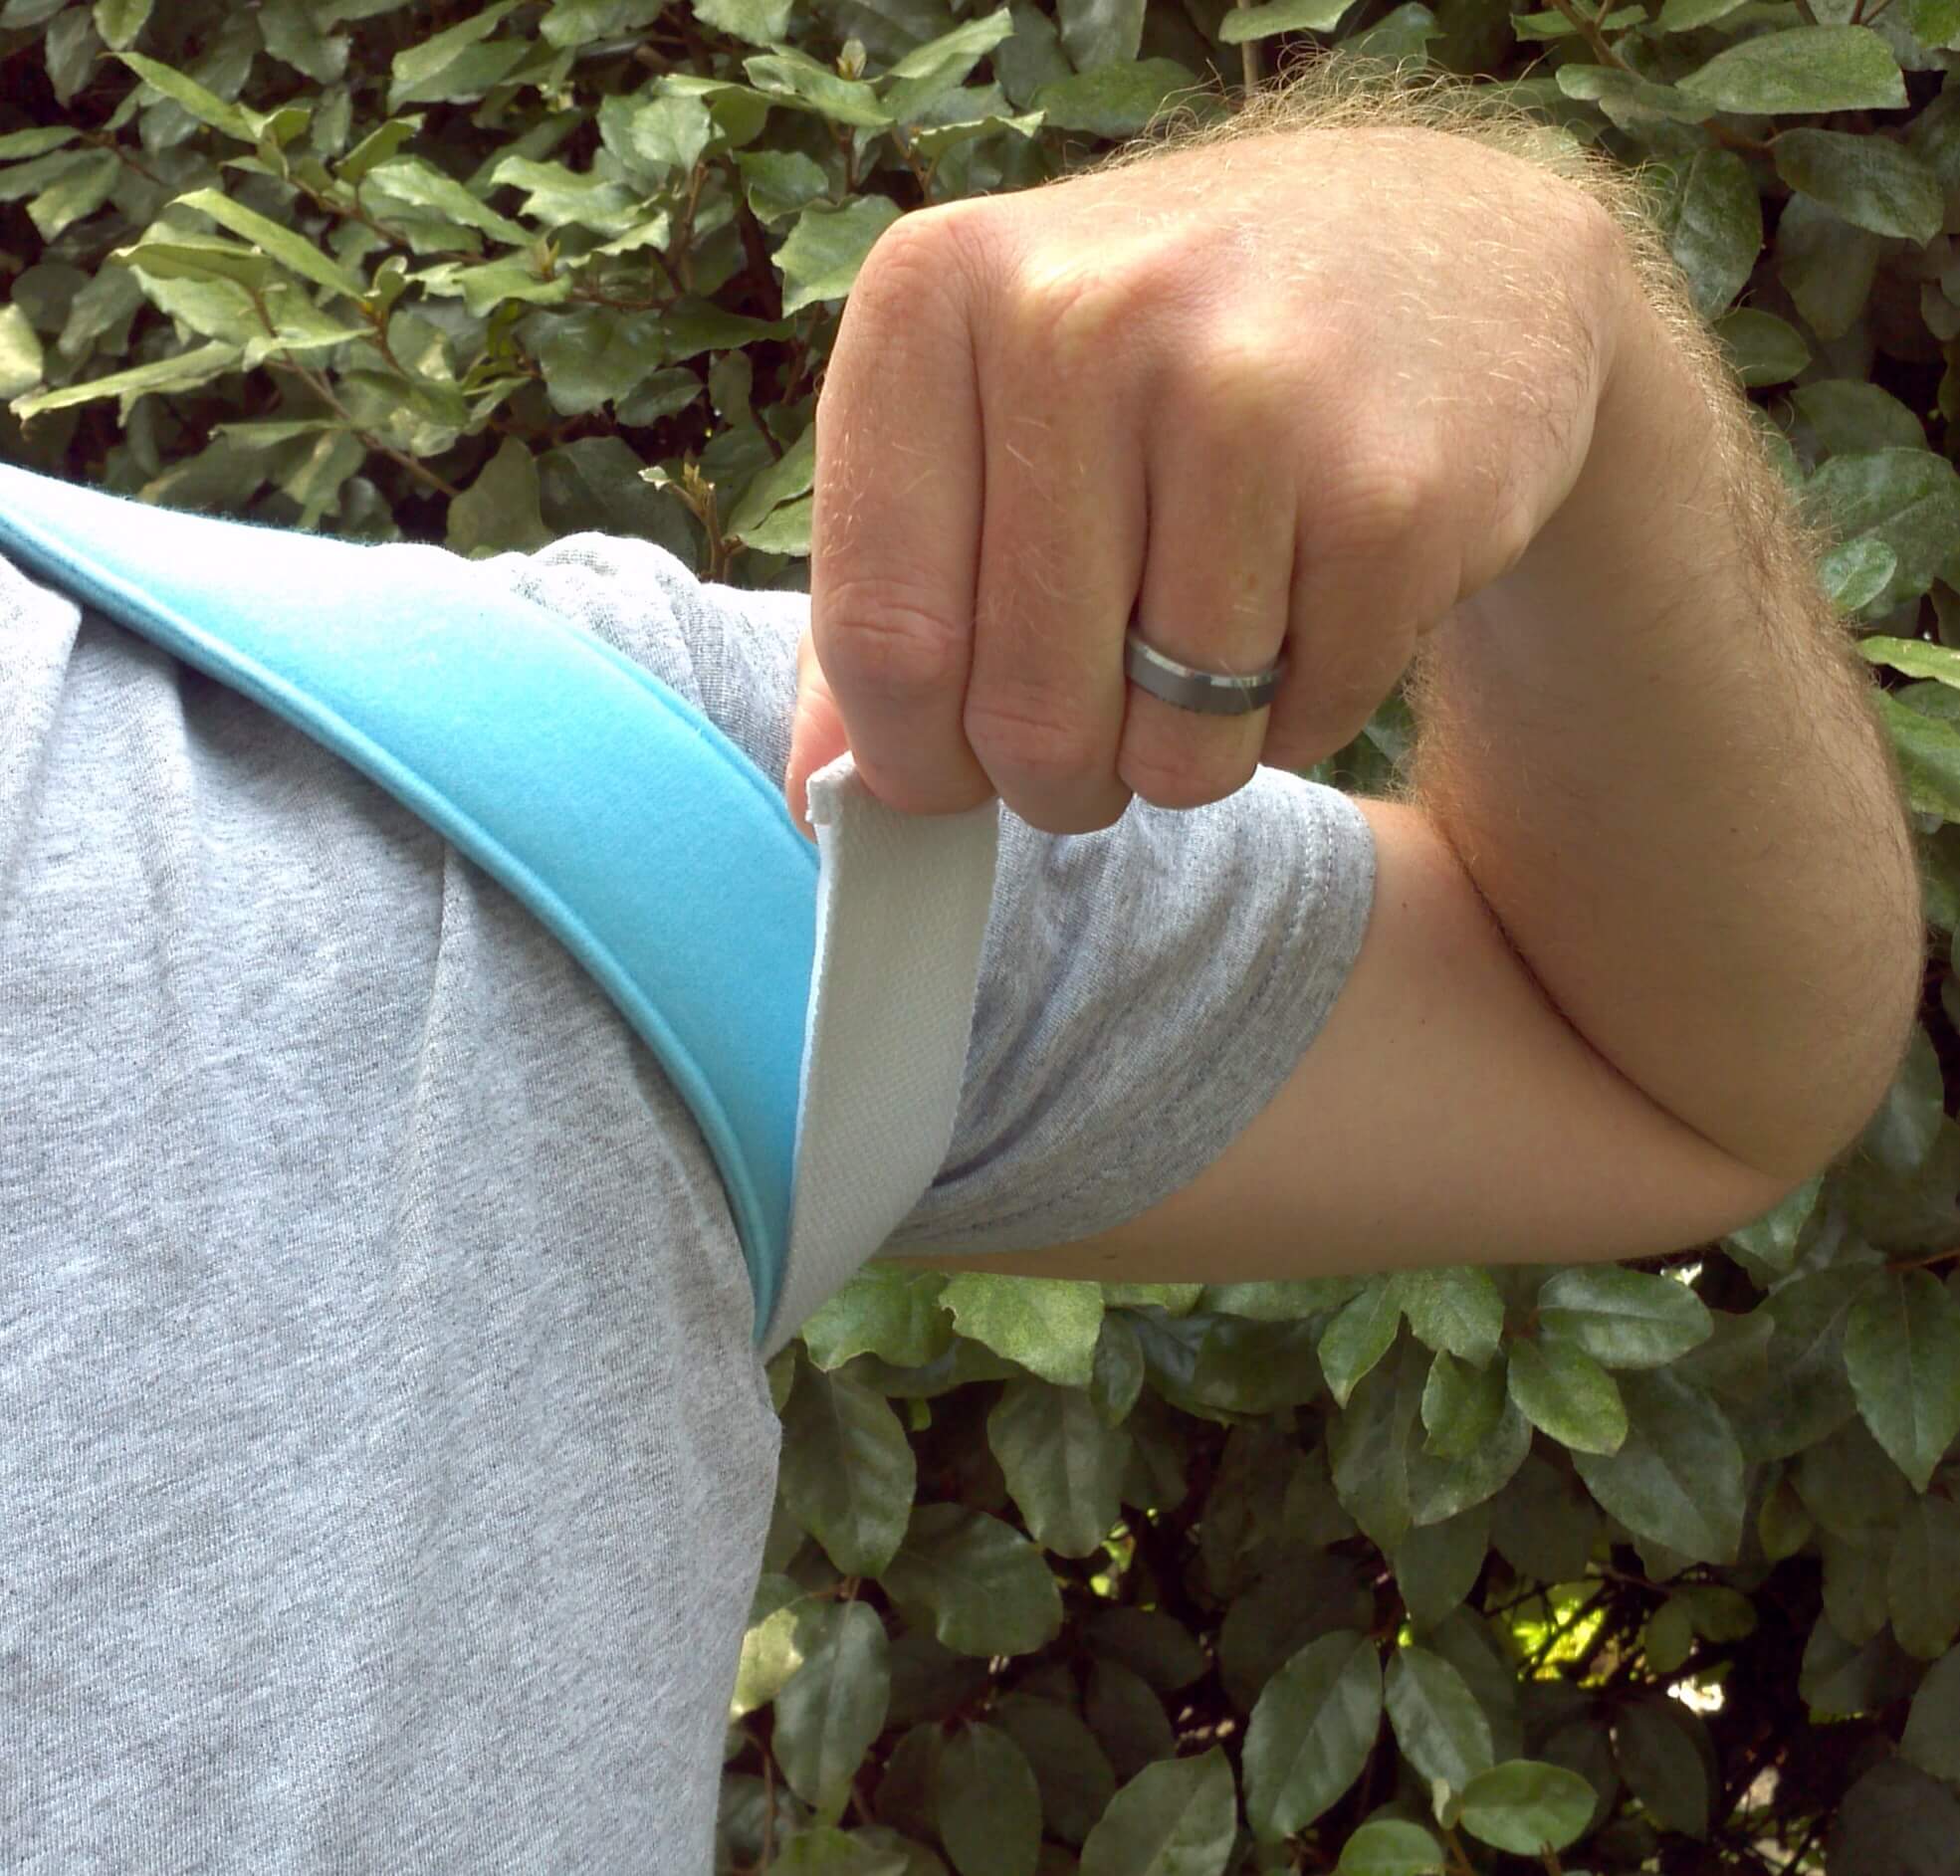
Feed arms through the shoulder straps
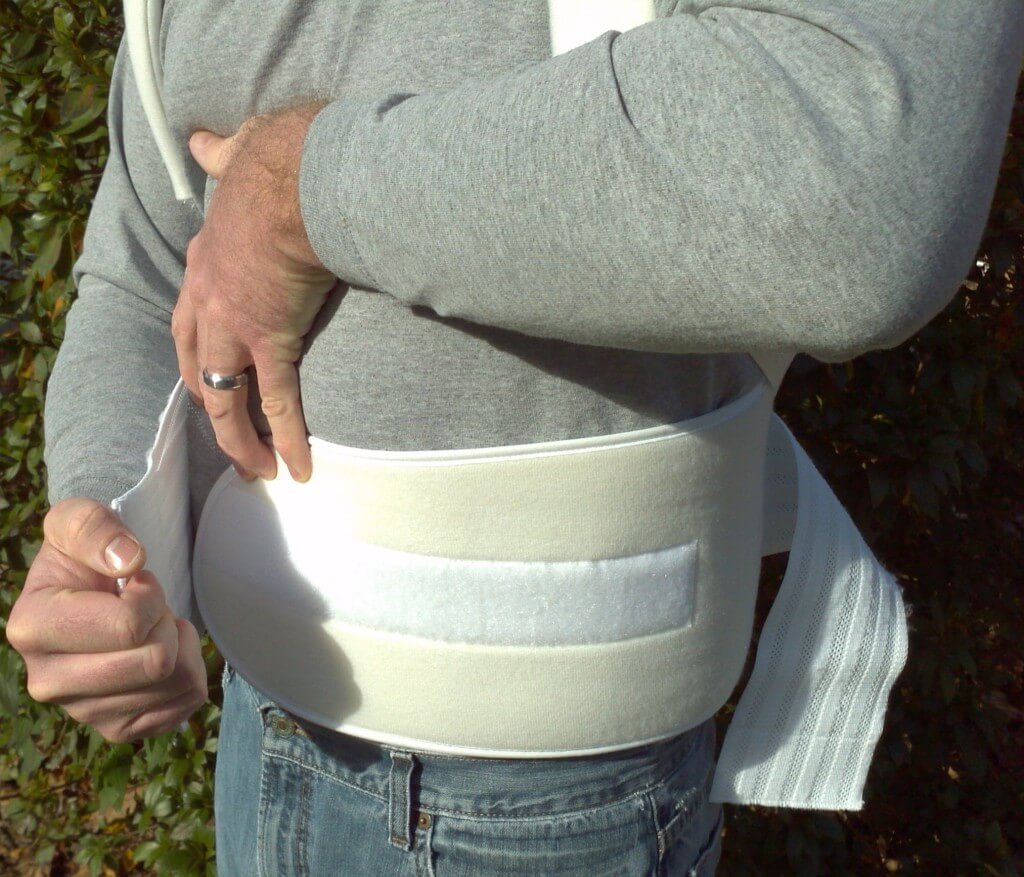
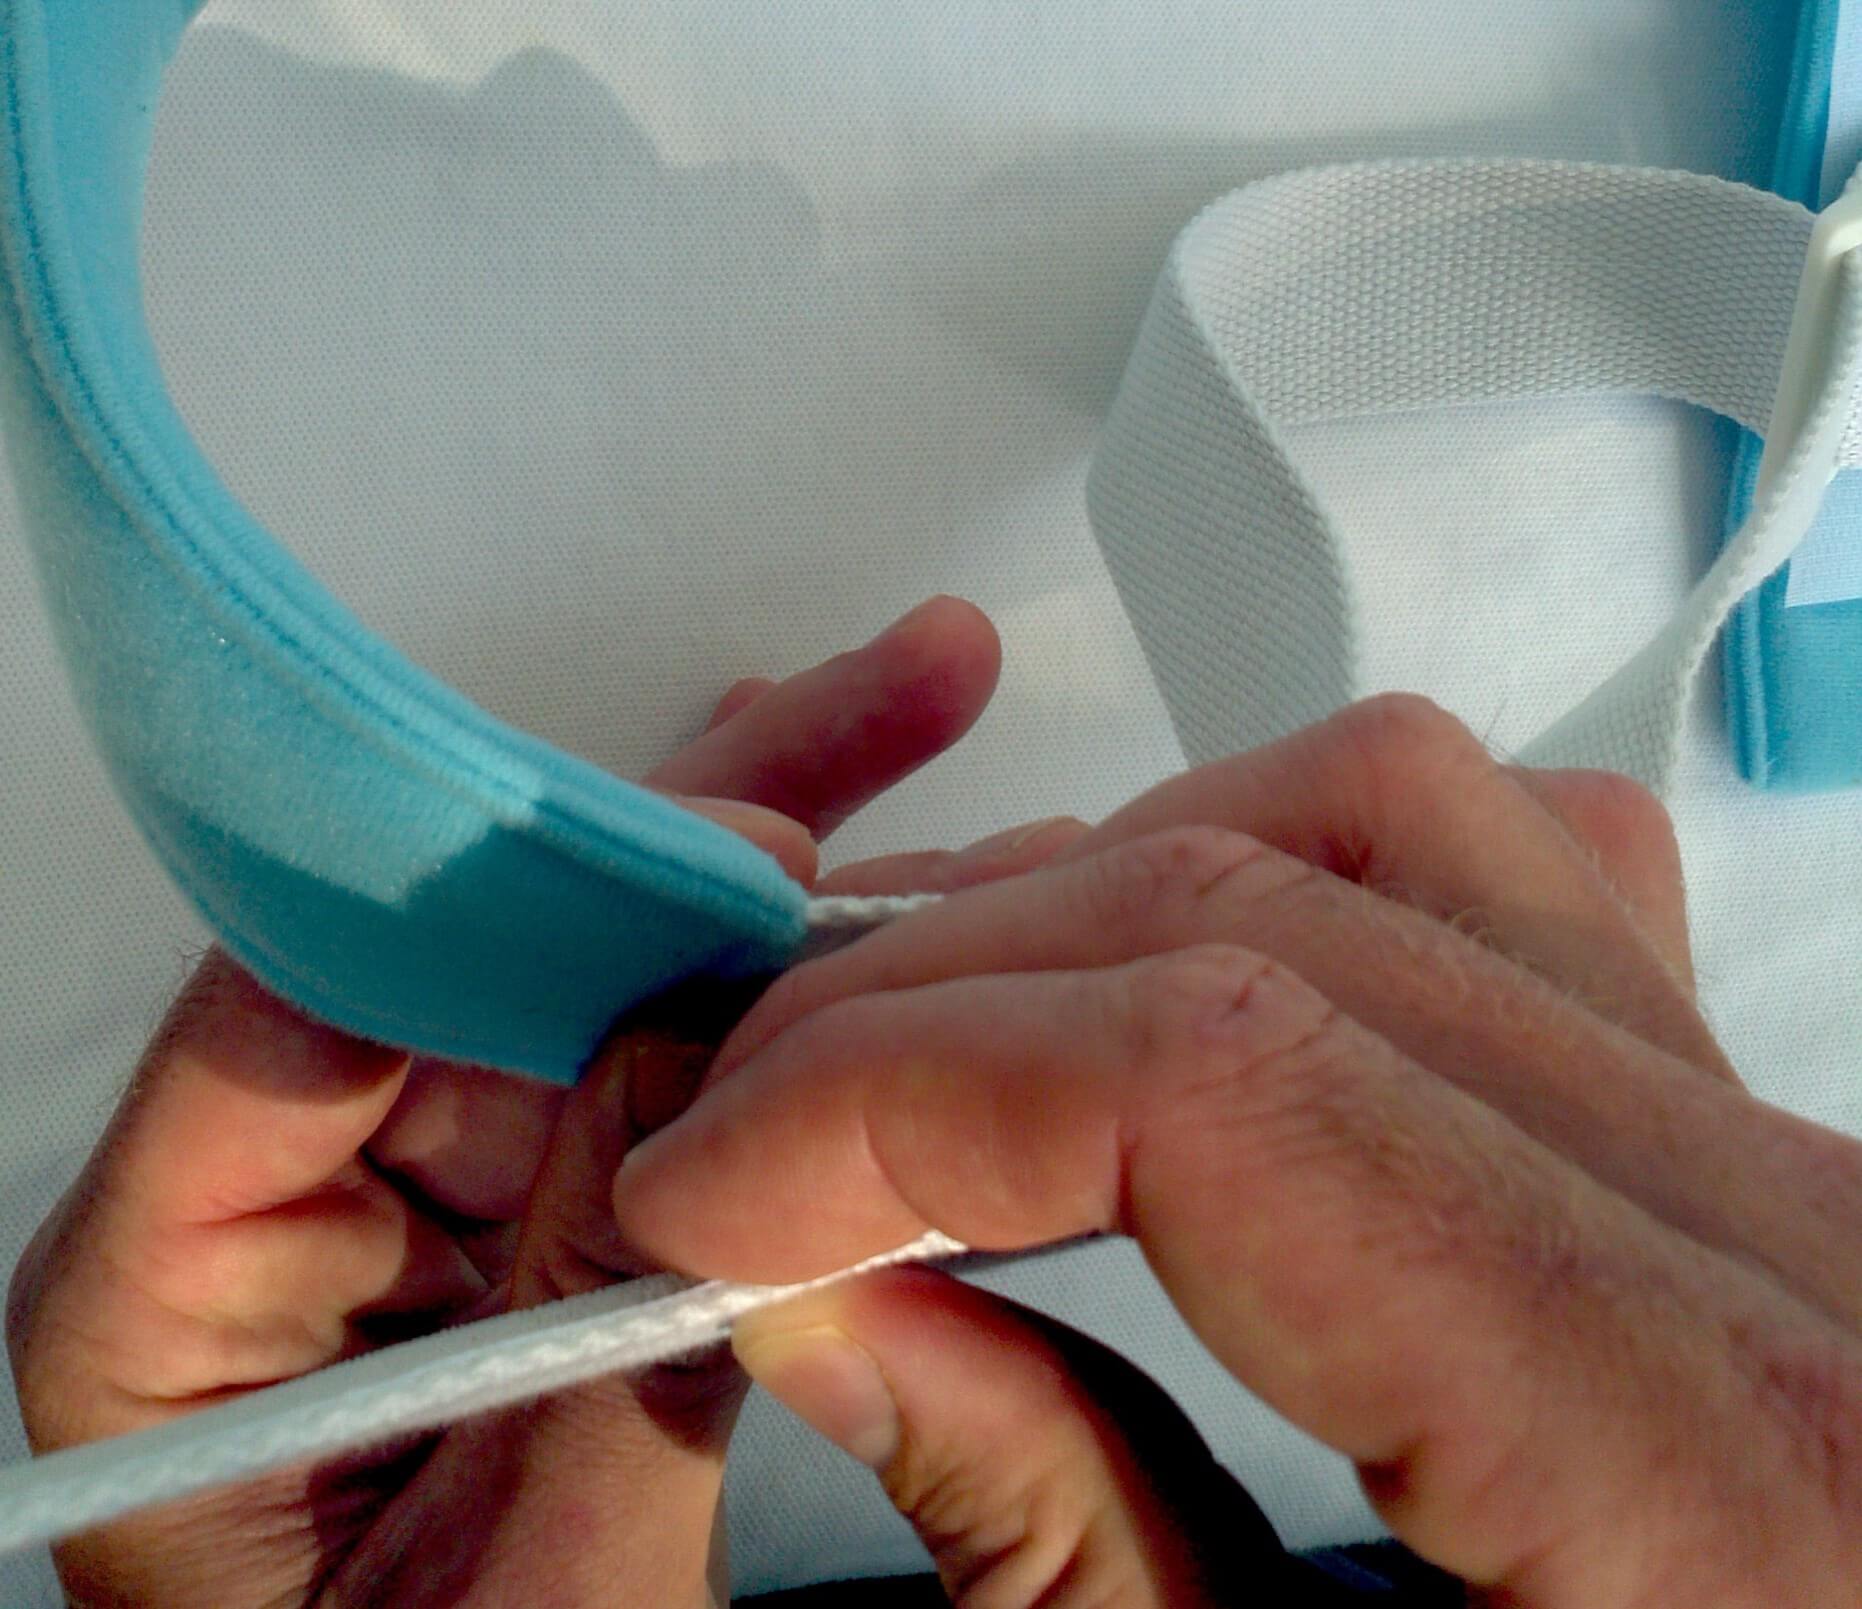
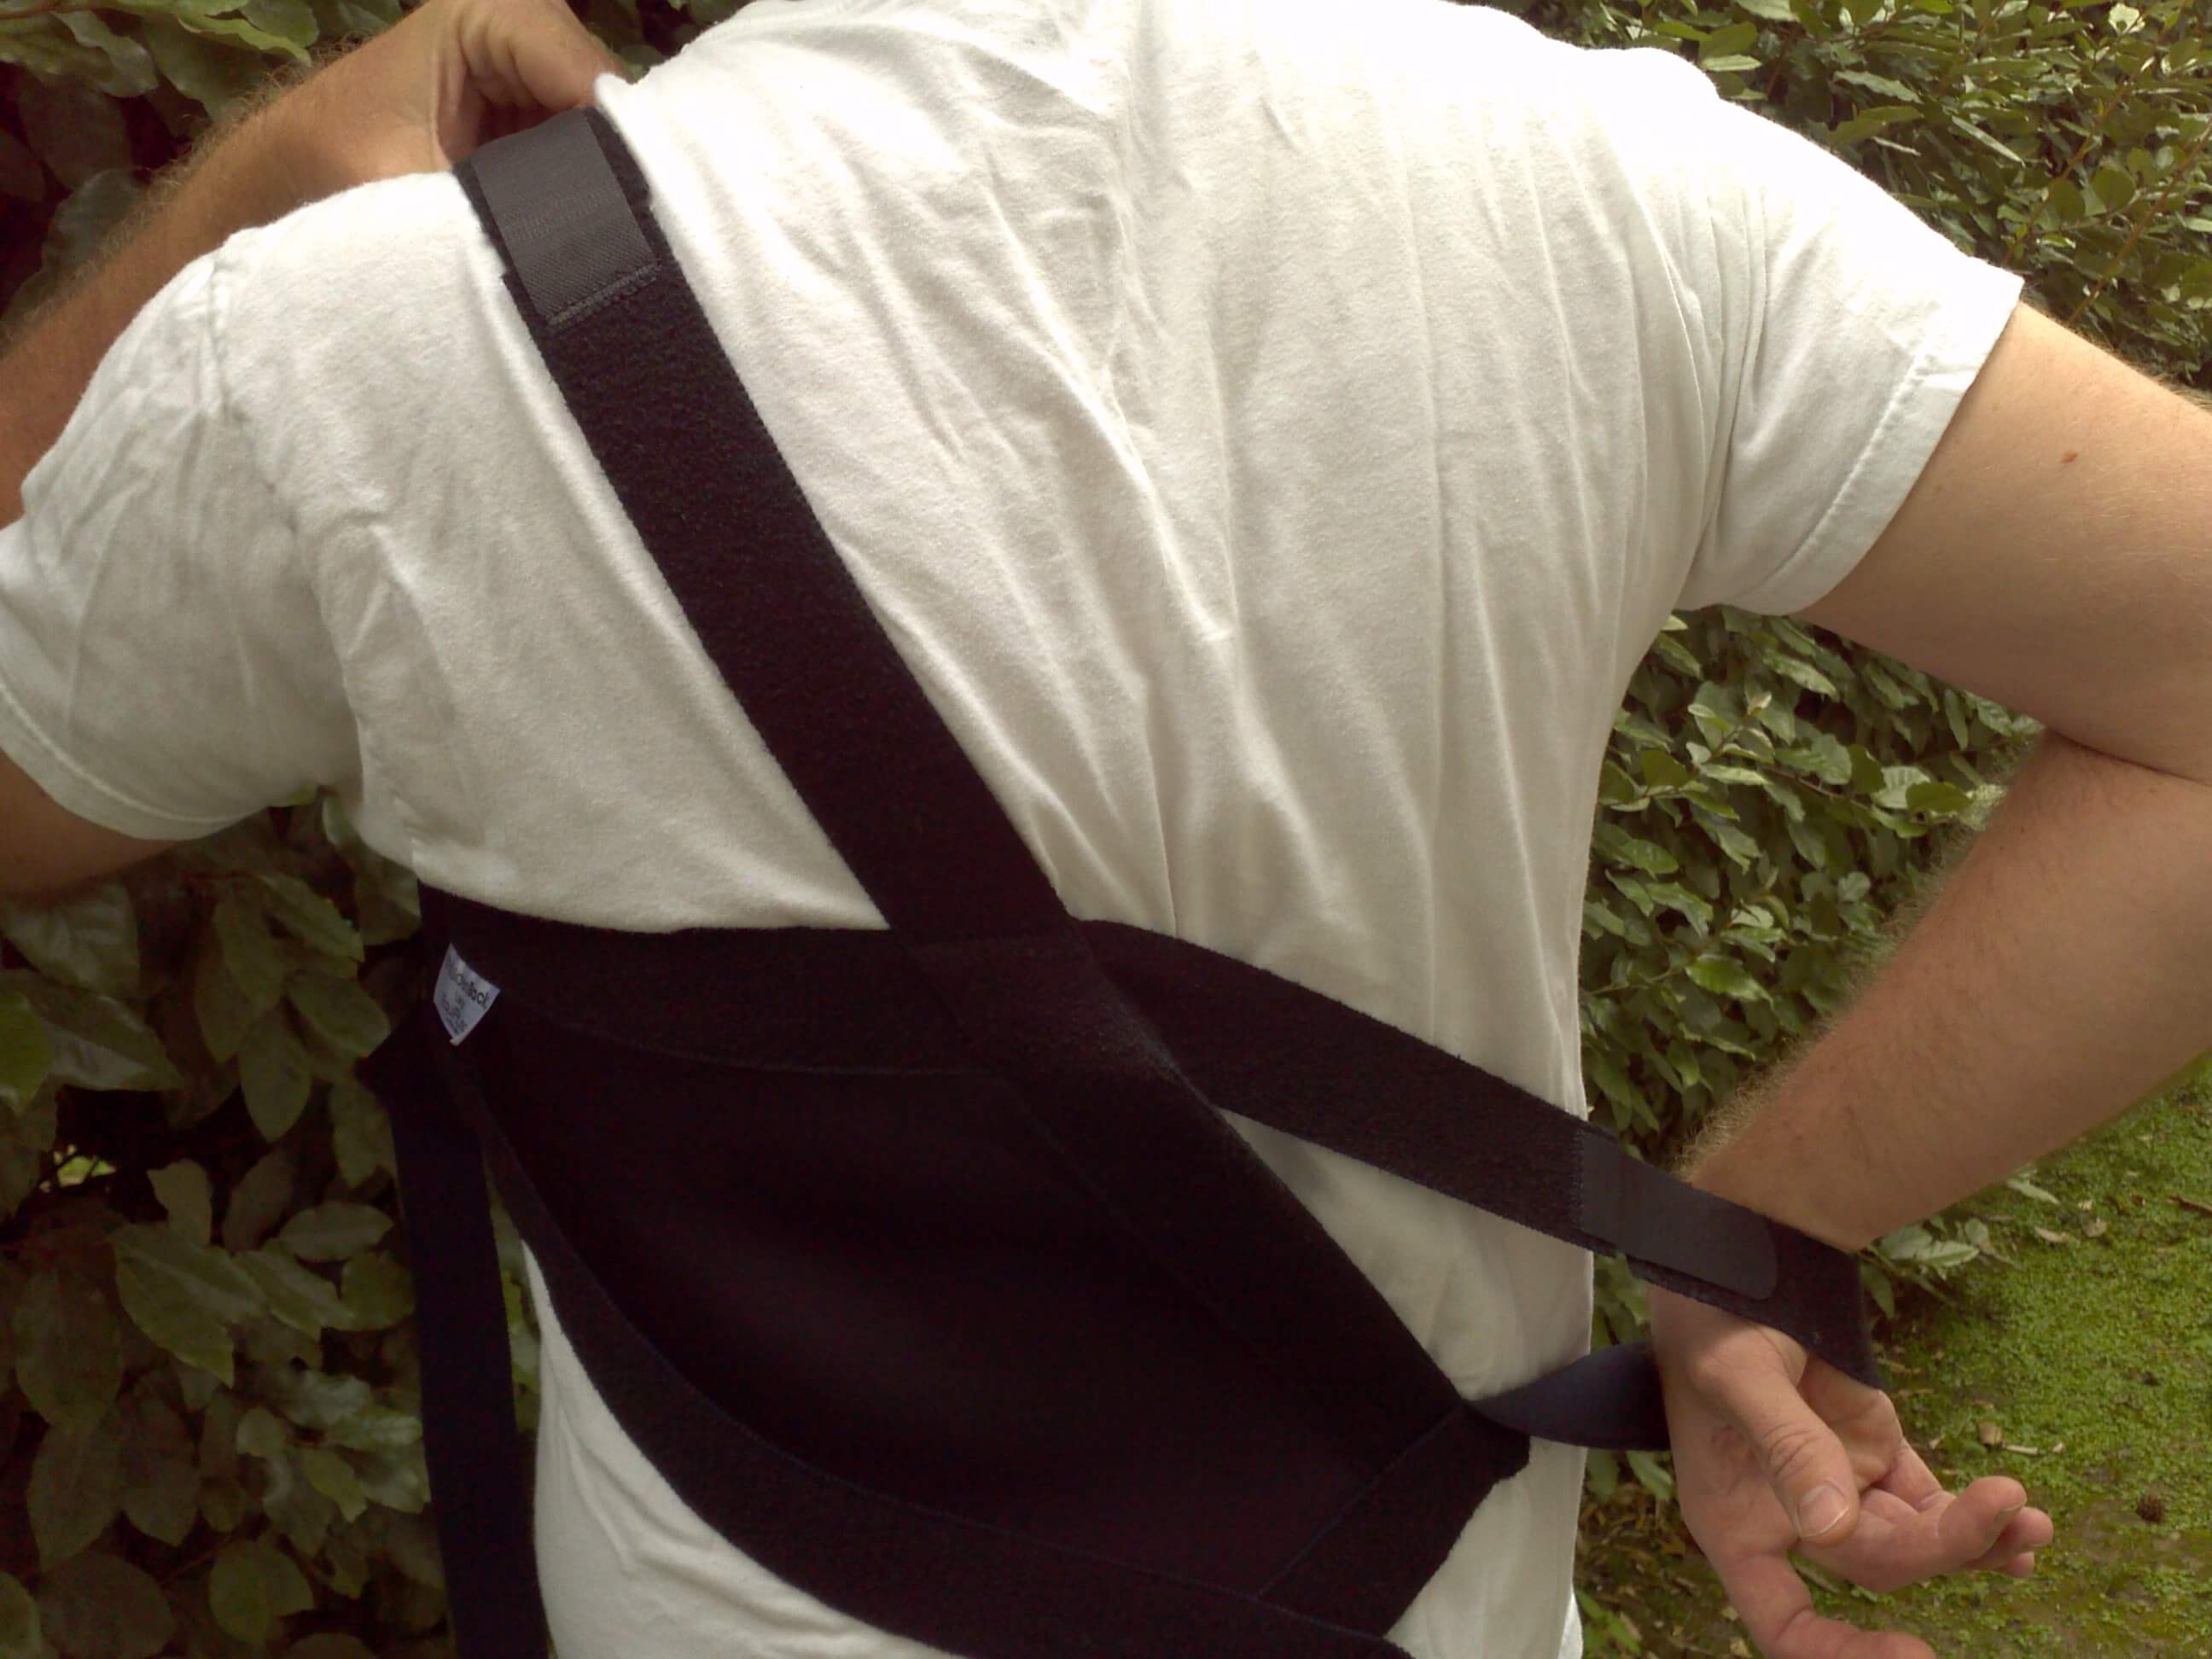
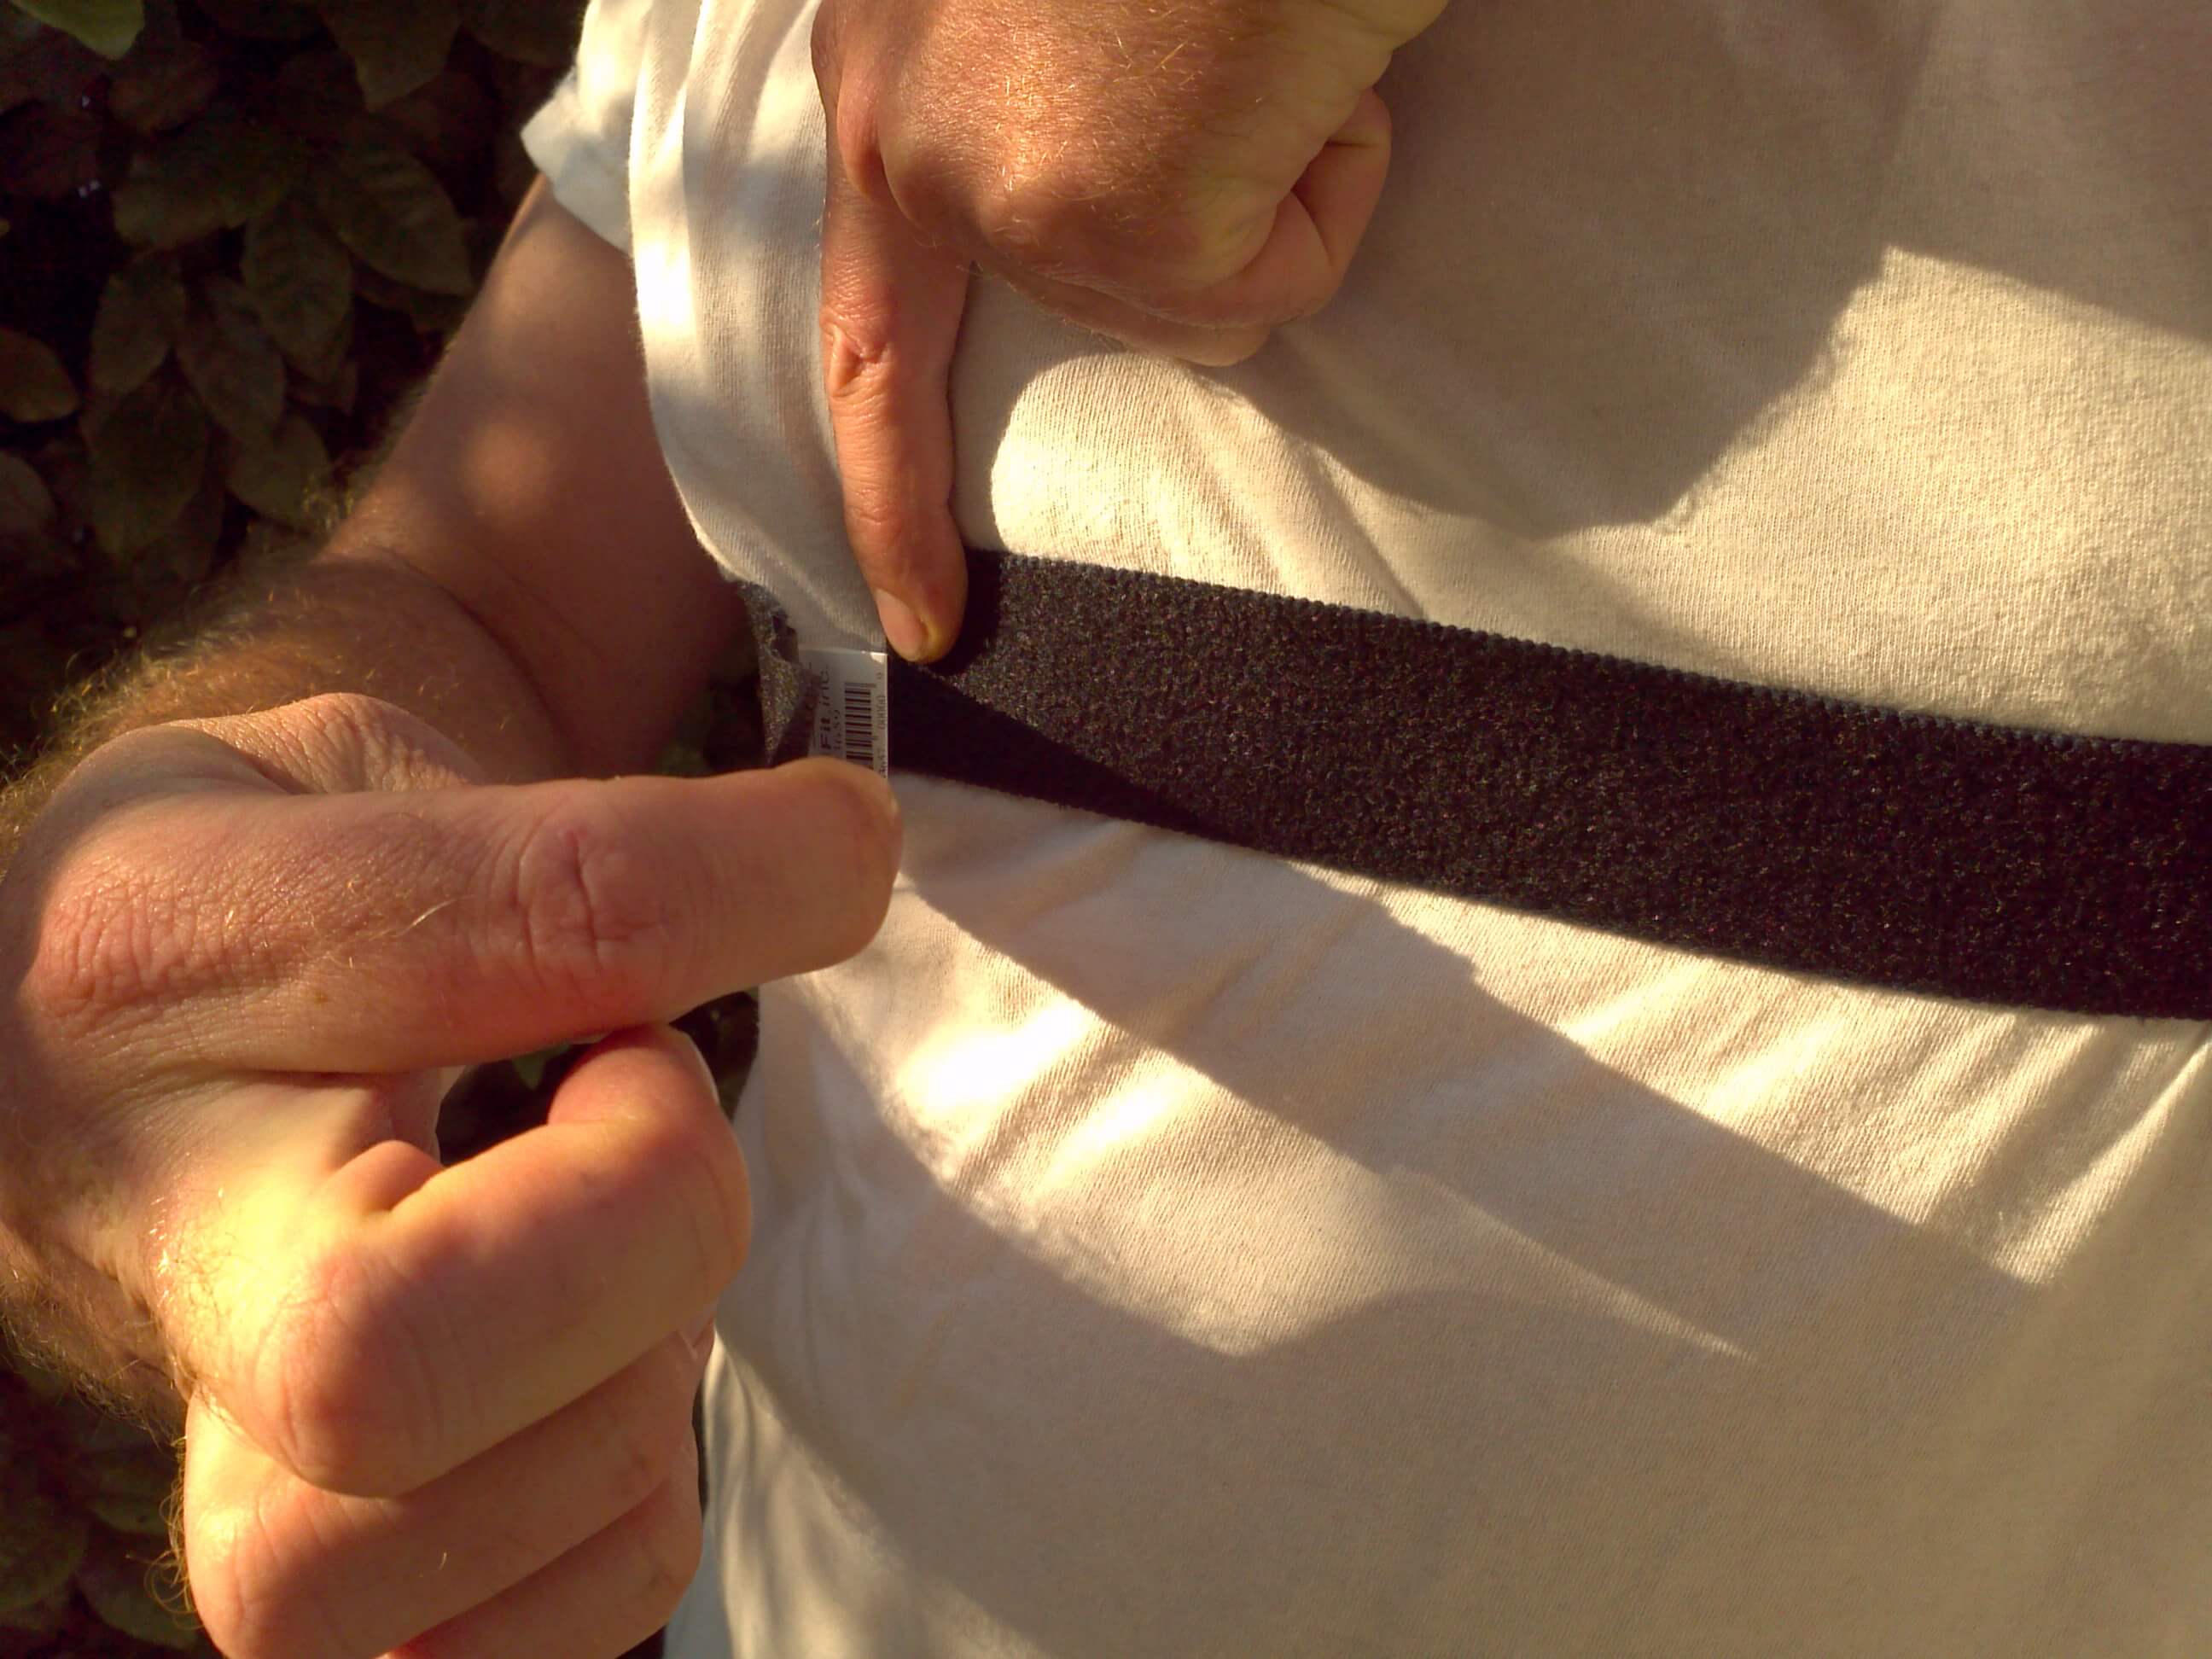
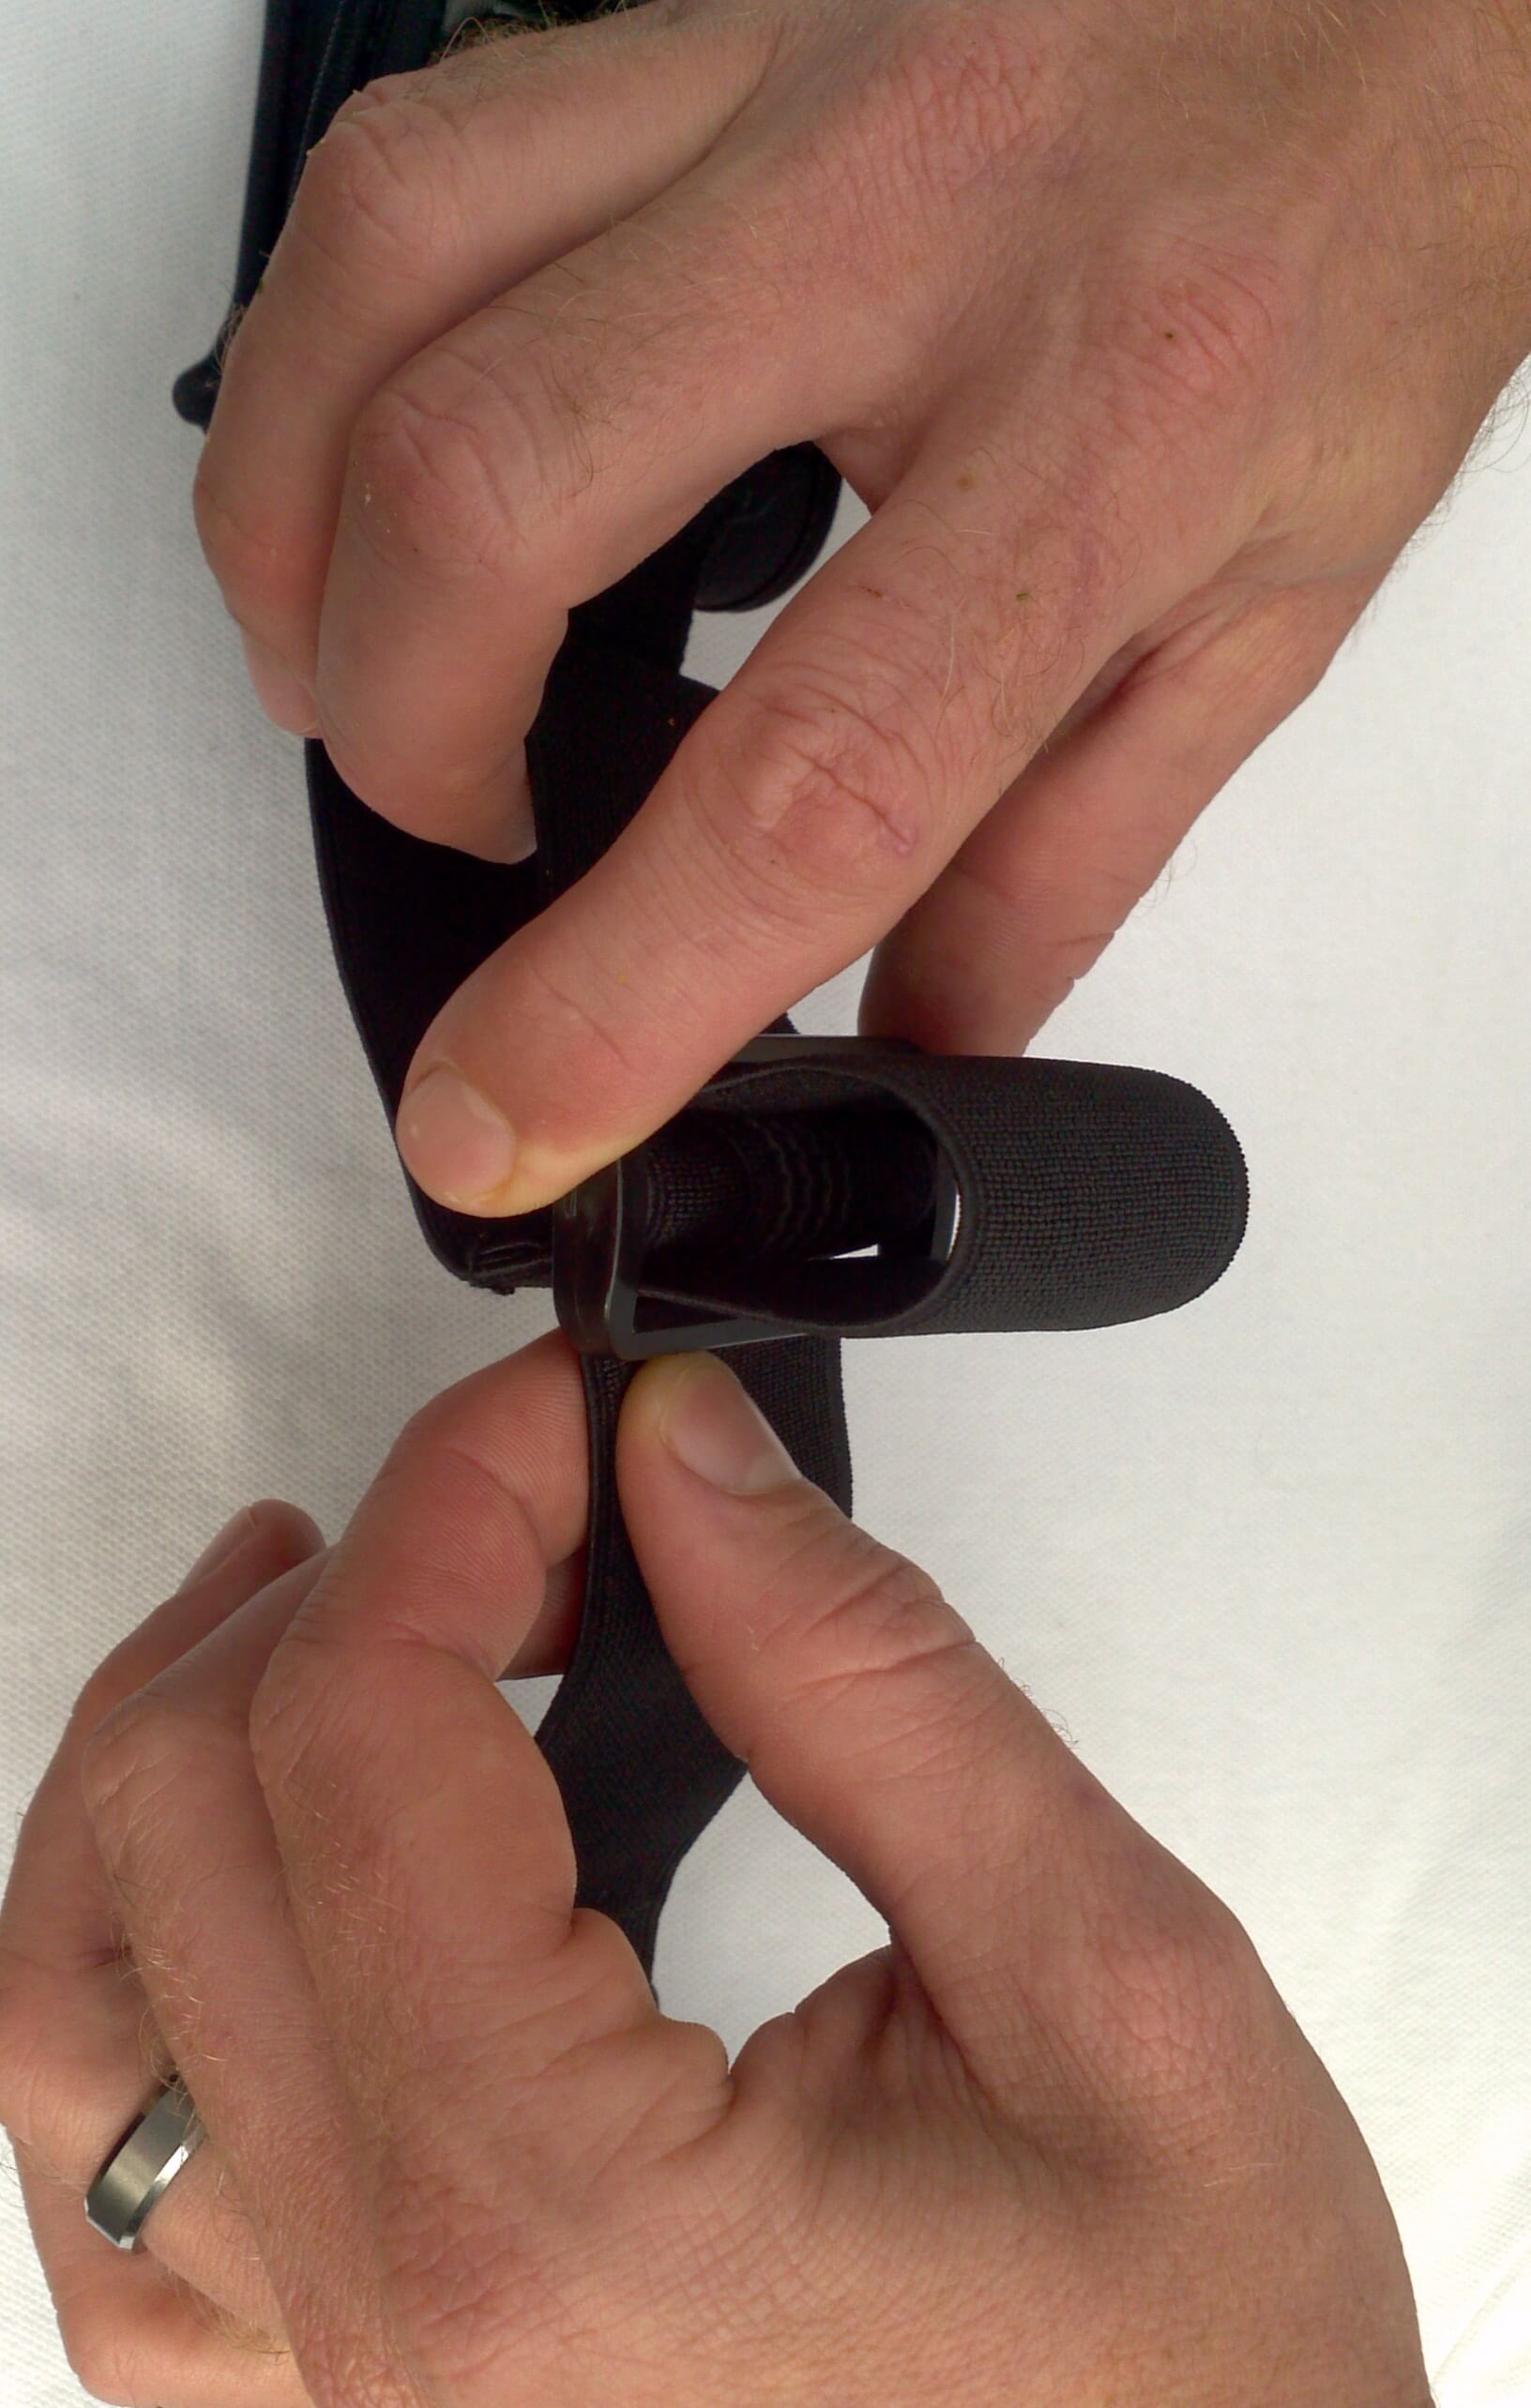
Secure elastic waist pulls at the front
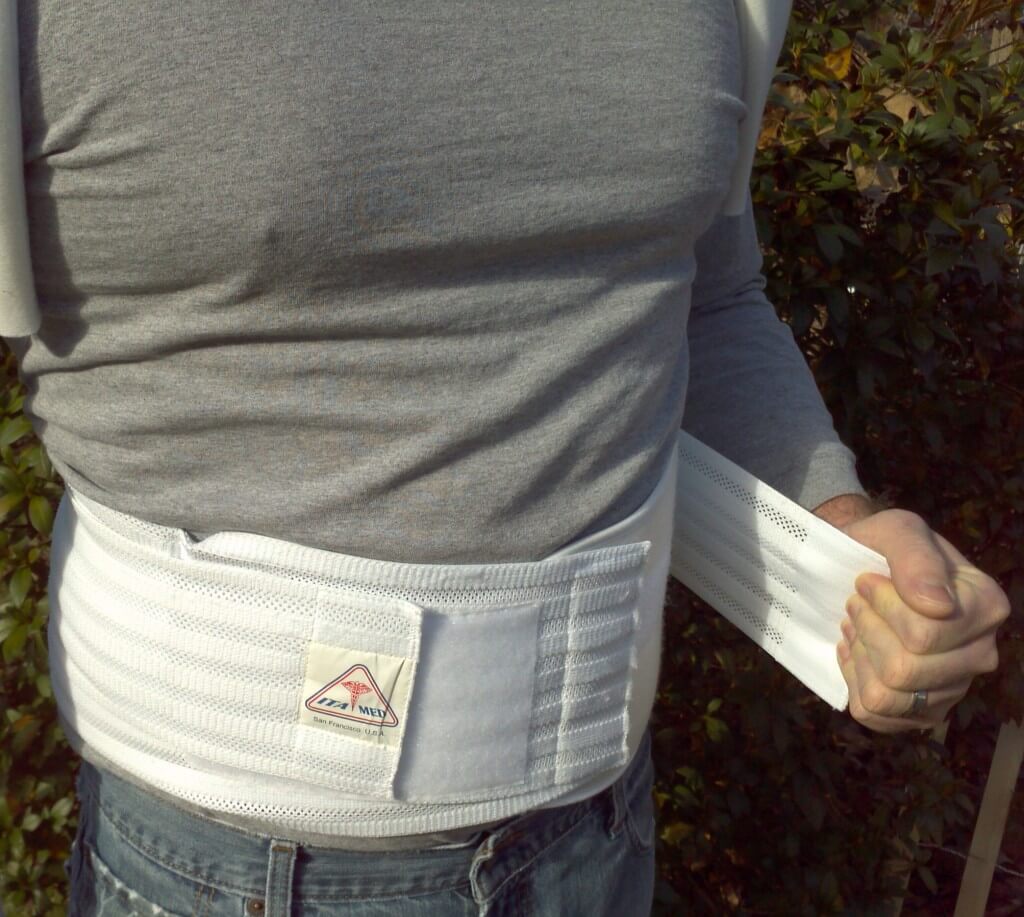
Adjust closure using two extra waist pulls
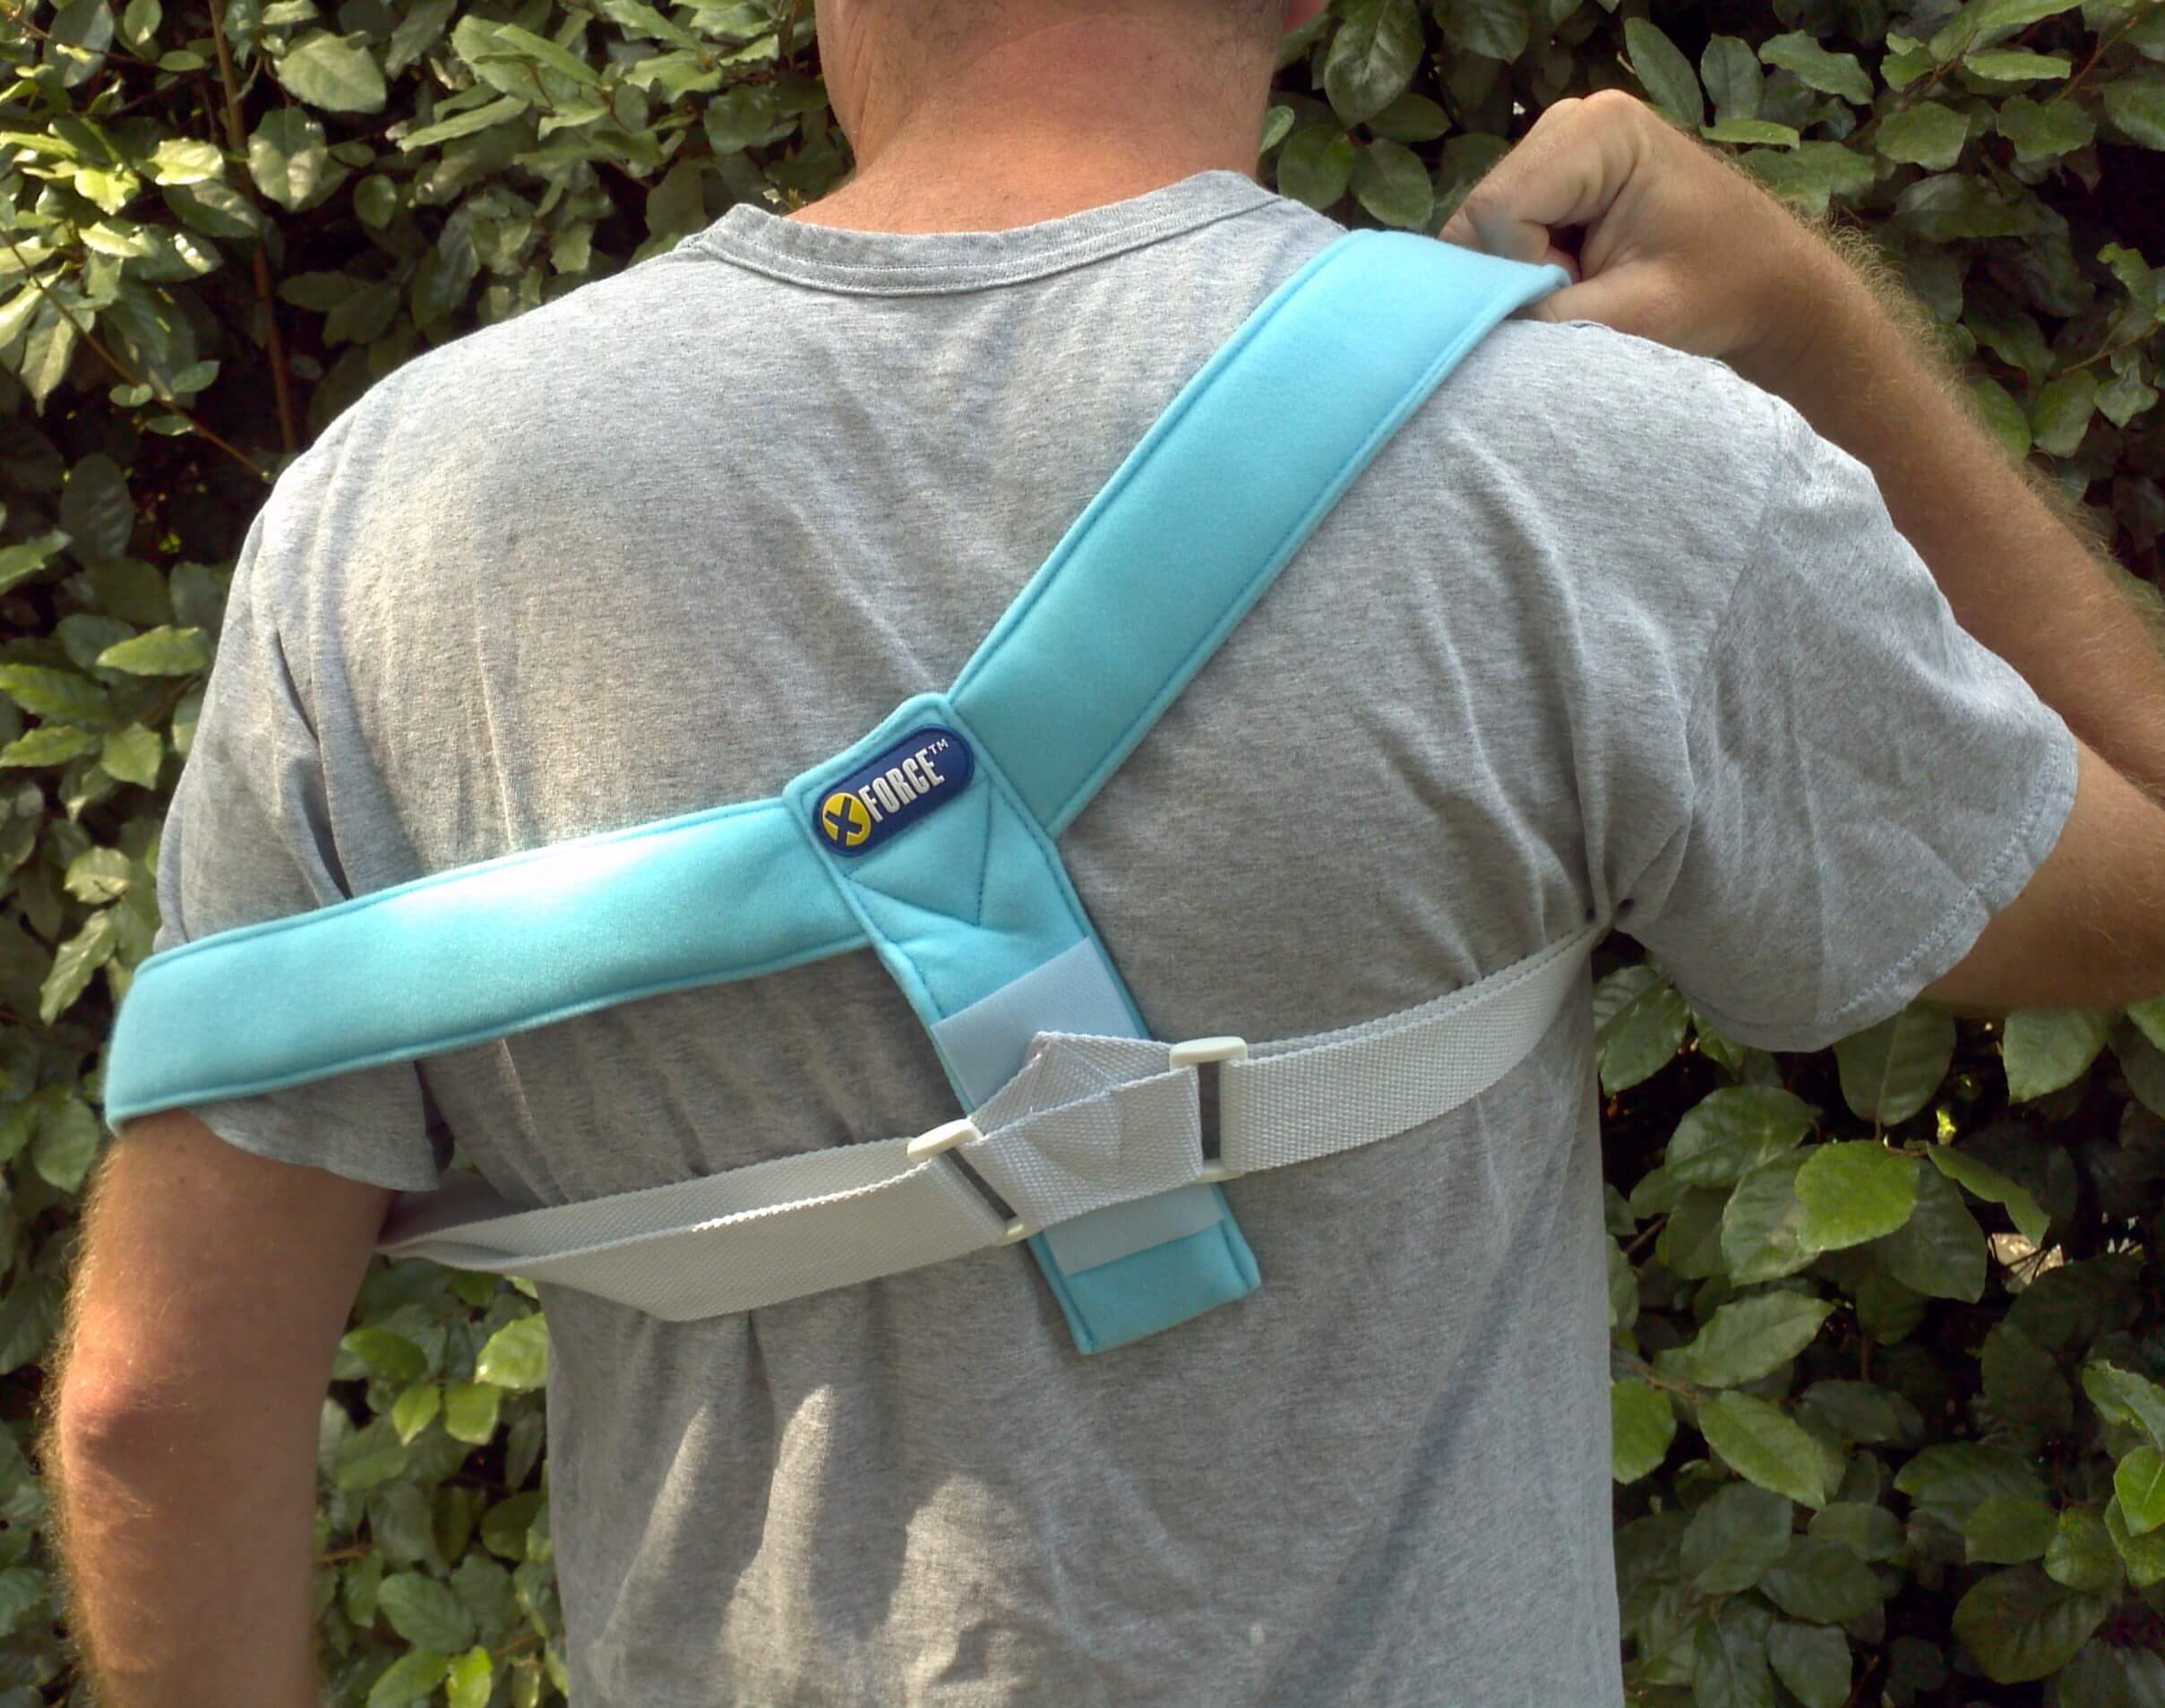
Secure shoulder straps on top of waist band
What’s it made from?
The manufacturer offers the following information about the materials used to produce the TLSO:
- 50% Polyester
- 22% Cotton
- 18% Nylon
- 10% Lycra
Cost and sizing
Cost
 Since ITA-MED is a wholesaler, they depend on a sizable network of retailers to sell their products. They currently have at least fifteen retail partners who are carrying their products including names such as Amazon, Sears, Target, Walmart, and Walgreens.
The actual cost of a posture corrector will of course vary from one retailer to another. The price will also often vary slightly between the men’s, women’s, and pediatric models.
On average, you should expect to pay between $50-$70 for a TLSO, depending on the retailer you choose to purchase from.
Insurance coverage
 Instead of paying for a TLSO out of pocket, some choose to have their doctor write a prescription for a device who then bills Medicare, Medicaid, or a private insurer using the Healthcare Common Procedure Coding System (HCPCS).
A HCPCS is simply a billing code that is assigned to describe a specific item or medical service.
A posture brace must meet certain requirements in order to qualify for coverage. Unfortunately, only a select few products on the market qualify for coverage including the TLSO, SpinalQ, and the Bax-U.
The Men’s, Woman’s and Pediatric’s posture correctors are all billed using HCPCS code L0627.
As described by the The Centers for Medicare & Medicaid Services, billing code L0627 refers to:
“Lumbar orthosis, sagittal control, with rigid anterior and posterior panels, posterior extends from l-1 to below l-5 vertebra, produces intracavitary pressure to reduce load on the intervertebral discs, includes straps, closures, may include padding, shoulder straps, pendulous abdomen design, prefabricated item that has been trimmed, bent, molded, assembled, or otherwise customized to fit a specific patient by an individual with expertise”
Available sizes
The company’s line of posture correctors currently includes: the TLSO-250(M), TLSO250(W), and the TLSO-250(P).
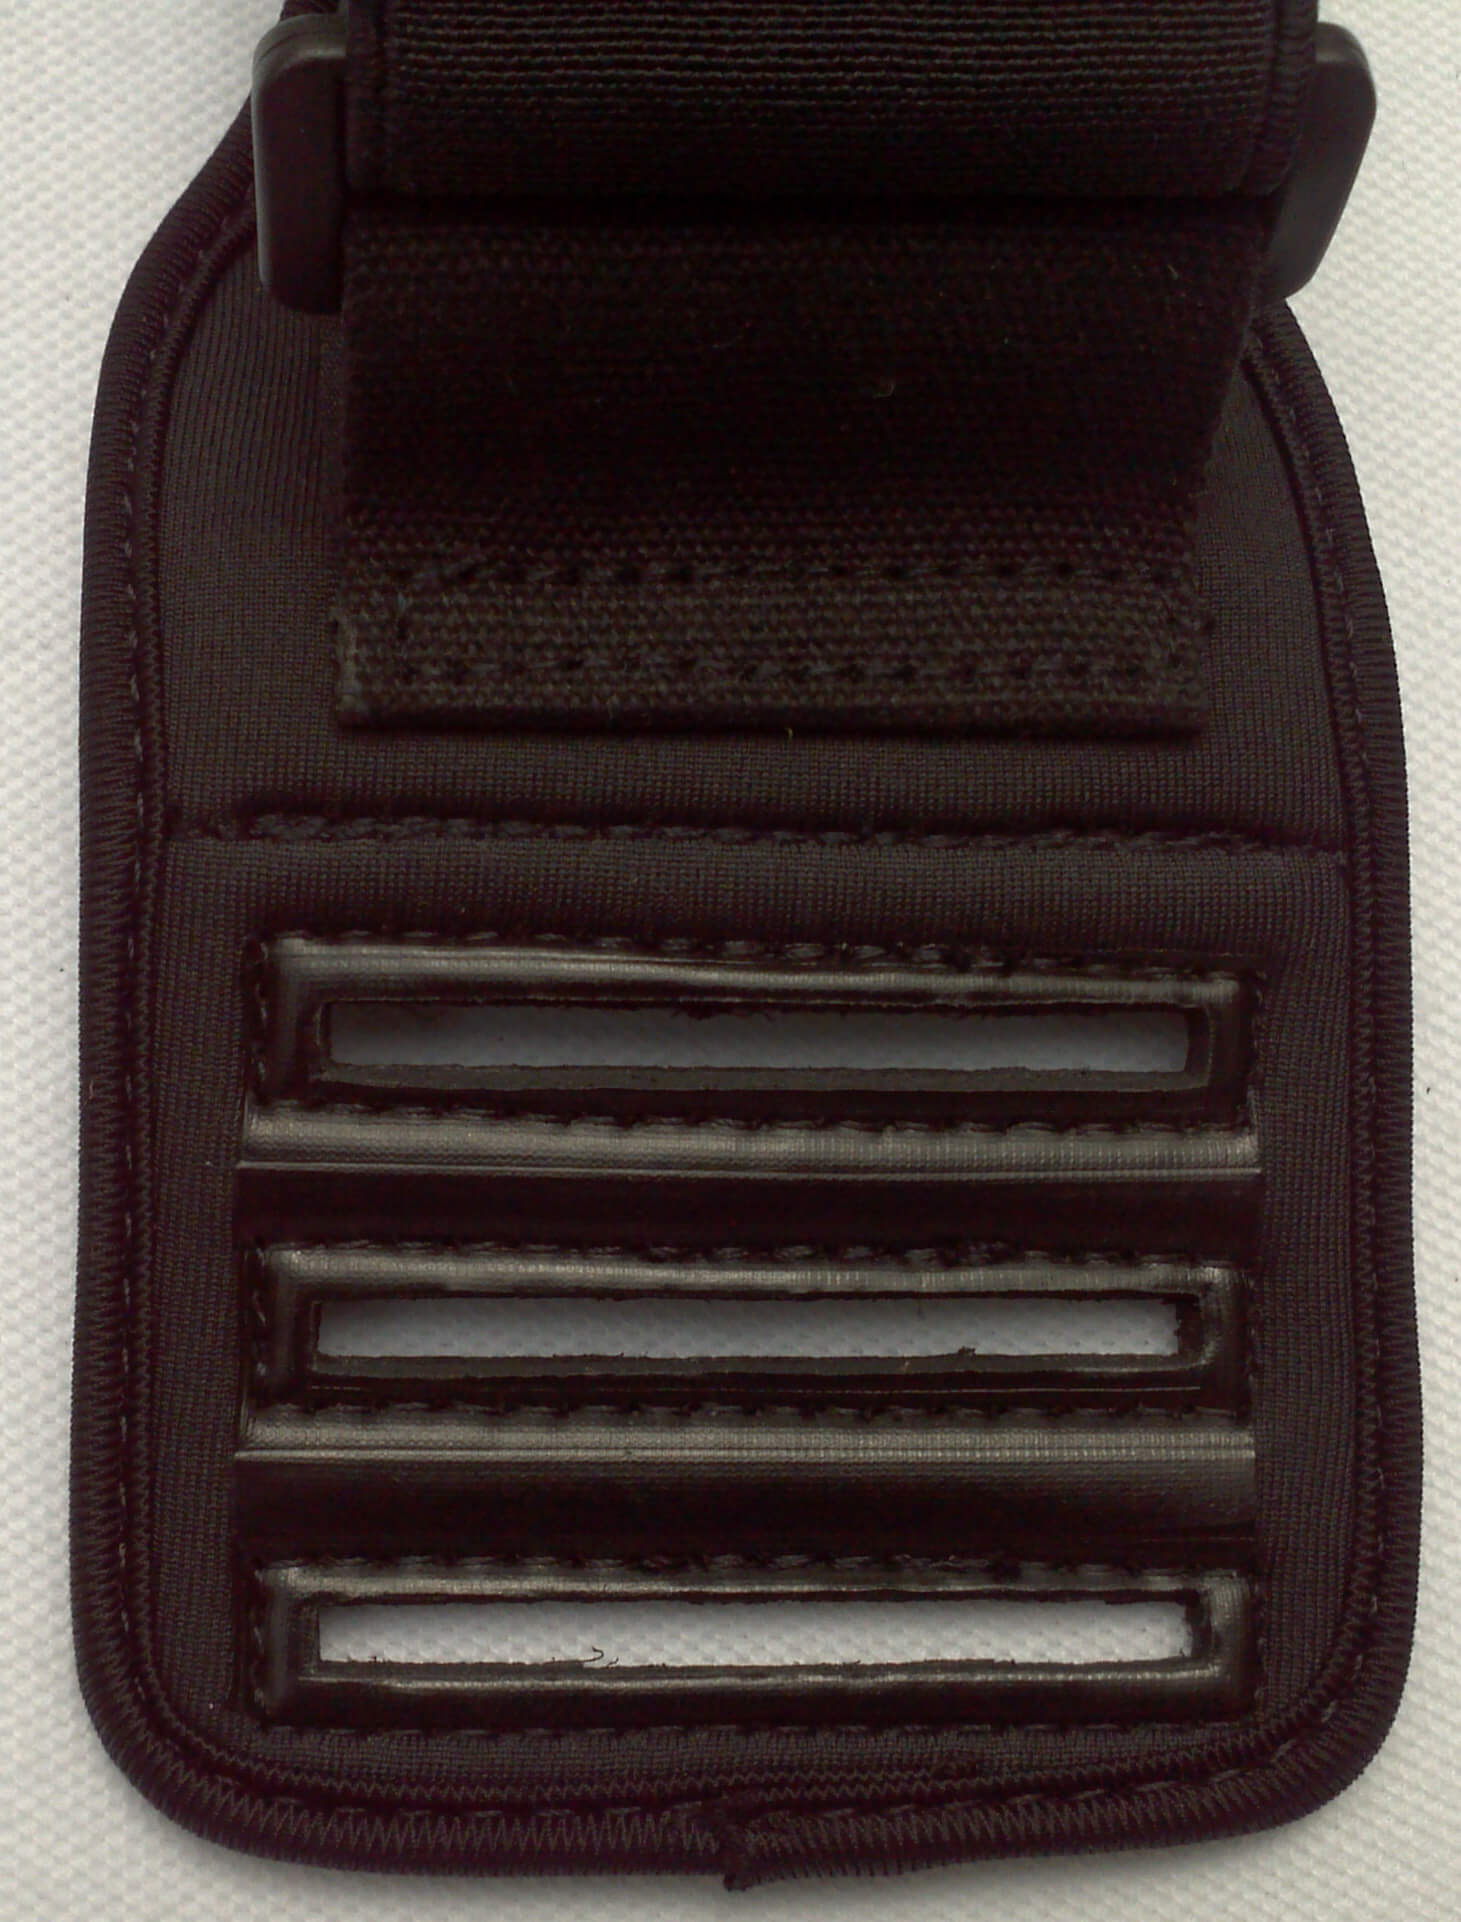
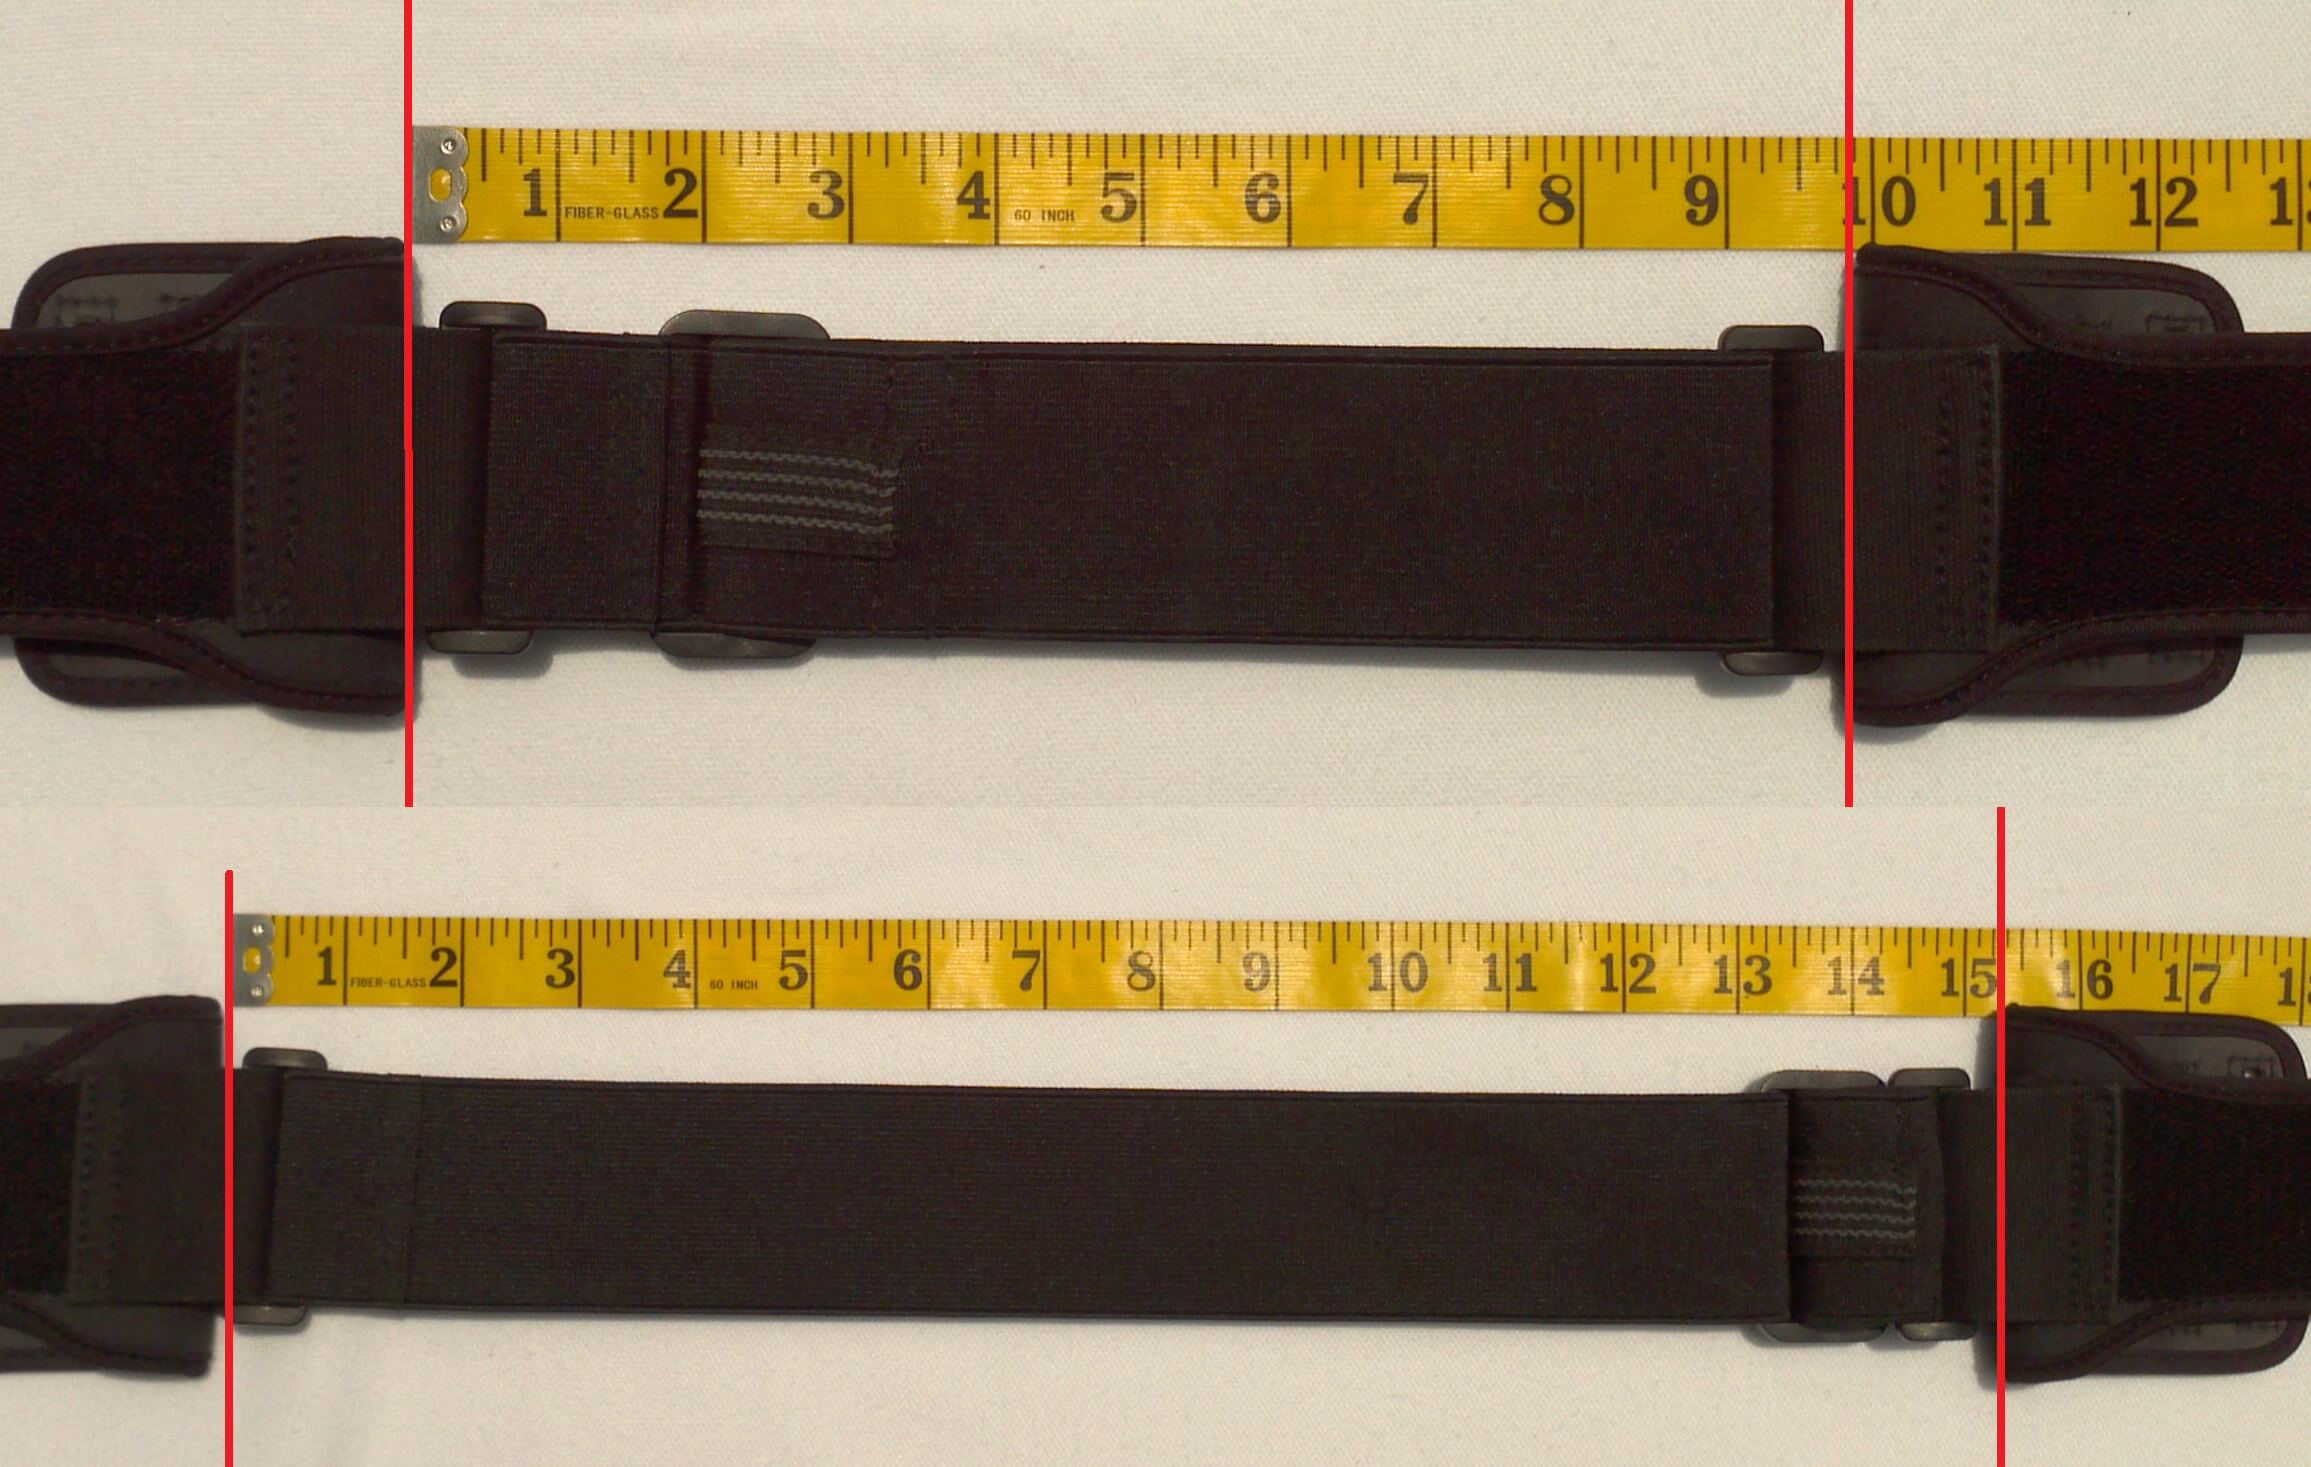
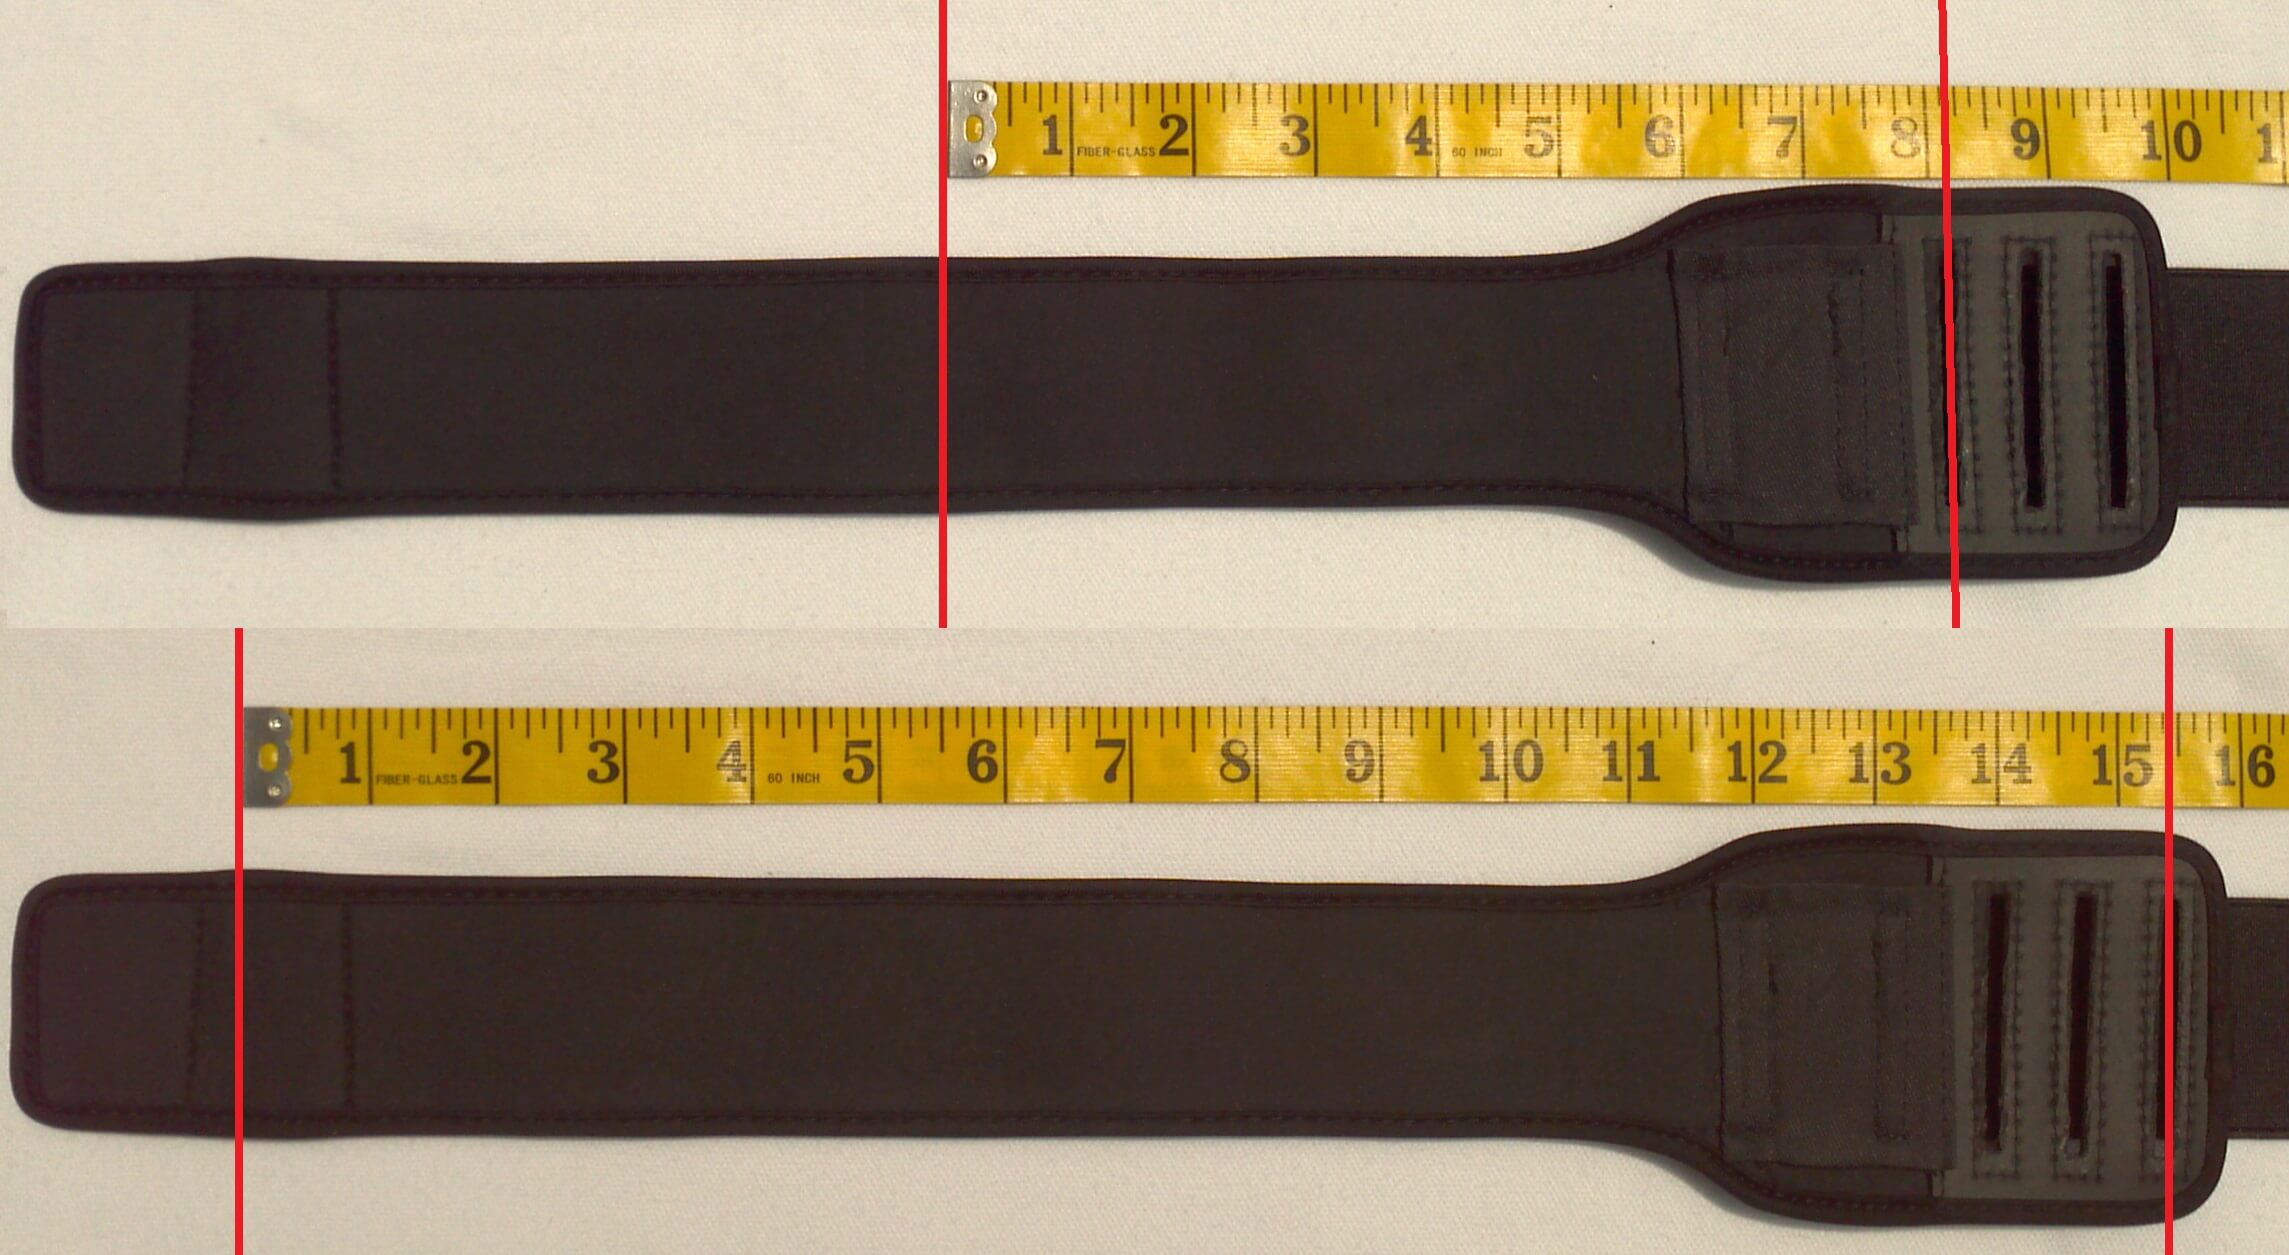
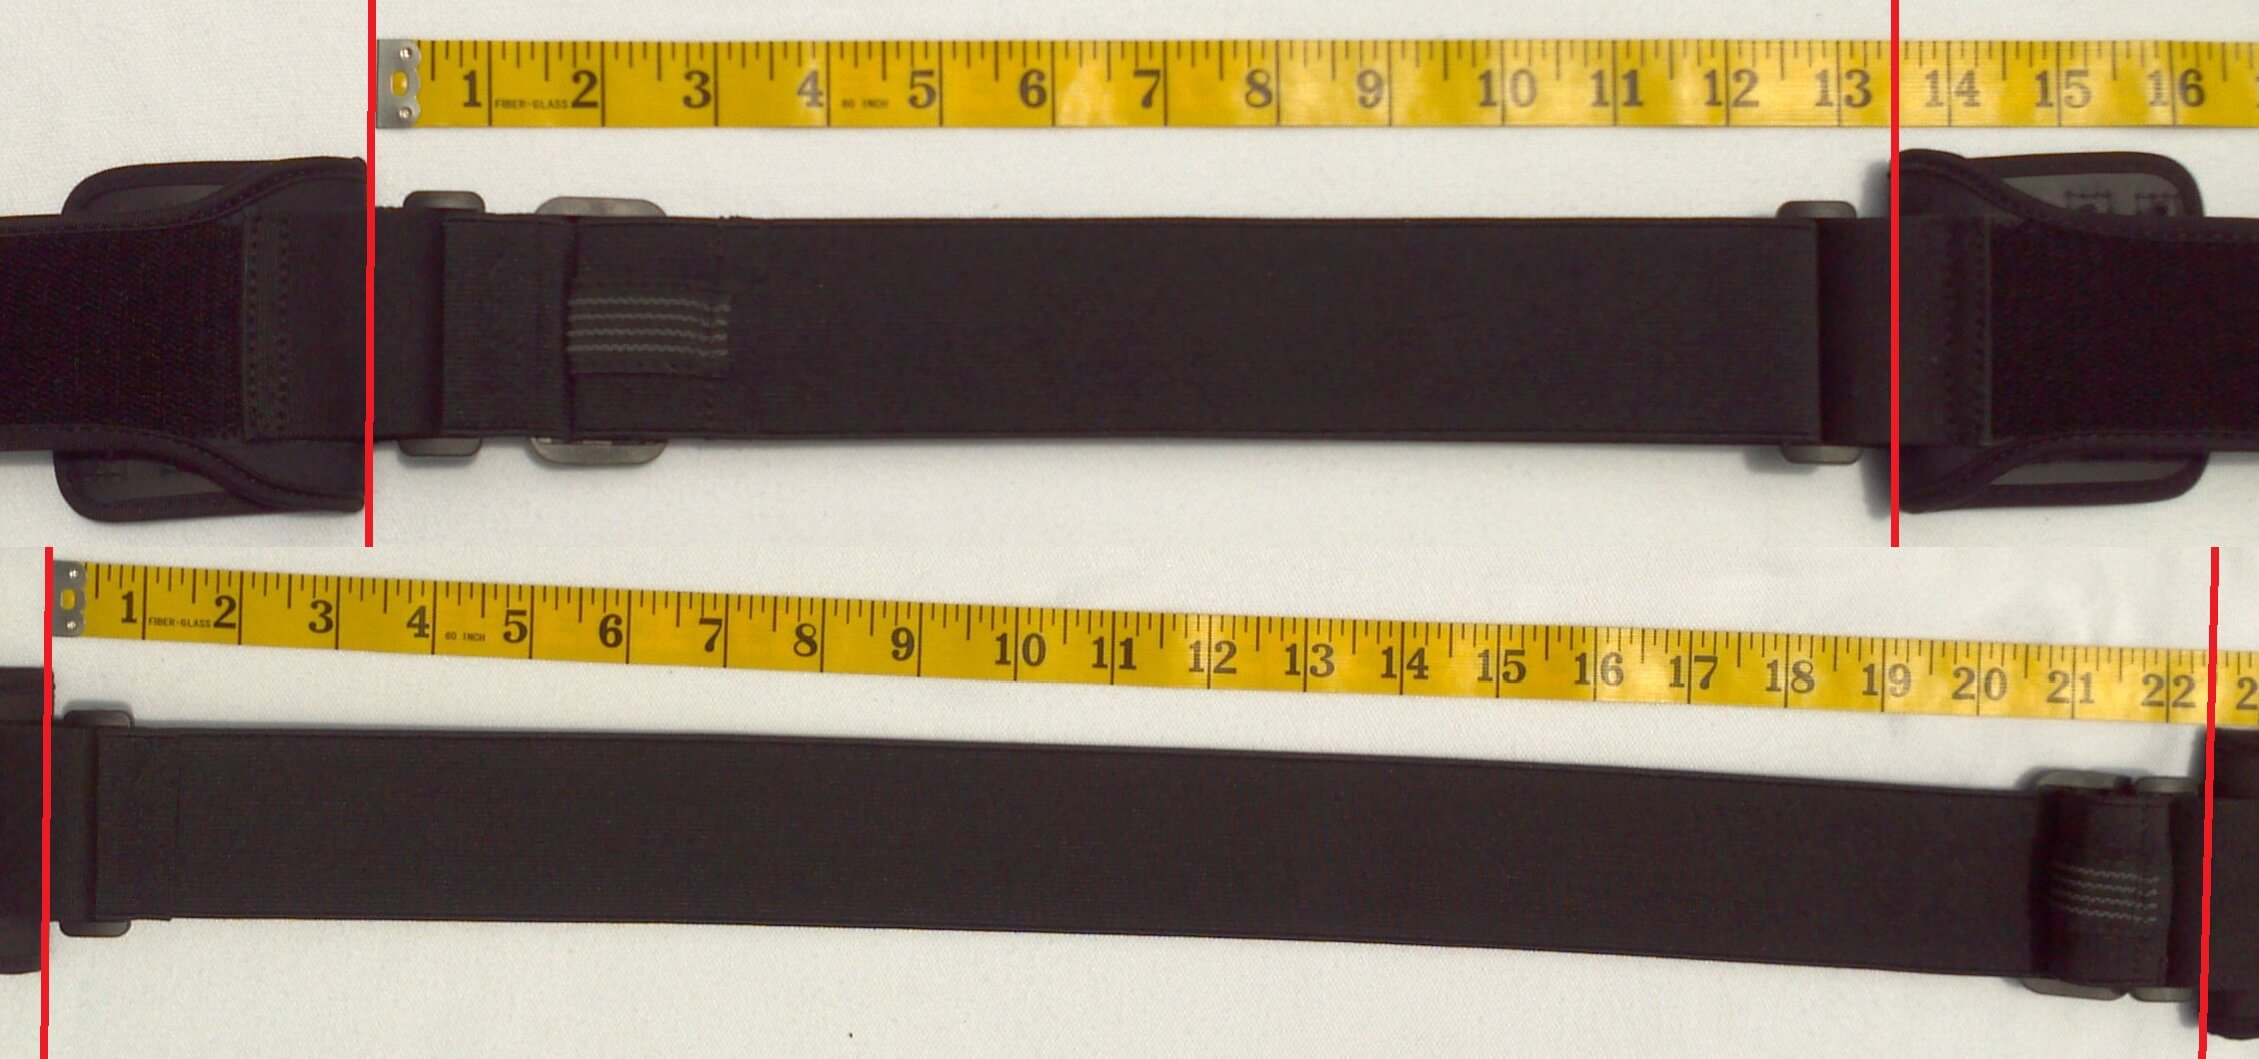
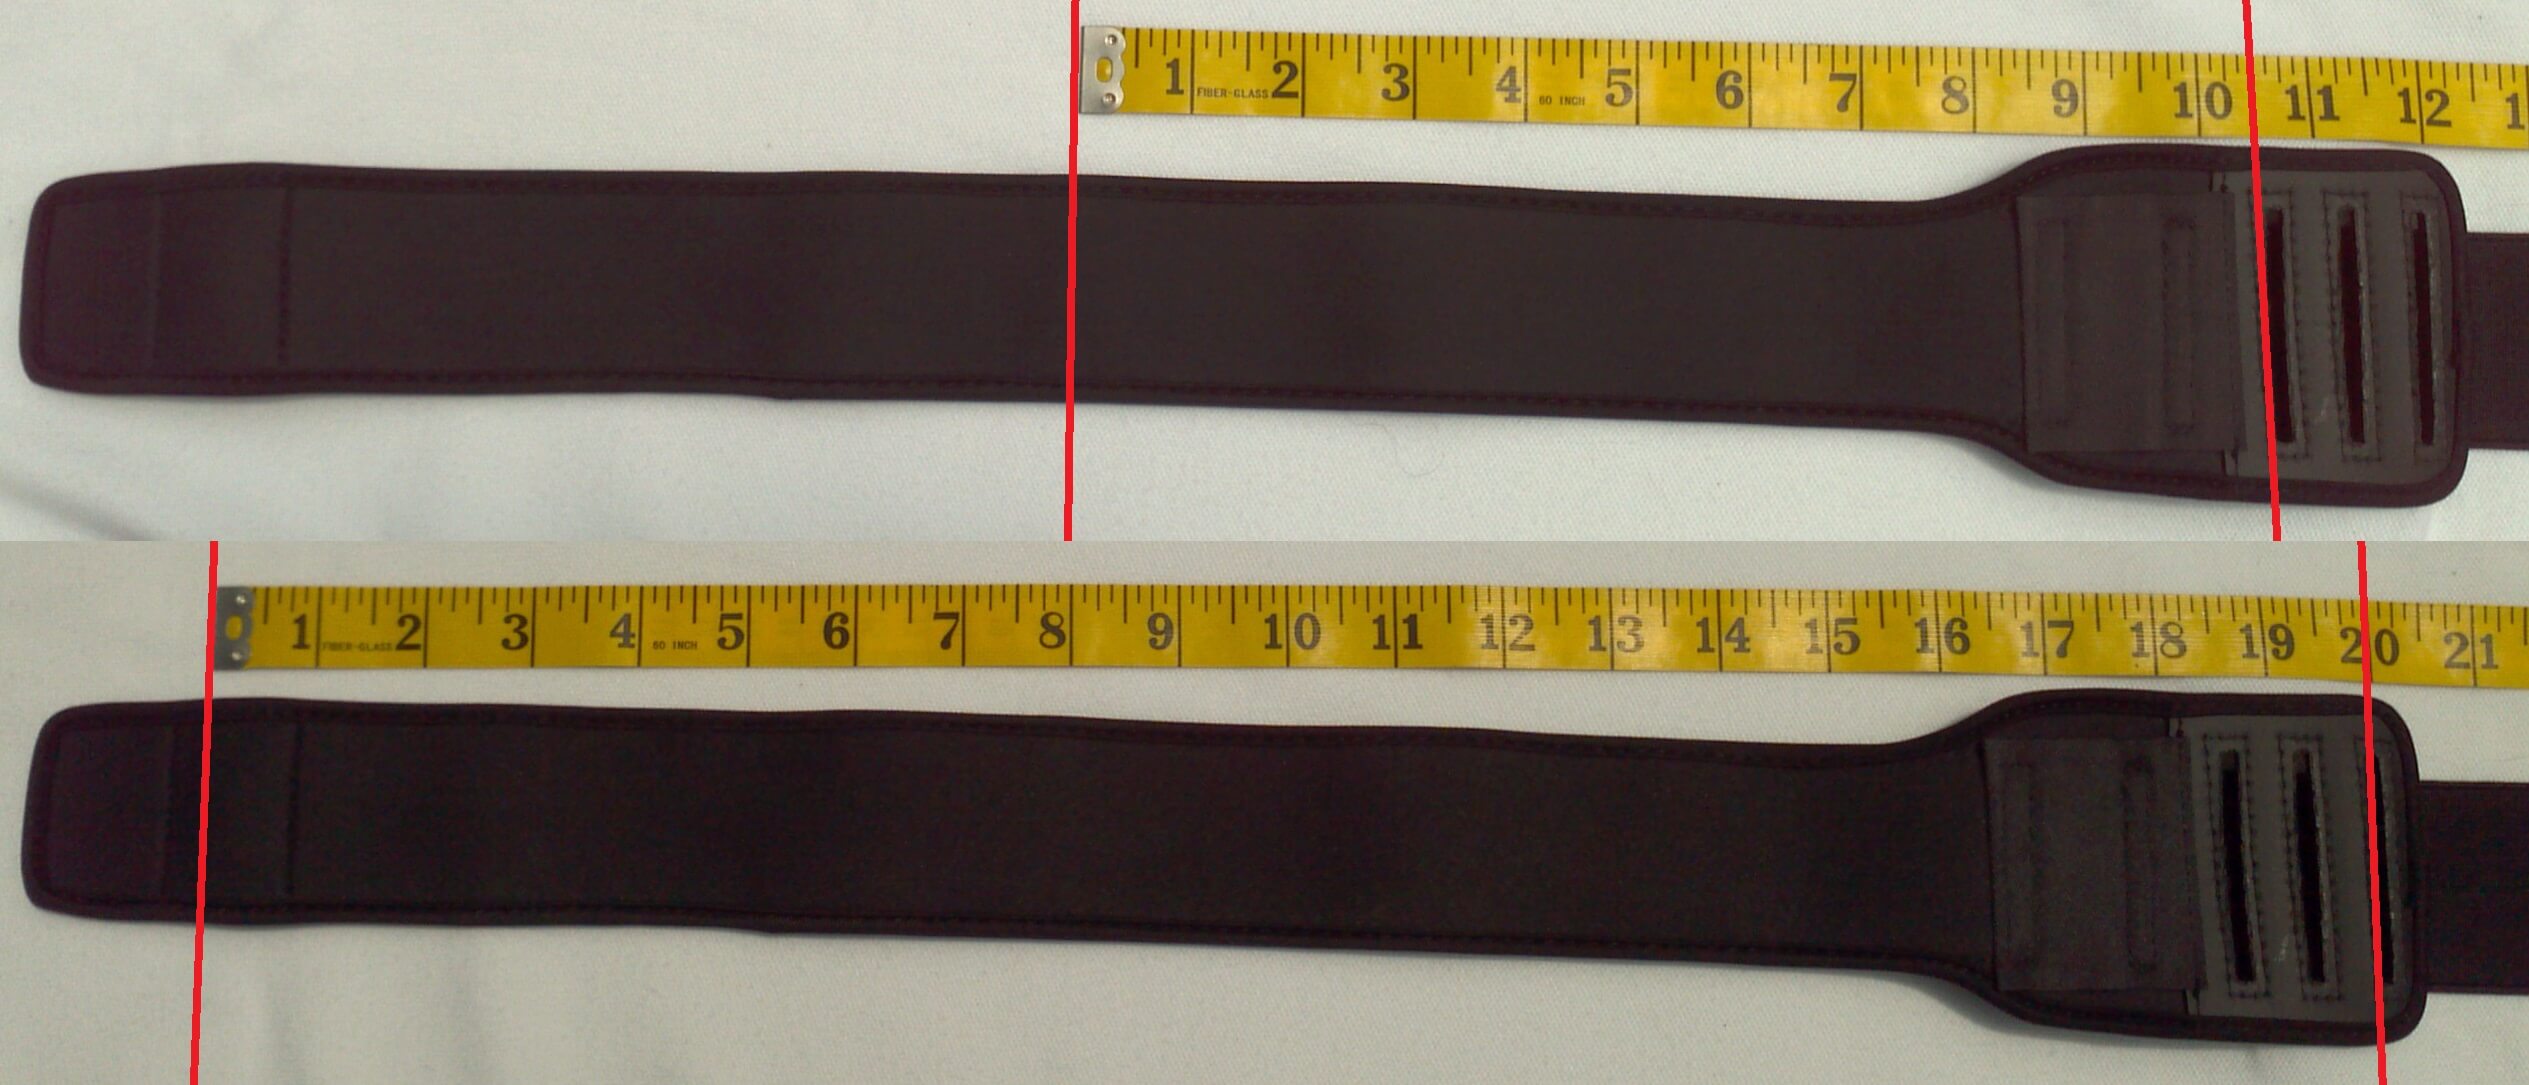
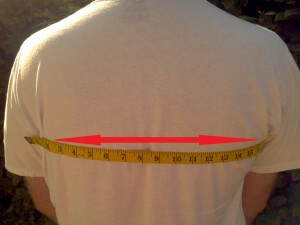
The letters M,W,and P that follow the model number indicates the intended user – Men’s, Women’s and Pediatrics respectively. Each model is available in various sizes as shown below. When choosing the correct size, it’s important that you measure the circumference of your body using a fiberglass tape measure. When measuring, position the measuring tape in between your hips and waist.
TLSO-250 Posture Corrector Sizing
| Size | Item number | Measurements |
|---|---|---|
| Men' Small | I-TLSO250M-S | 28"-33" (71-84 cm) |
| Men's Medium | I-TLSO250M-M | 33.5"-38" (85-96.5 cm) |
| Men's Large | I-TLSO250M-L | 38.5"-40.5" (91-103cm) |
| Men's X-Large | I-TLSO250M-XL | 41"-45.5" (91-103cm) |
| Men's XX-Large | I-TLSO250M-2XL | 46"-50.5" (116-127cm) |
| Women's Small | G-TLSO250WG-S | 28"-33" (71-84 cm) |
| Women's Medium | G-TLSO250WG-M | 33.5"-38" (85-96.5 cm) |
| Women's Large | G-TLSO250WG-L | 38.5"-40.5" (91-103cm) |
| Women's X-Large | G-TLSO250WG-XL | 41"-45.5" (91-103cm) |
| Women's XX-large | G-TLSO250WG-2XL | 46"-50.5" (116-127cm) |
| Pediatric Small | I-TLSO250P-S | 25"-30.5" (63.5-77.5 cm) |
| Pediatric Large | I-TLSO250P-L | 31"-35" (78-89cm) |
In addition to these sizes, the company also offers a similar product that does not contain the ridged panels. These models do not have a medicare billing code assigned to them. Each model number is identical to the standard model with the exception of the letter “s” which is added to the end. The model numbers are TLSO-250(M)(s), TLSO250(W)(s), and the TLSO-250(P)(s) for the Men’s, Women’s, and Pediatrics respectively.
My experience
For years now, I’ve been dealing with bad posture and have only recently started to experiment with the use of posture supports to help retrain my posture. After reading about the TLSO-250 I decided that it would be an interesting product to try out.
Through the next few paragraphs, I’ll talk through my four week experience trying out this product and then give you my personal feedback and recommendation.
The arrival and initial fitting
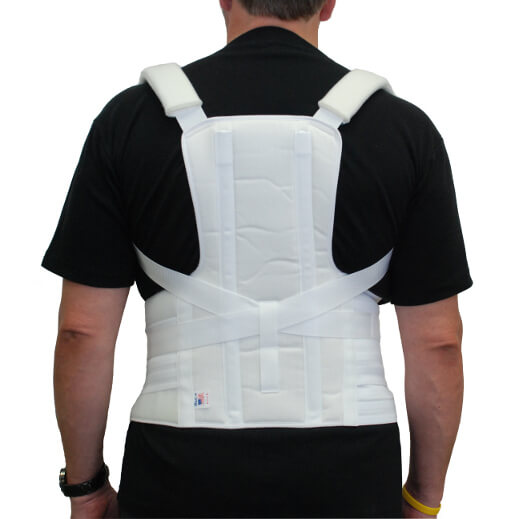
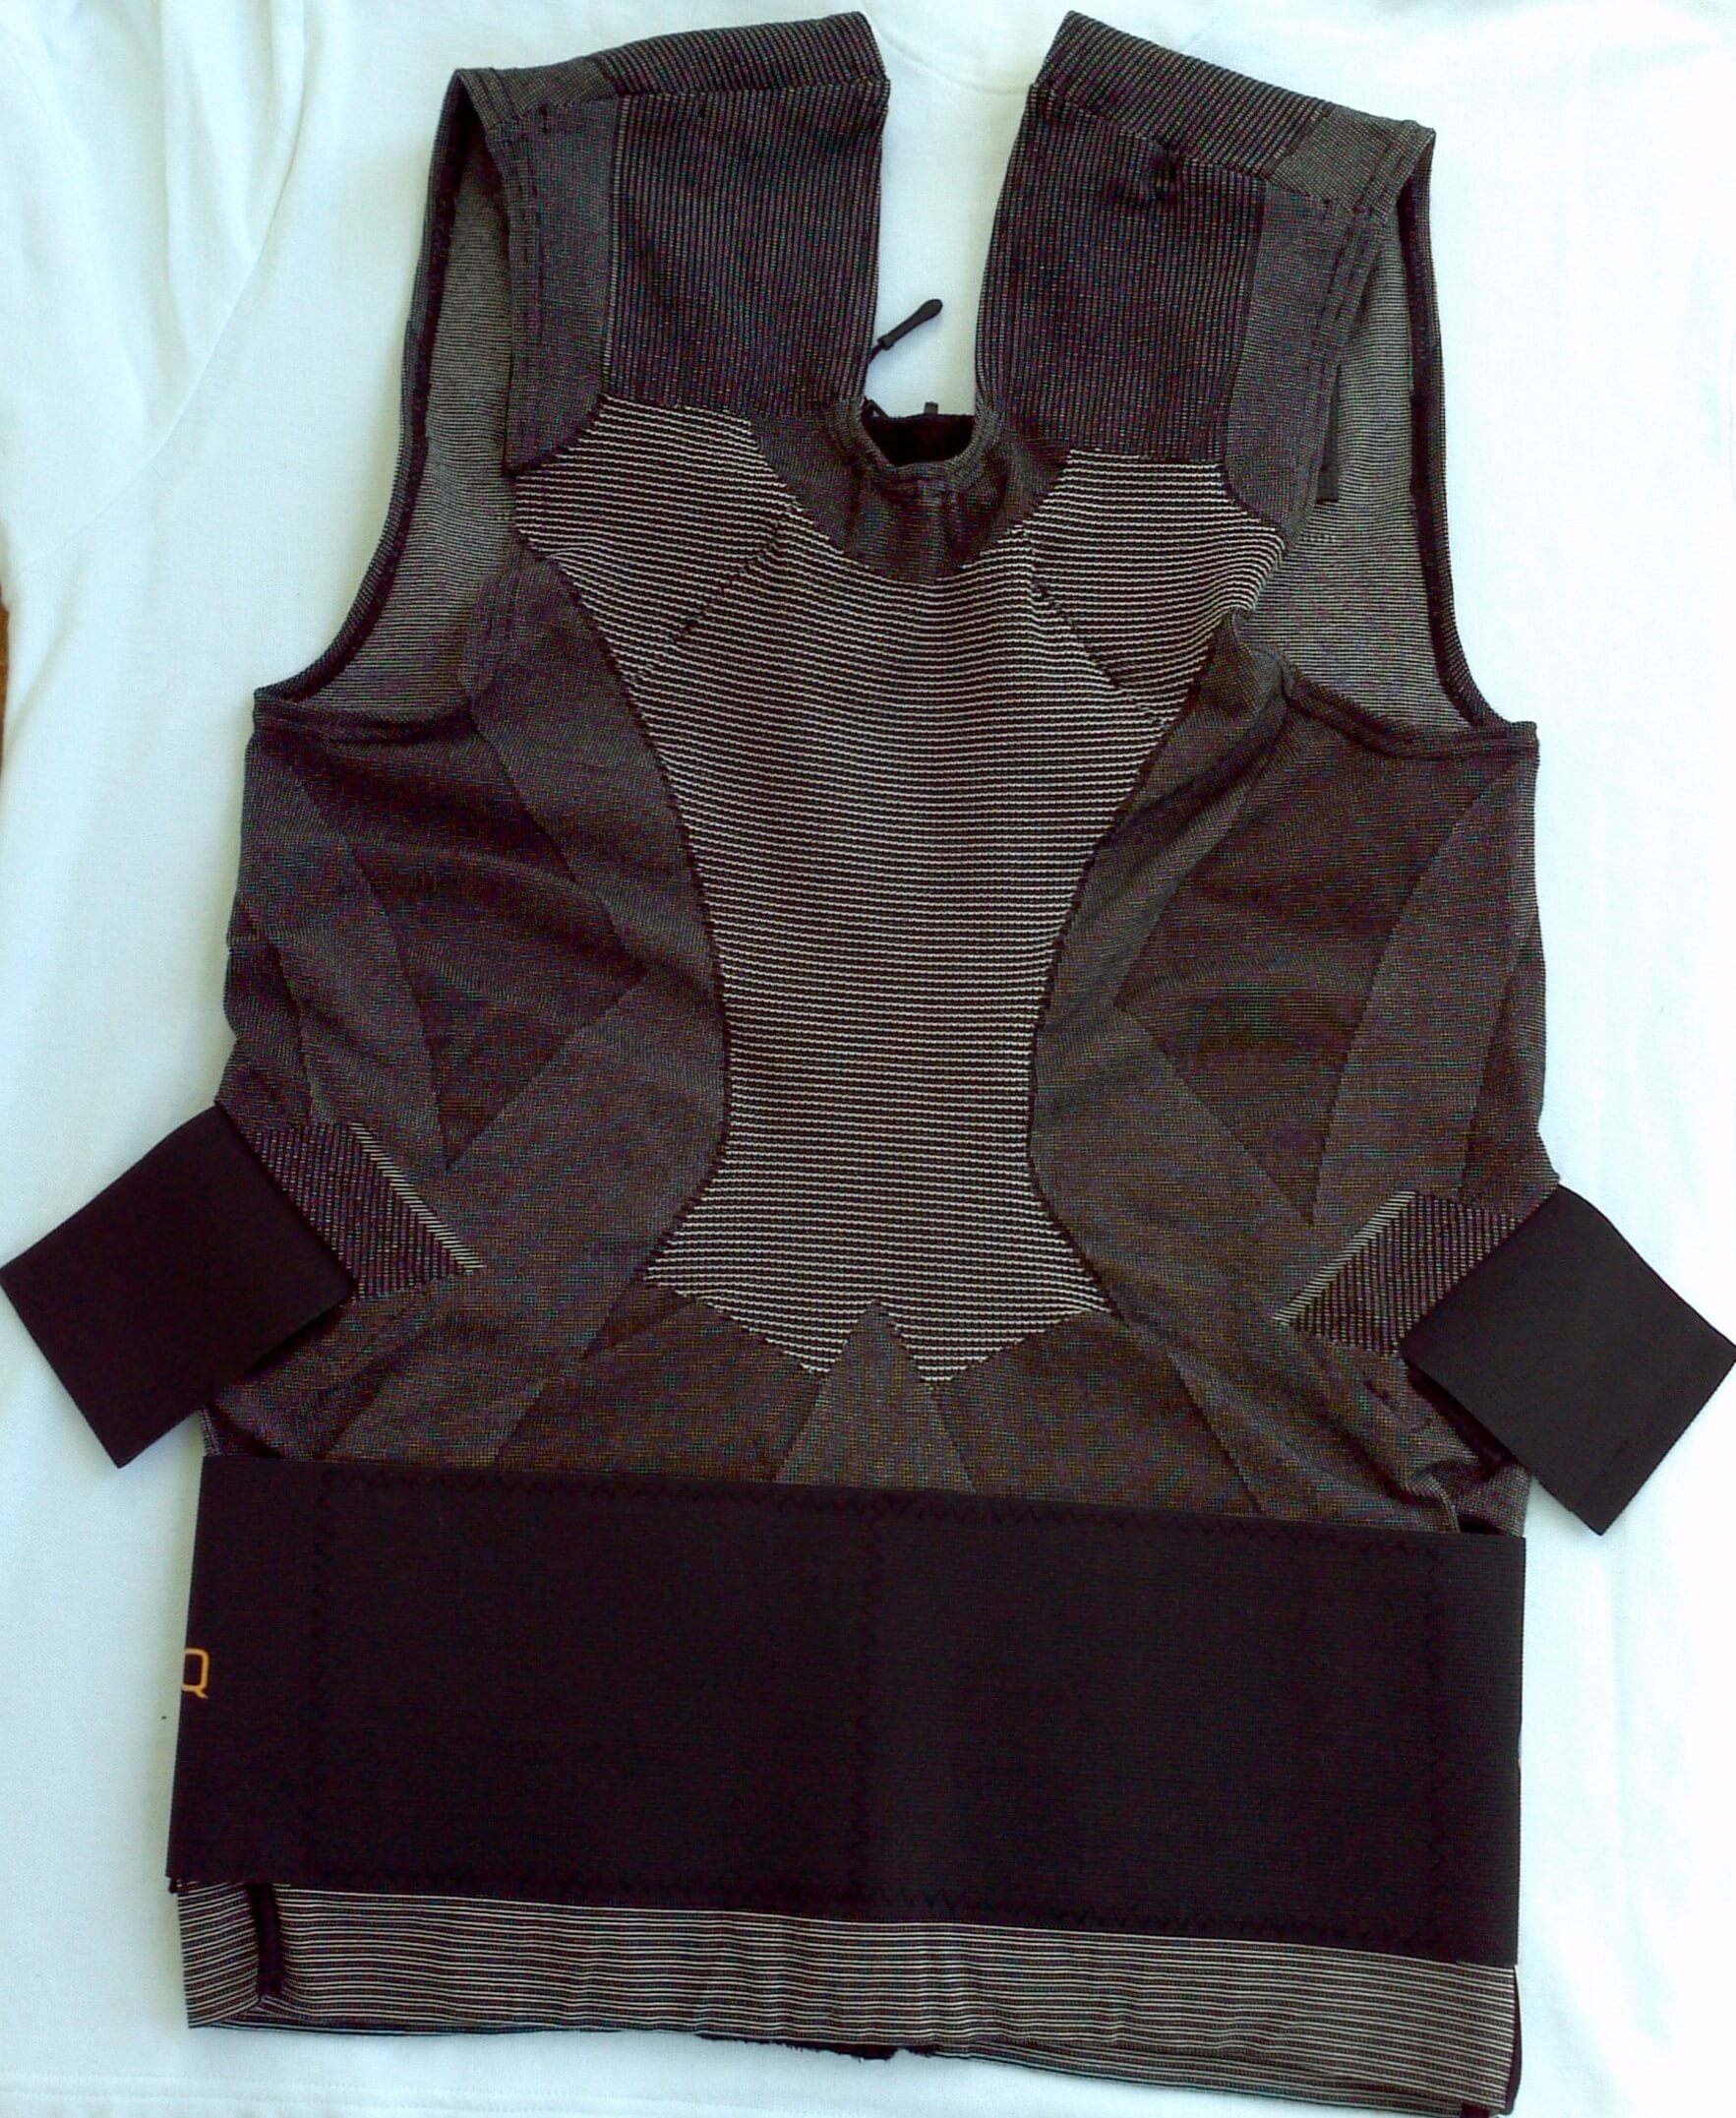
 The model that I tried was the TLSO-250(M) Large. It arrived neatly folded inside of a zip lock style bag with the directions for use printed on the reverse side of the product labeling.
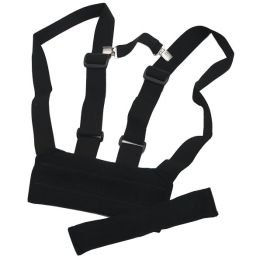
I removed the posture corrector and as I held it in my hands, I took note of the design and craftsmanship of this product. Overall, it appeared to be a well designed product and resembled something that might be issued by a physician. While examining it, I took note of the “Made in the USA” tag that was sewn into the lower bottom portion of the brace. From the beginning, I was already impressed with what I was seeing.
After a quick read over the instructions I started by removing the two aluminum back stays from their slots. At this point it became apparent that fitting this device by myself would be a near impossible task. I ended up having to call on my wife for assistance in bending the aluminum stays to fit the profile of my upper back.
I found that removing my shirt made it much easier to accurately bend the stays to fit my back. The stays were formed by placing them in the approximate area where they would eventually be positioned when the support was worn.
After several minutes of tweaking the stays, I slid them back into position and the support was ready to strap on.
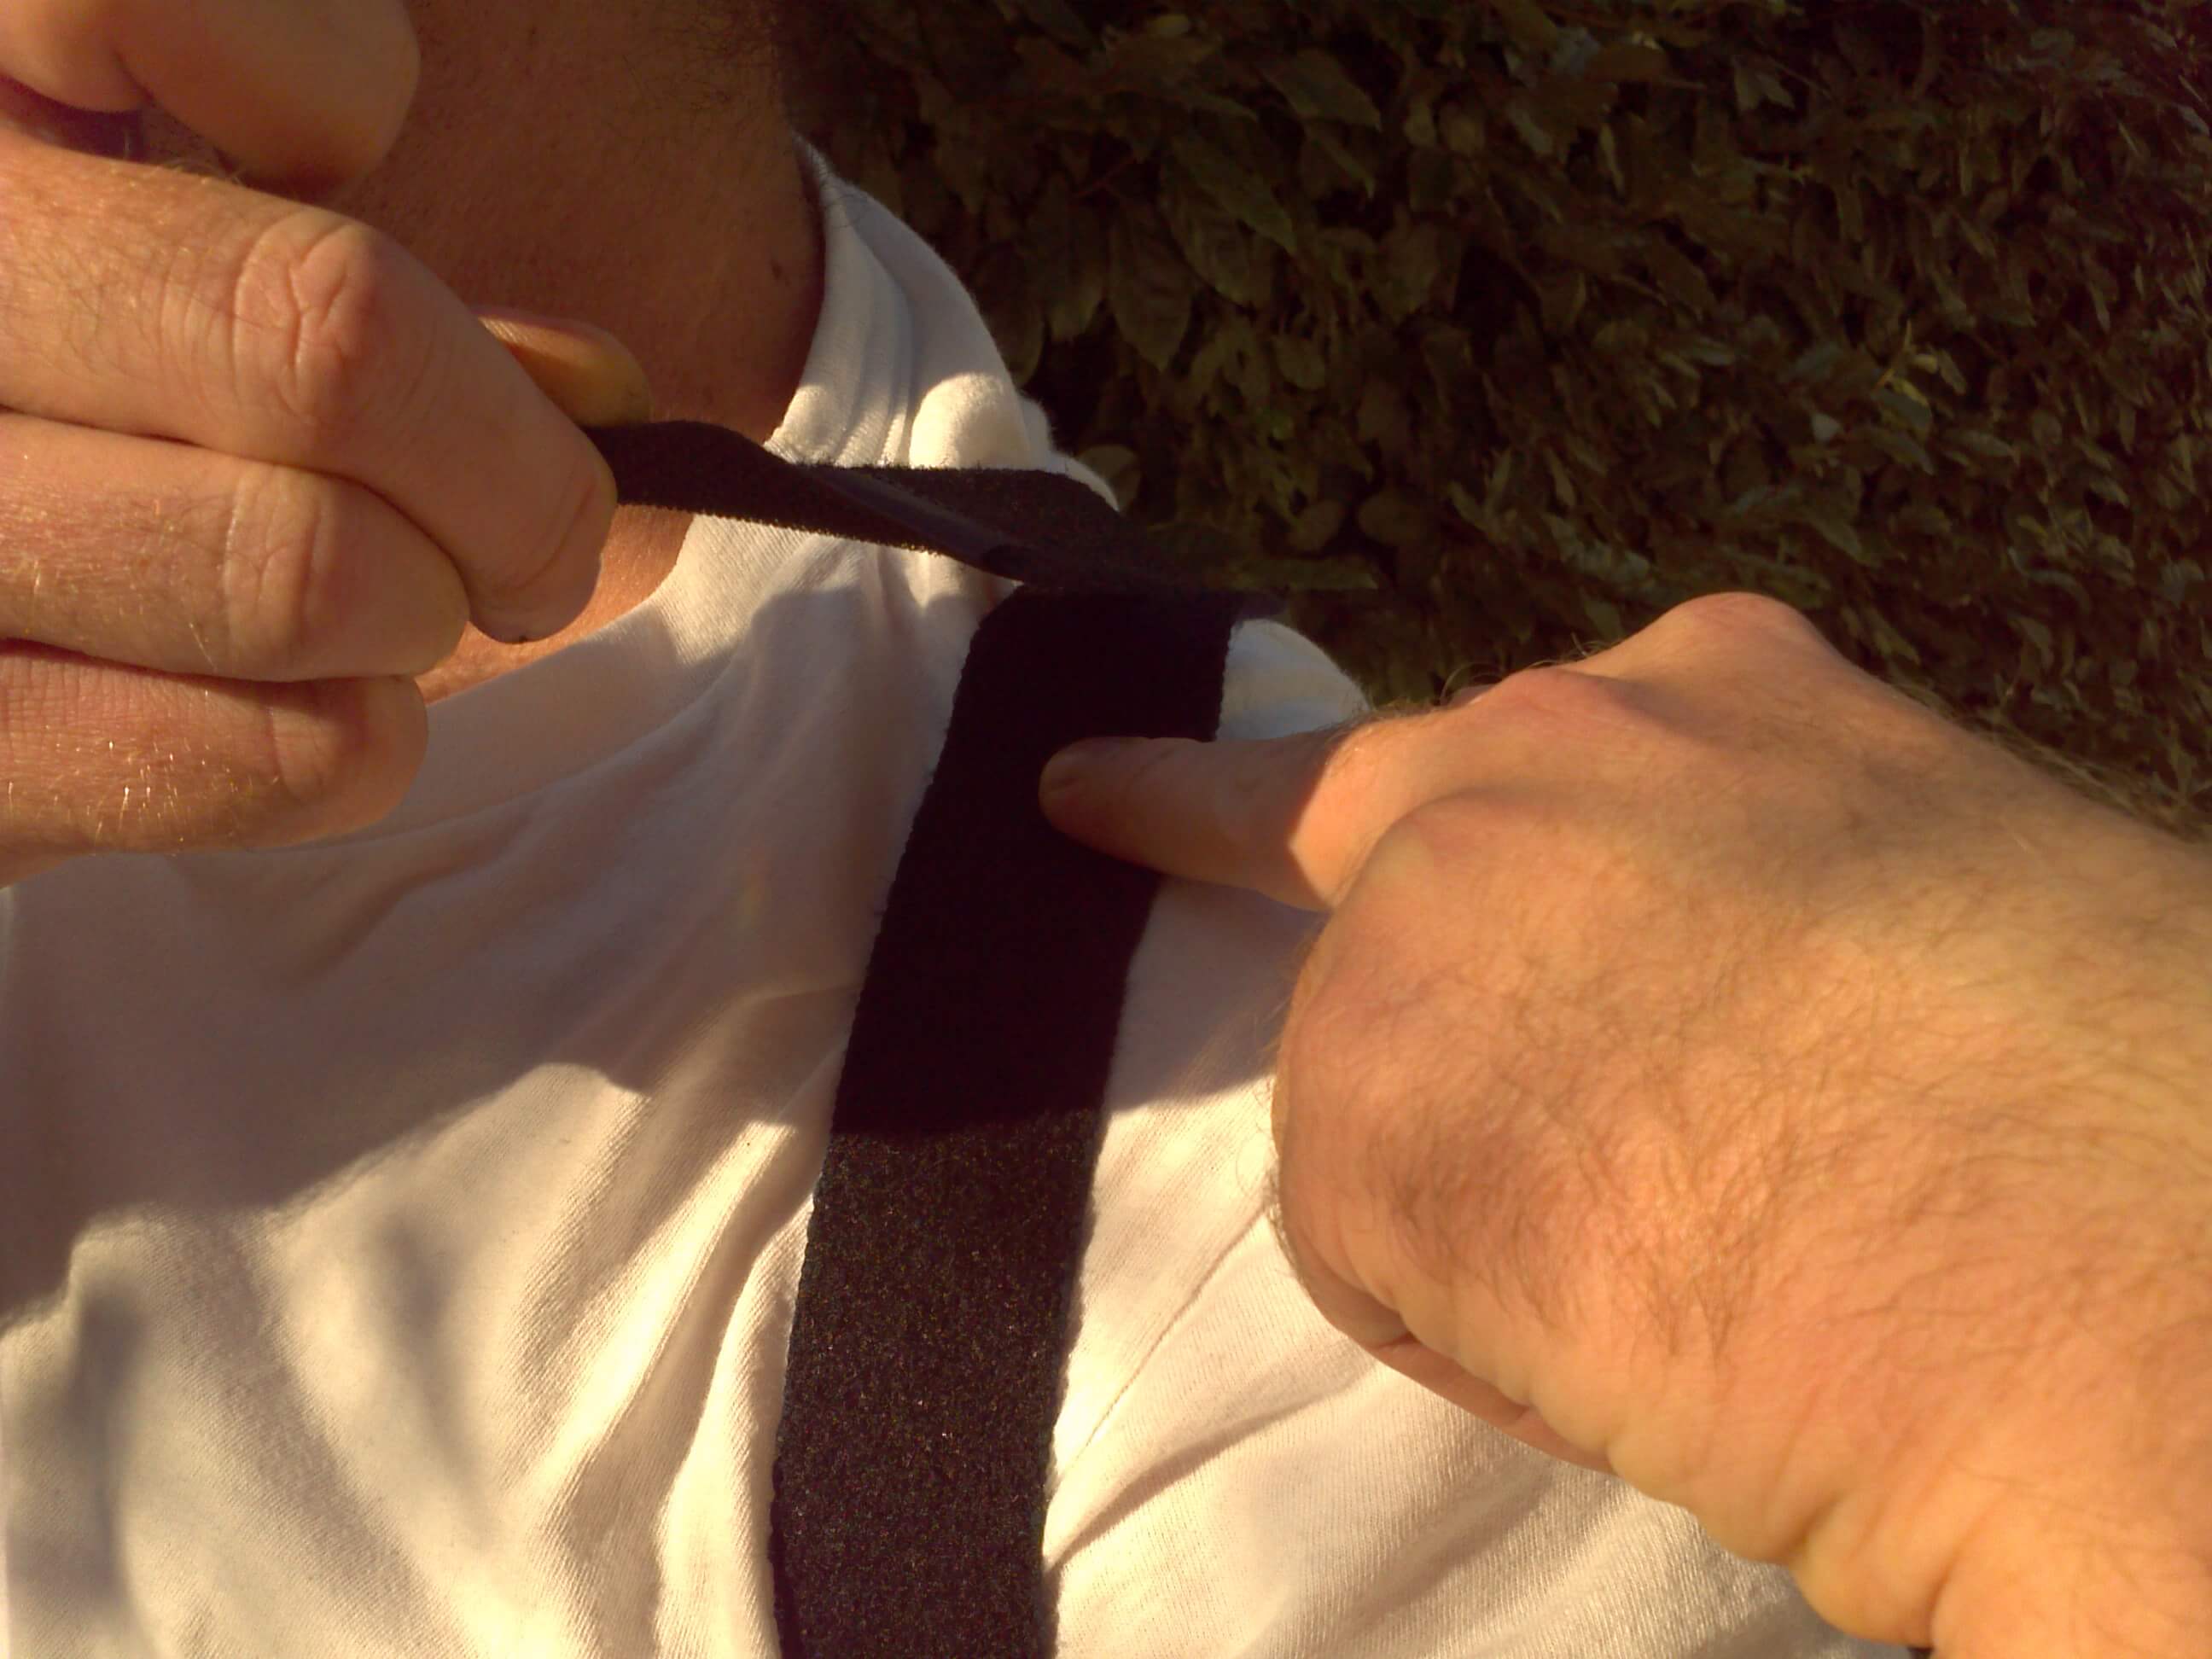
I must admit, when I first put on the TLSO, it was a bit like wrestling an octopus. Straps were dangling everywhere and the Velcro pads were inadvertently sticking to everything in sight. Once again, I had to call upon my wife to assist with strapping this thing on. Following the instructions, it was on and ready to go.
Putting it to the test
I decided to test the TLSO for 28 days to see how well it preformed.
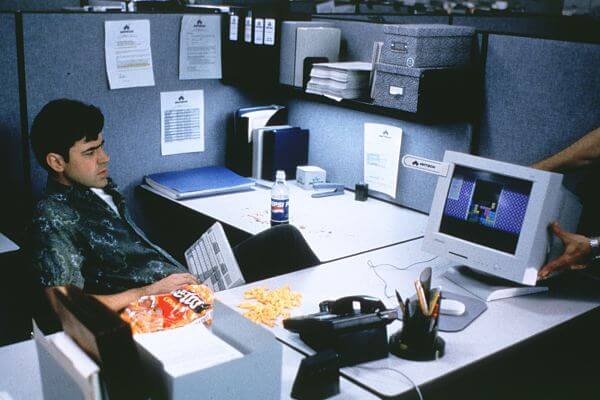
During the week, I typically spend several hours seated behind a computer while at work. It is during this time that I experience the most discomfort due to my bad posture. Outside of work I spend a bit of time on my feet living a moderately active lifestyle. This being the case, I’ll talk about my experience in two parts – use at work and at home.
The work test
 While there is a bit of a learning curve when it comes to putting this support on, within the first two days of use I was able to overcome the difficulty that I originally experienced when first strapping on this posture corrector. Once I got the hang of it, putting it on and taking it off was a breeze.
Since I usually slouch when not wearing a brace, sitting in proper posture was a bit unfamiliar and awkward. However, my efforts were ultimately rewarded at the end of each day as I noticed a tremendous reduction in upper and lower back pain. At the end of each work day I took off the support to give my back and abdominal muscles a rest from sitting straight all day.
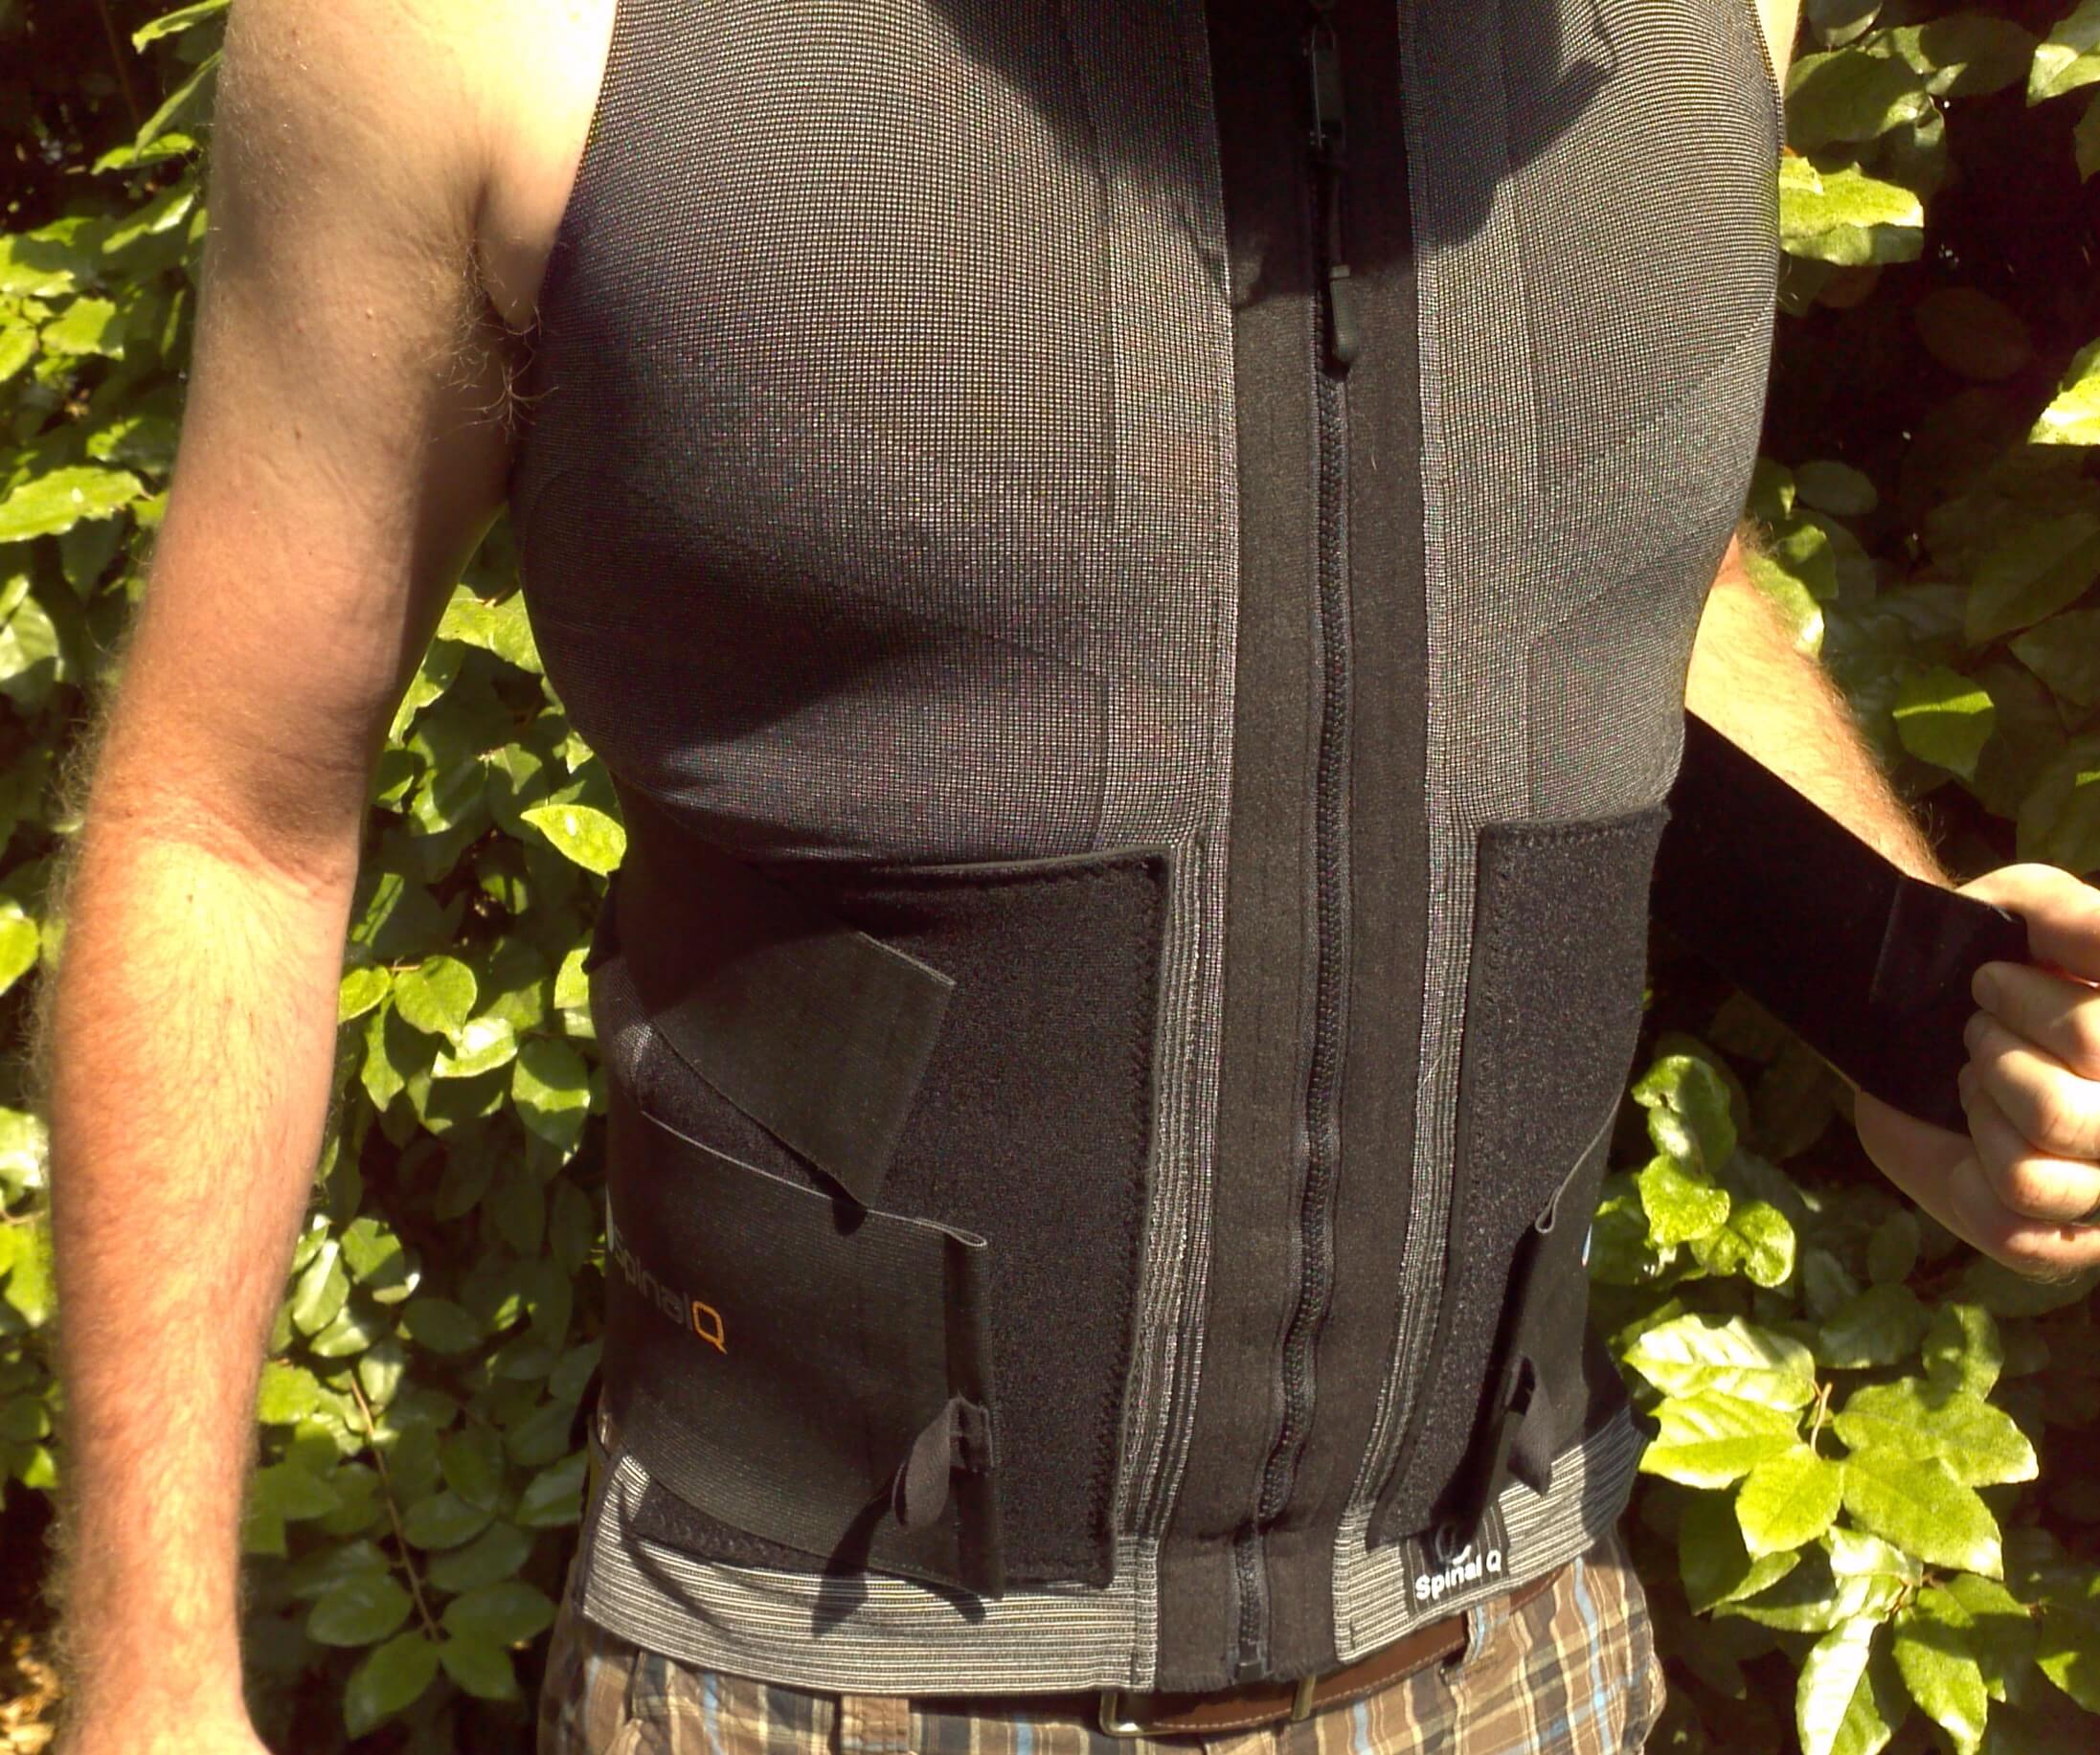
Most days I would wear the brace under a button up shirt and often a blazer over top. It was tight fitting yet fairly comfortable to wear on a daily basis. I found the material to be fairly breathable while wearing in a climate controlled environment.
The additional closure pulls proved to be a desirable feature when it came to providing extra support or when reliving tension while alternating between sitting and standing or after eating a large meal. While making adjustments to the waist band was very easy, unbuttoning or buttoning my shirt took a few seconds to complete.
Leisure activities
While most of my time was spent using this support while at work, I tested it in several different scenarios from relaxing at home to doing physical activity.
I found the brace to most beneficial during sitting activities. While being used to performing common household chores, I noticed that it provided firm support yet was not extremely restrictive when it comes to motion. Overall, it was well suited for everyday at home use while performing tasks such as cooking, yard work, cleaning, washing the car, etc.
As for preforming vigorous physical activity, I found that while the material is breathable under normal circumstances, it tends to hold moisture during a heavy workout. In other words, leave it at home before hitting the gym unless you are prepared to hand wash it and dry soon after coming home.
Concealment
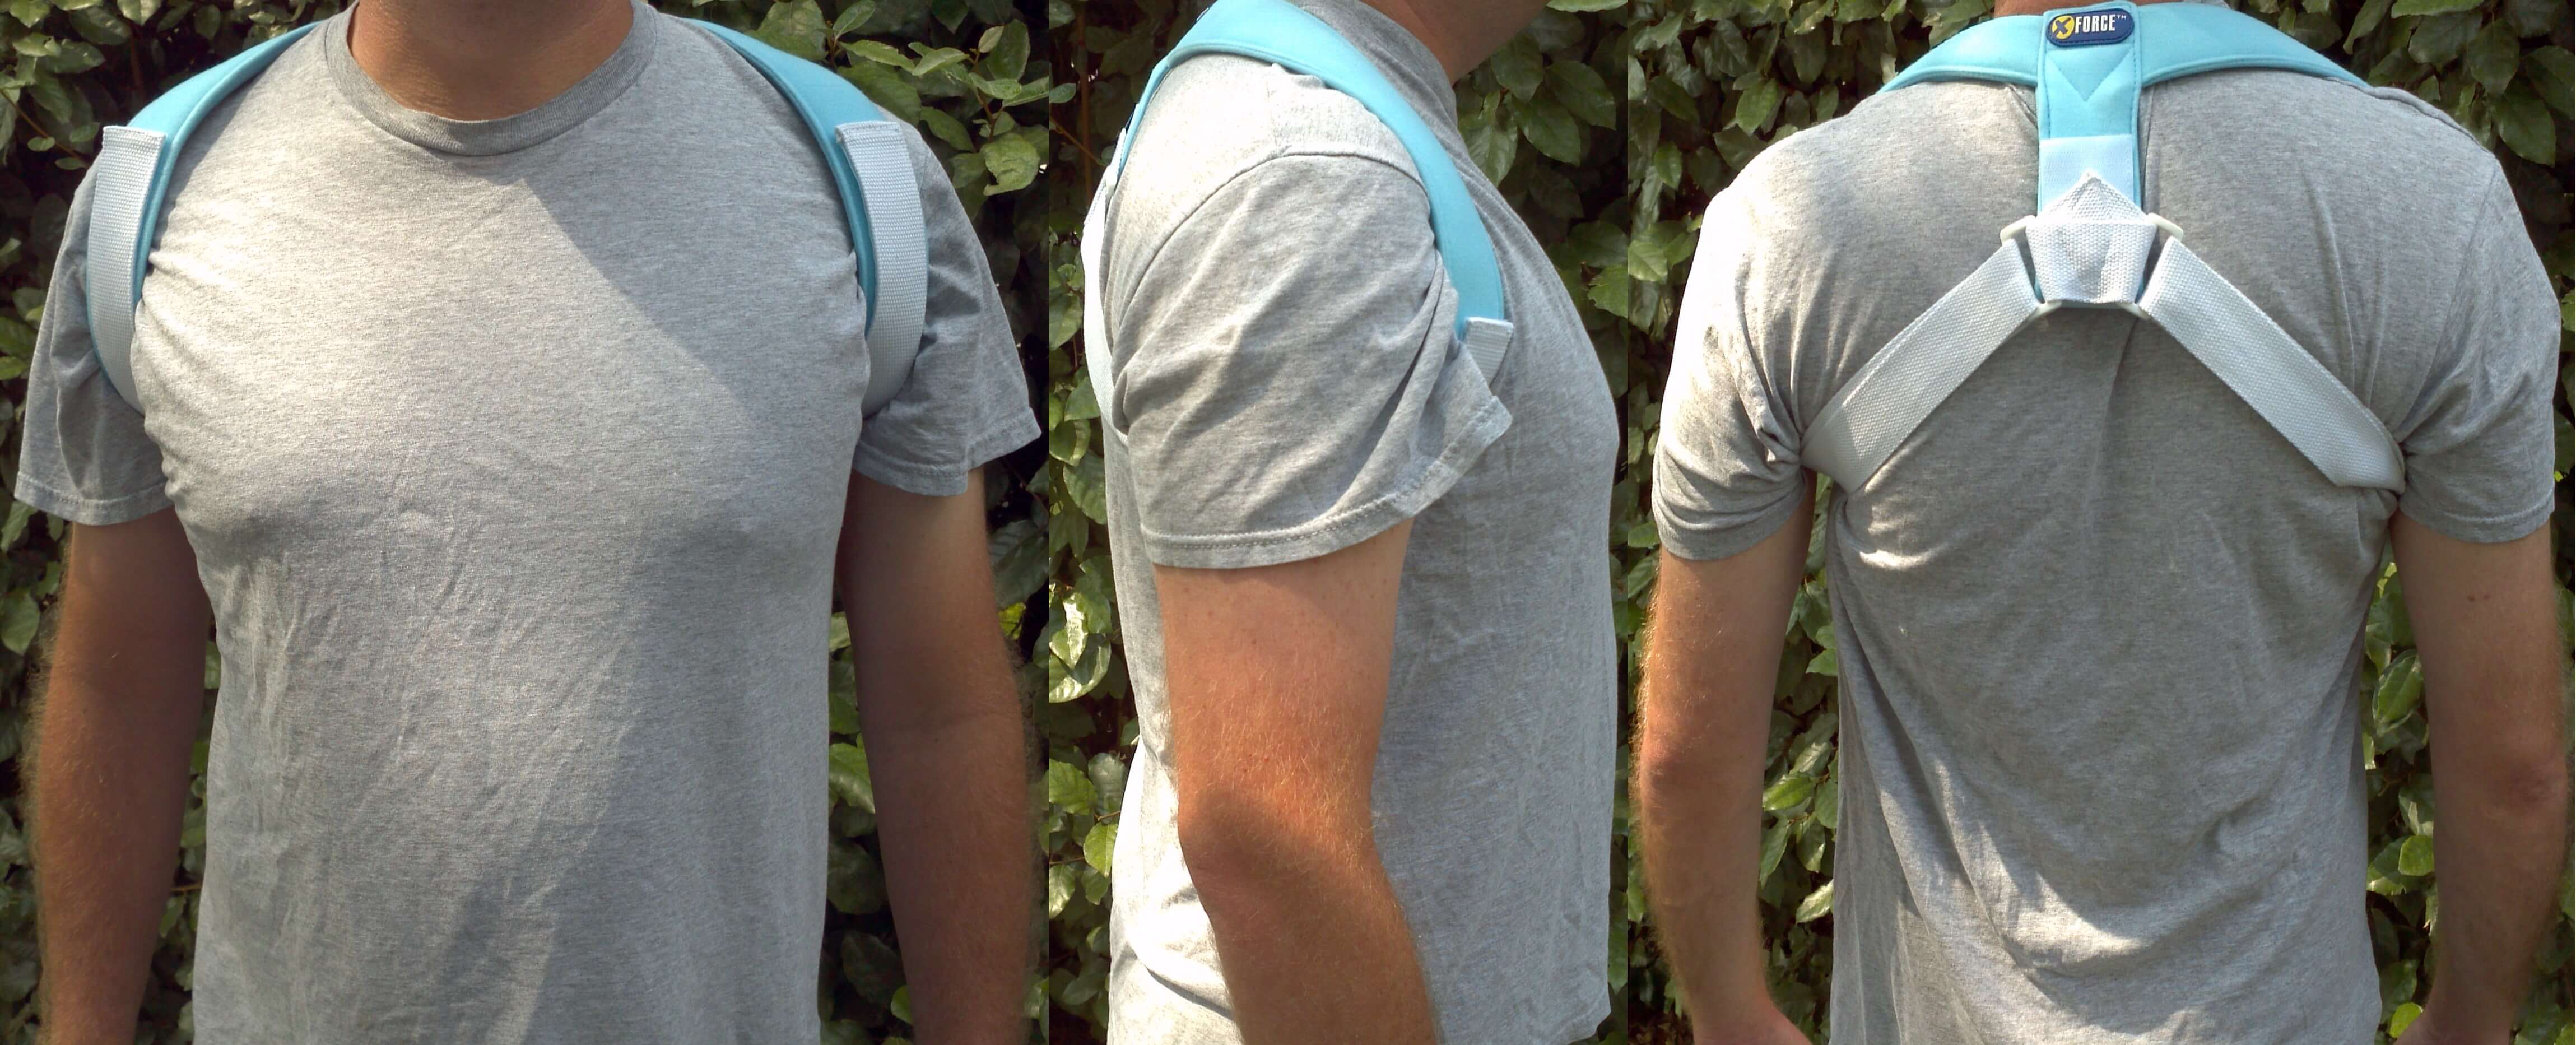
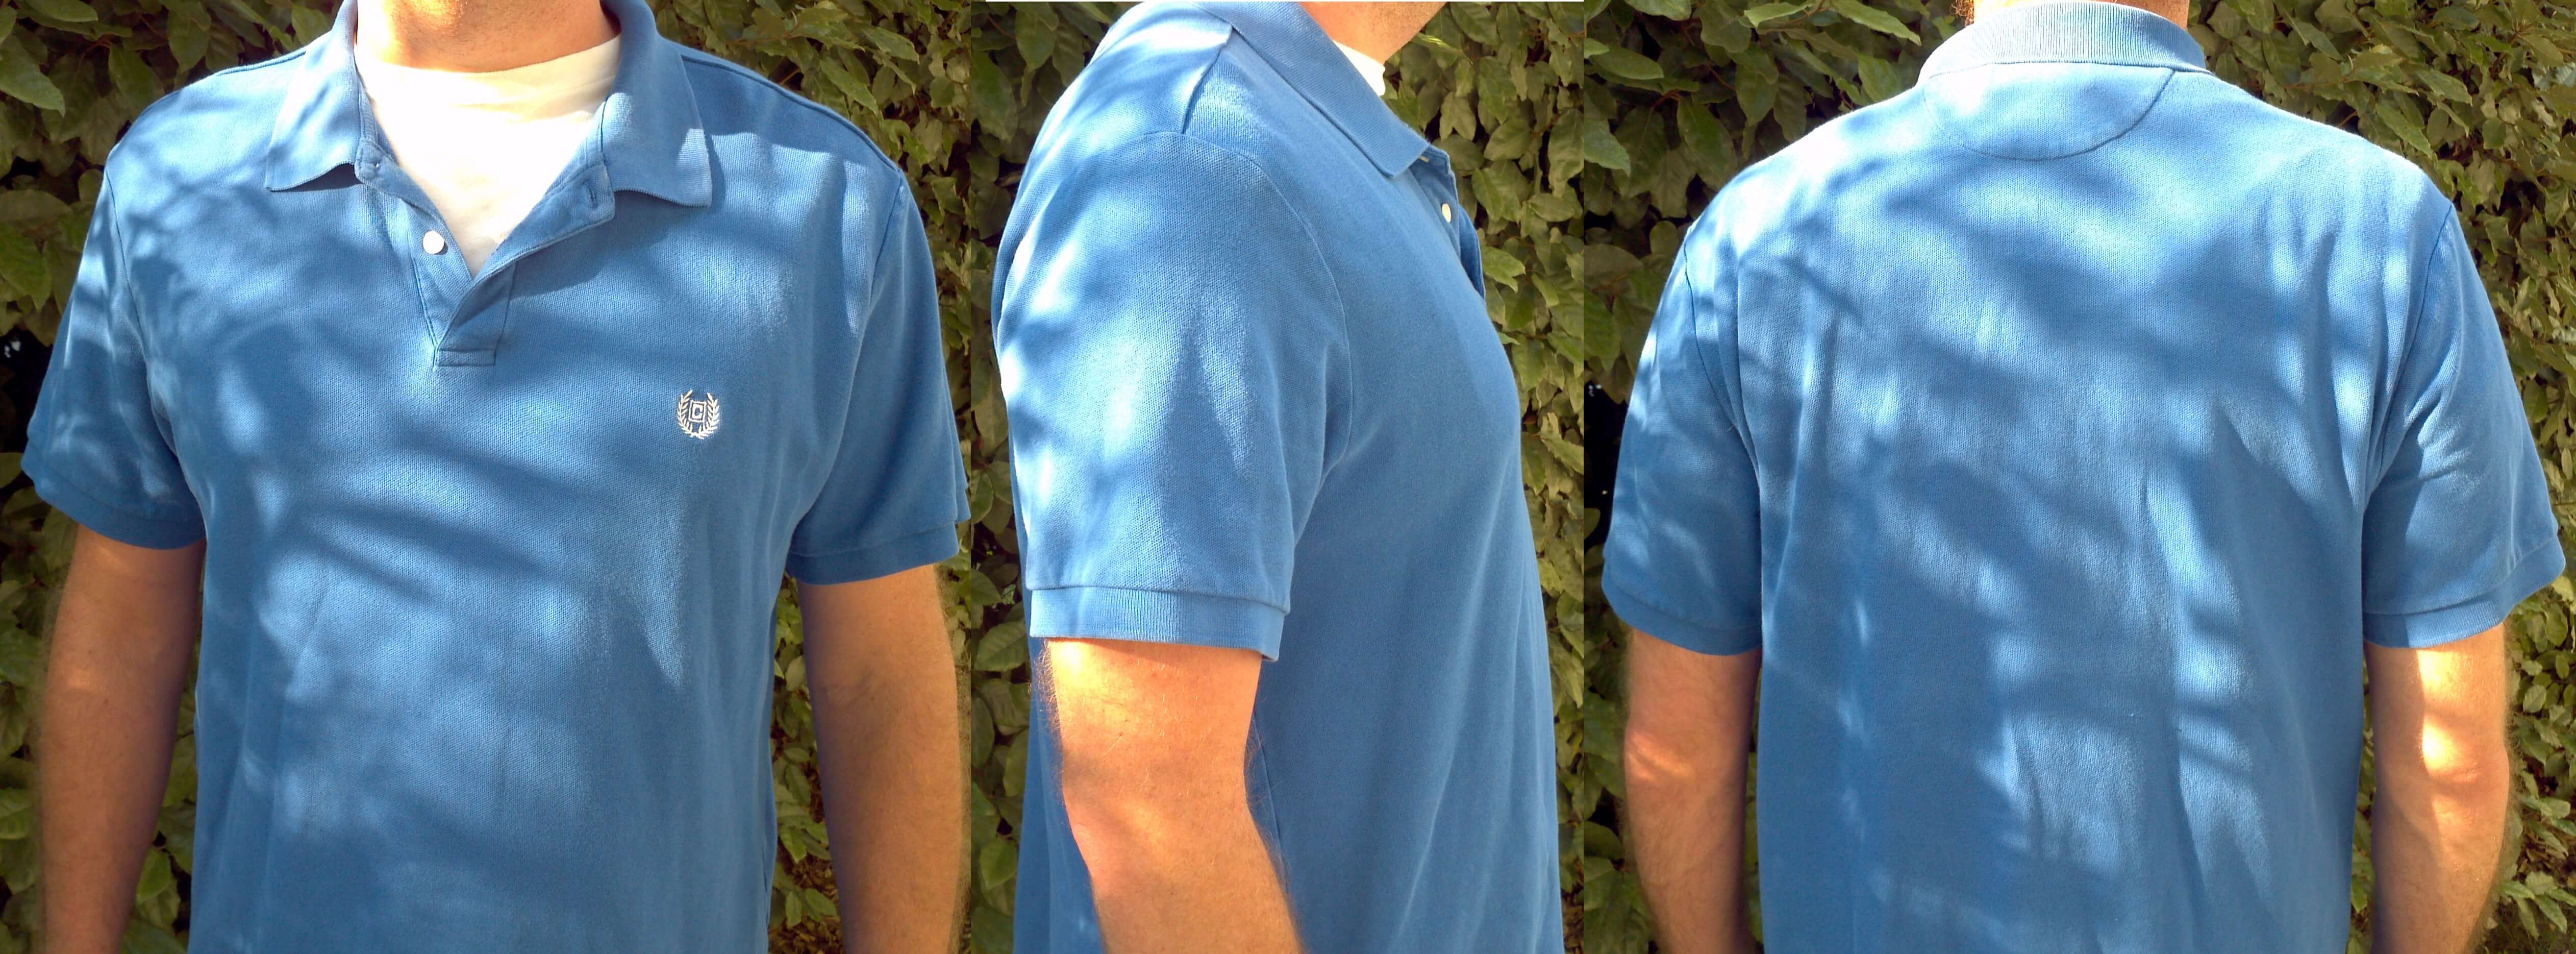
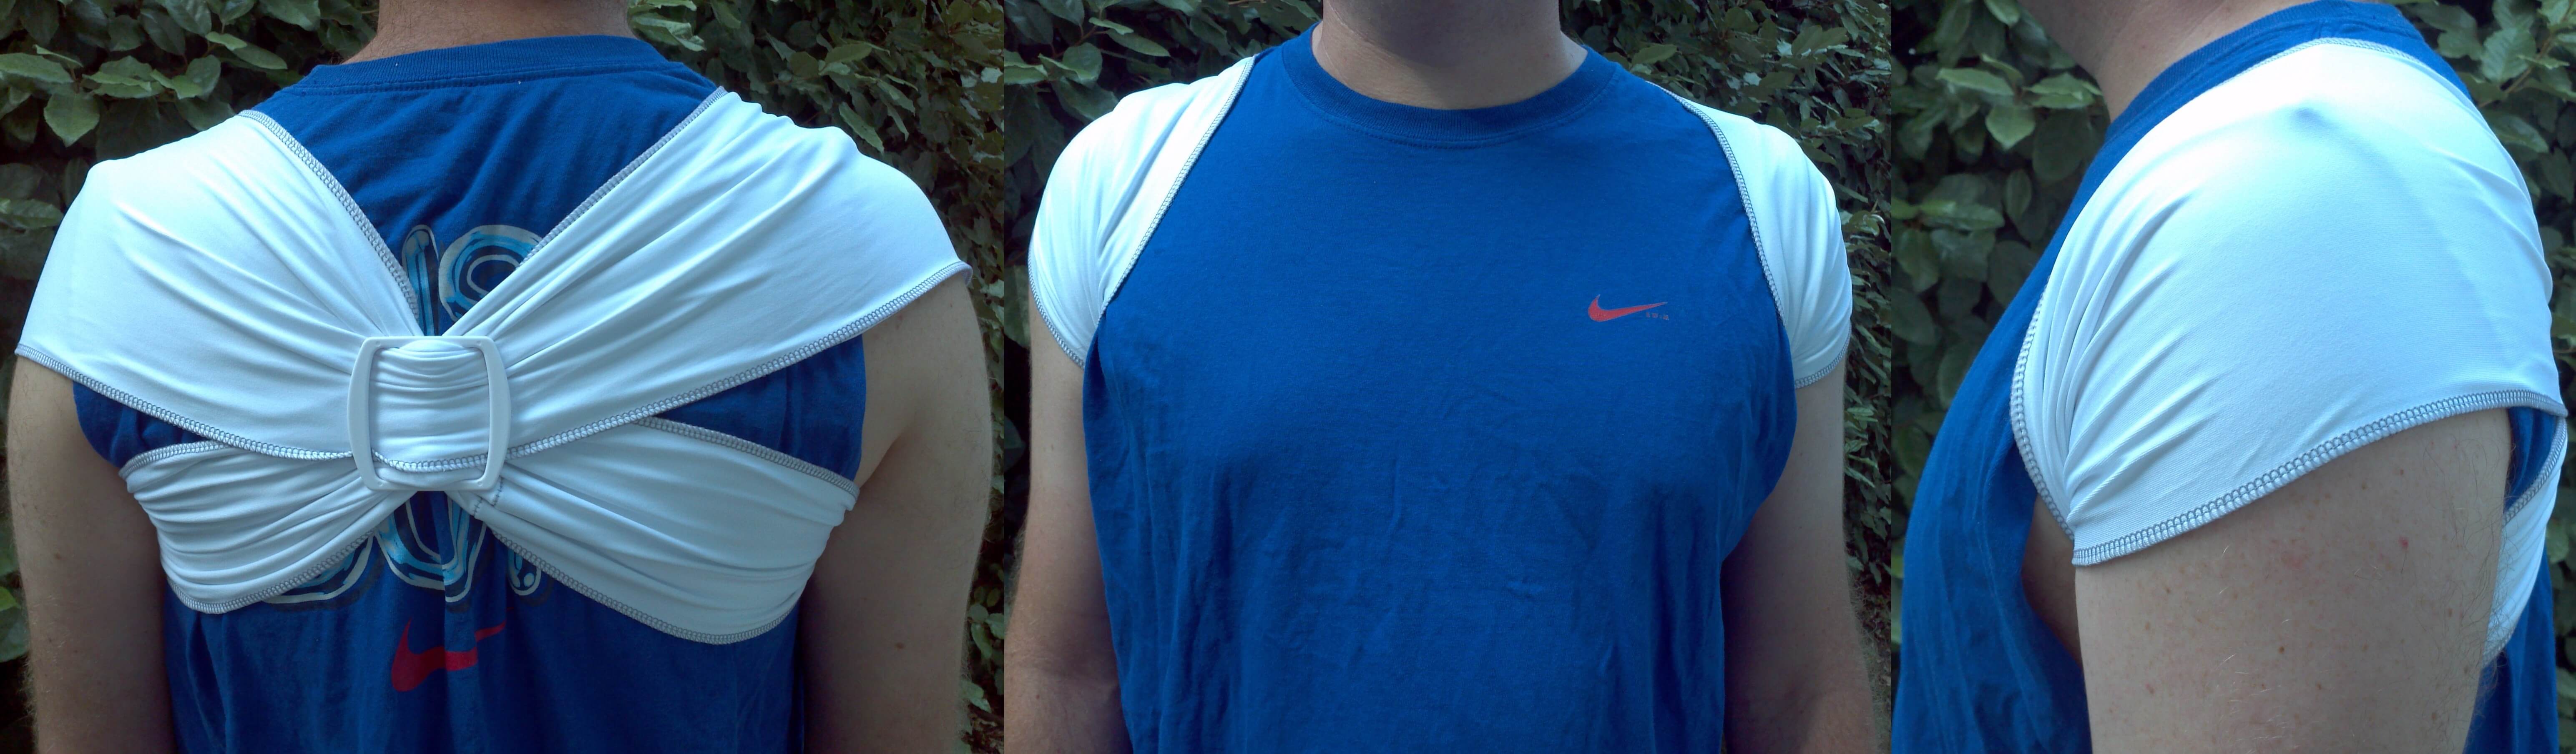
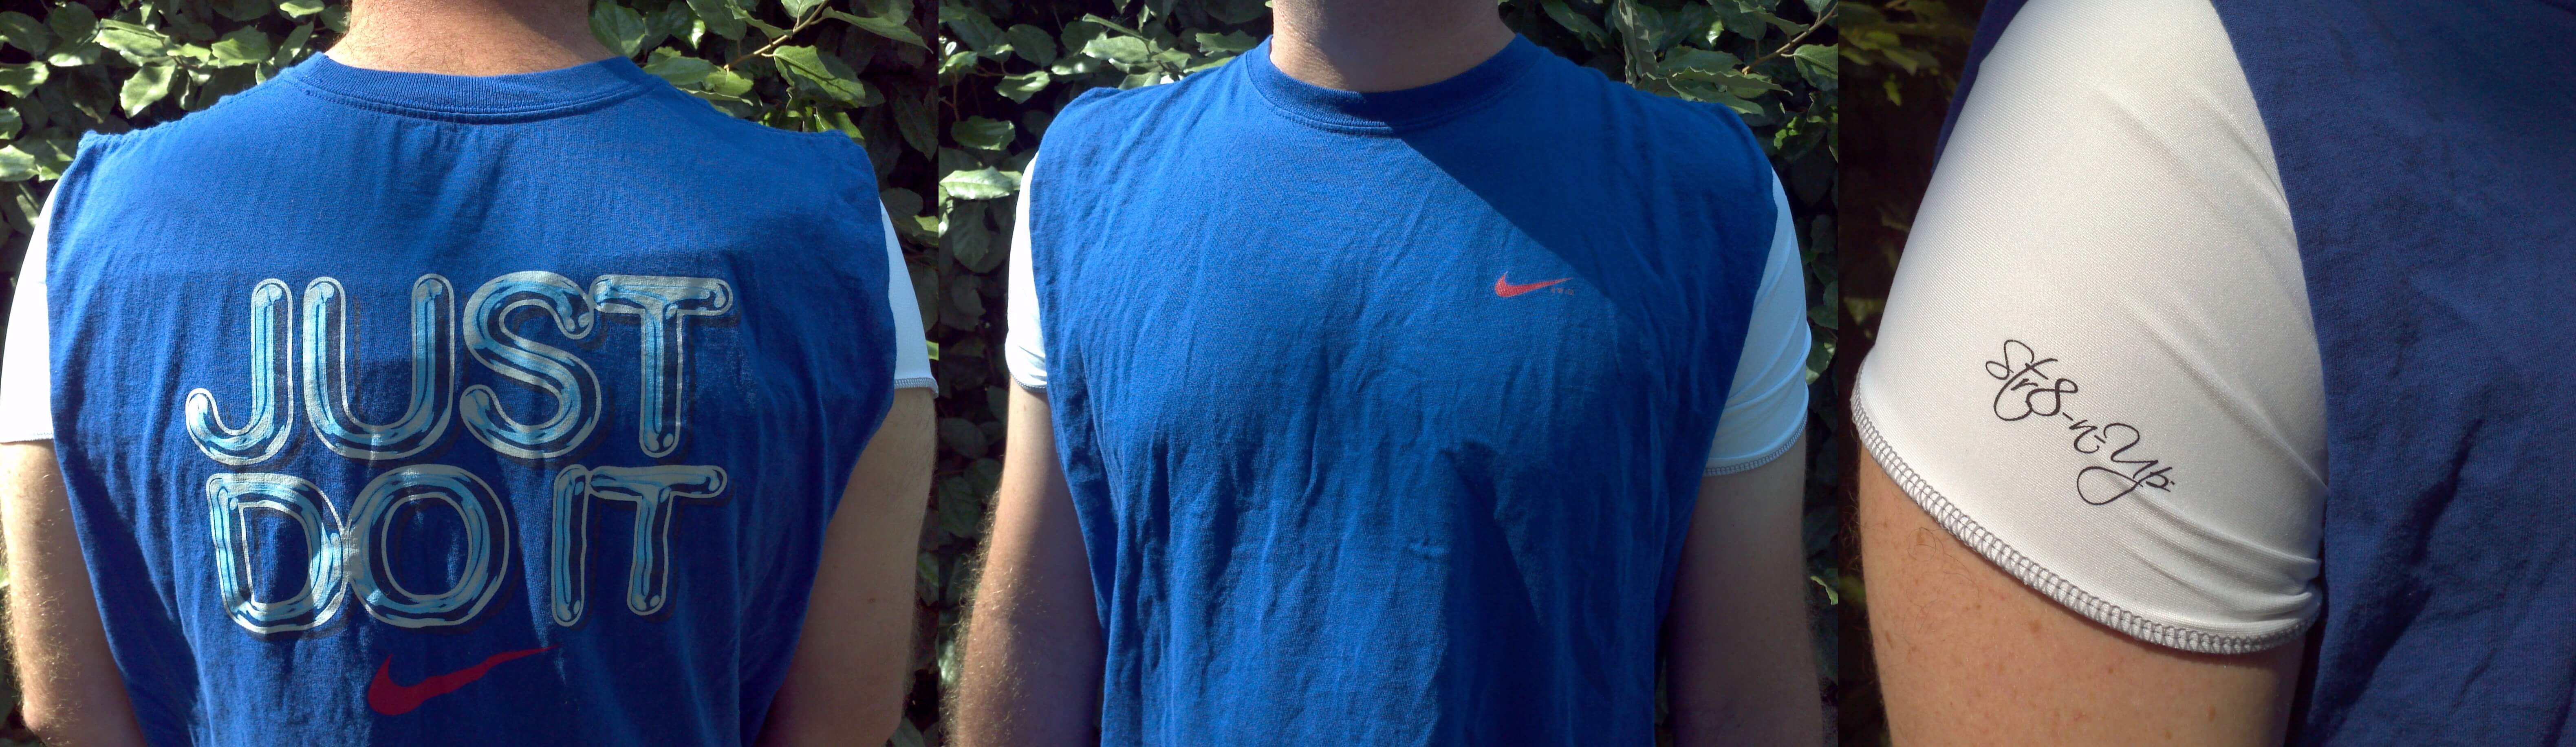
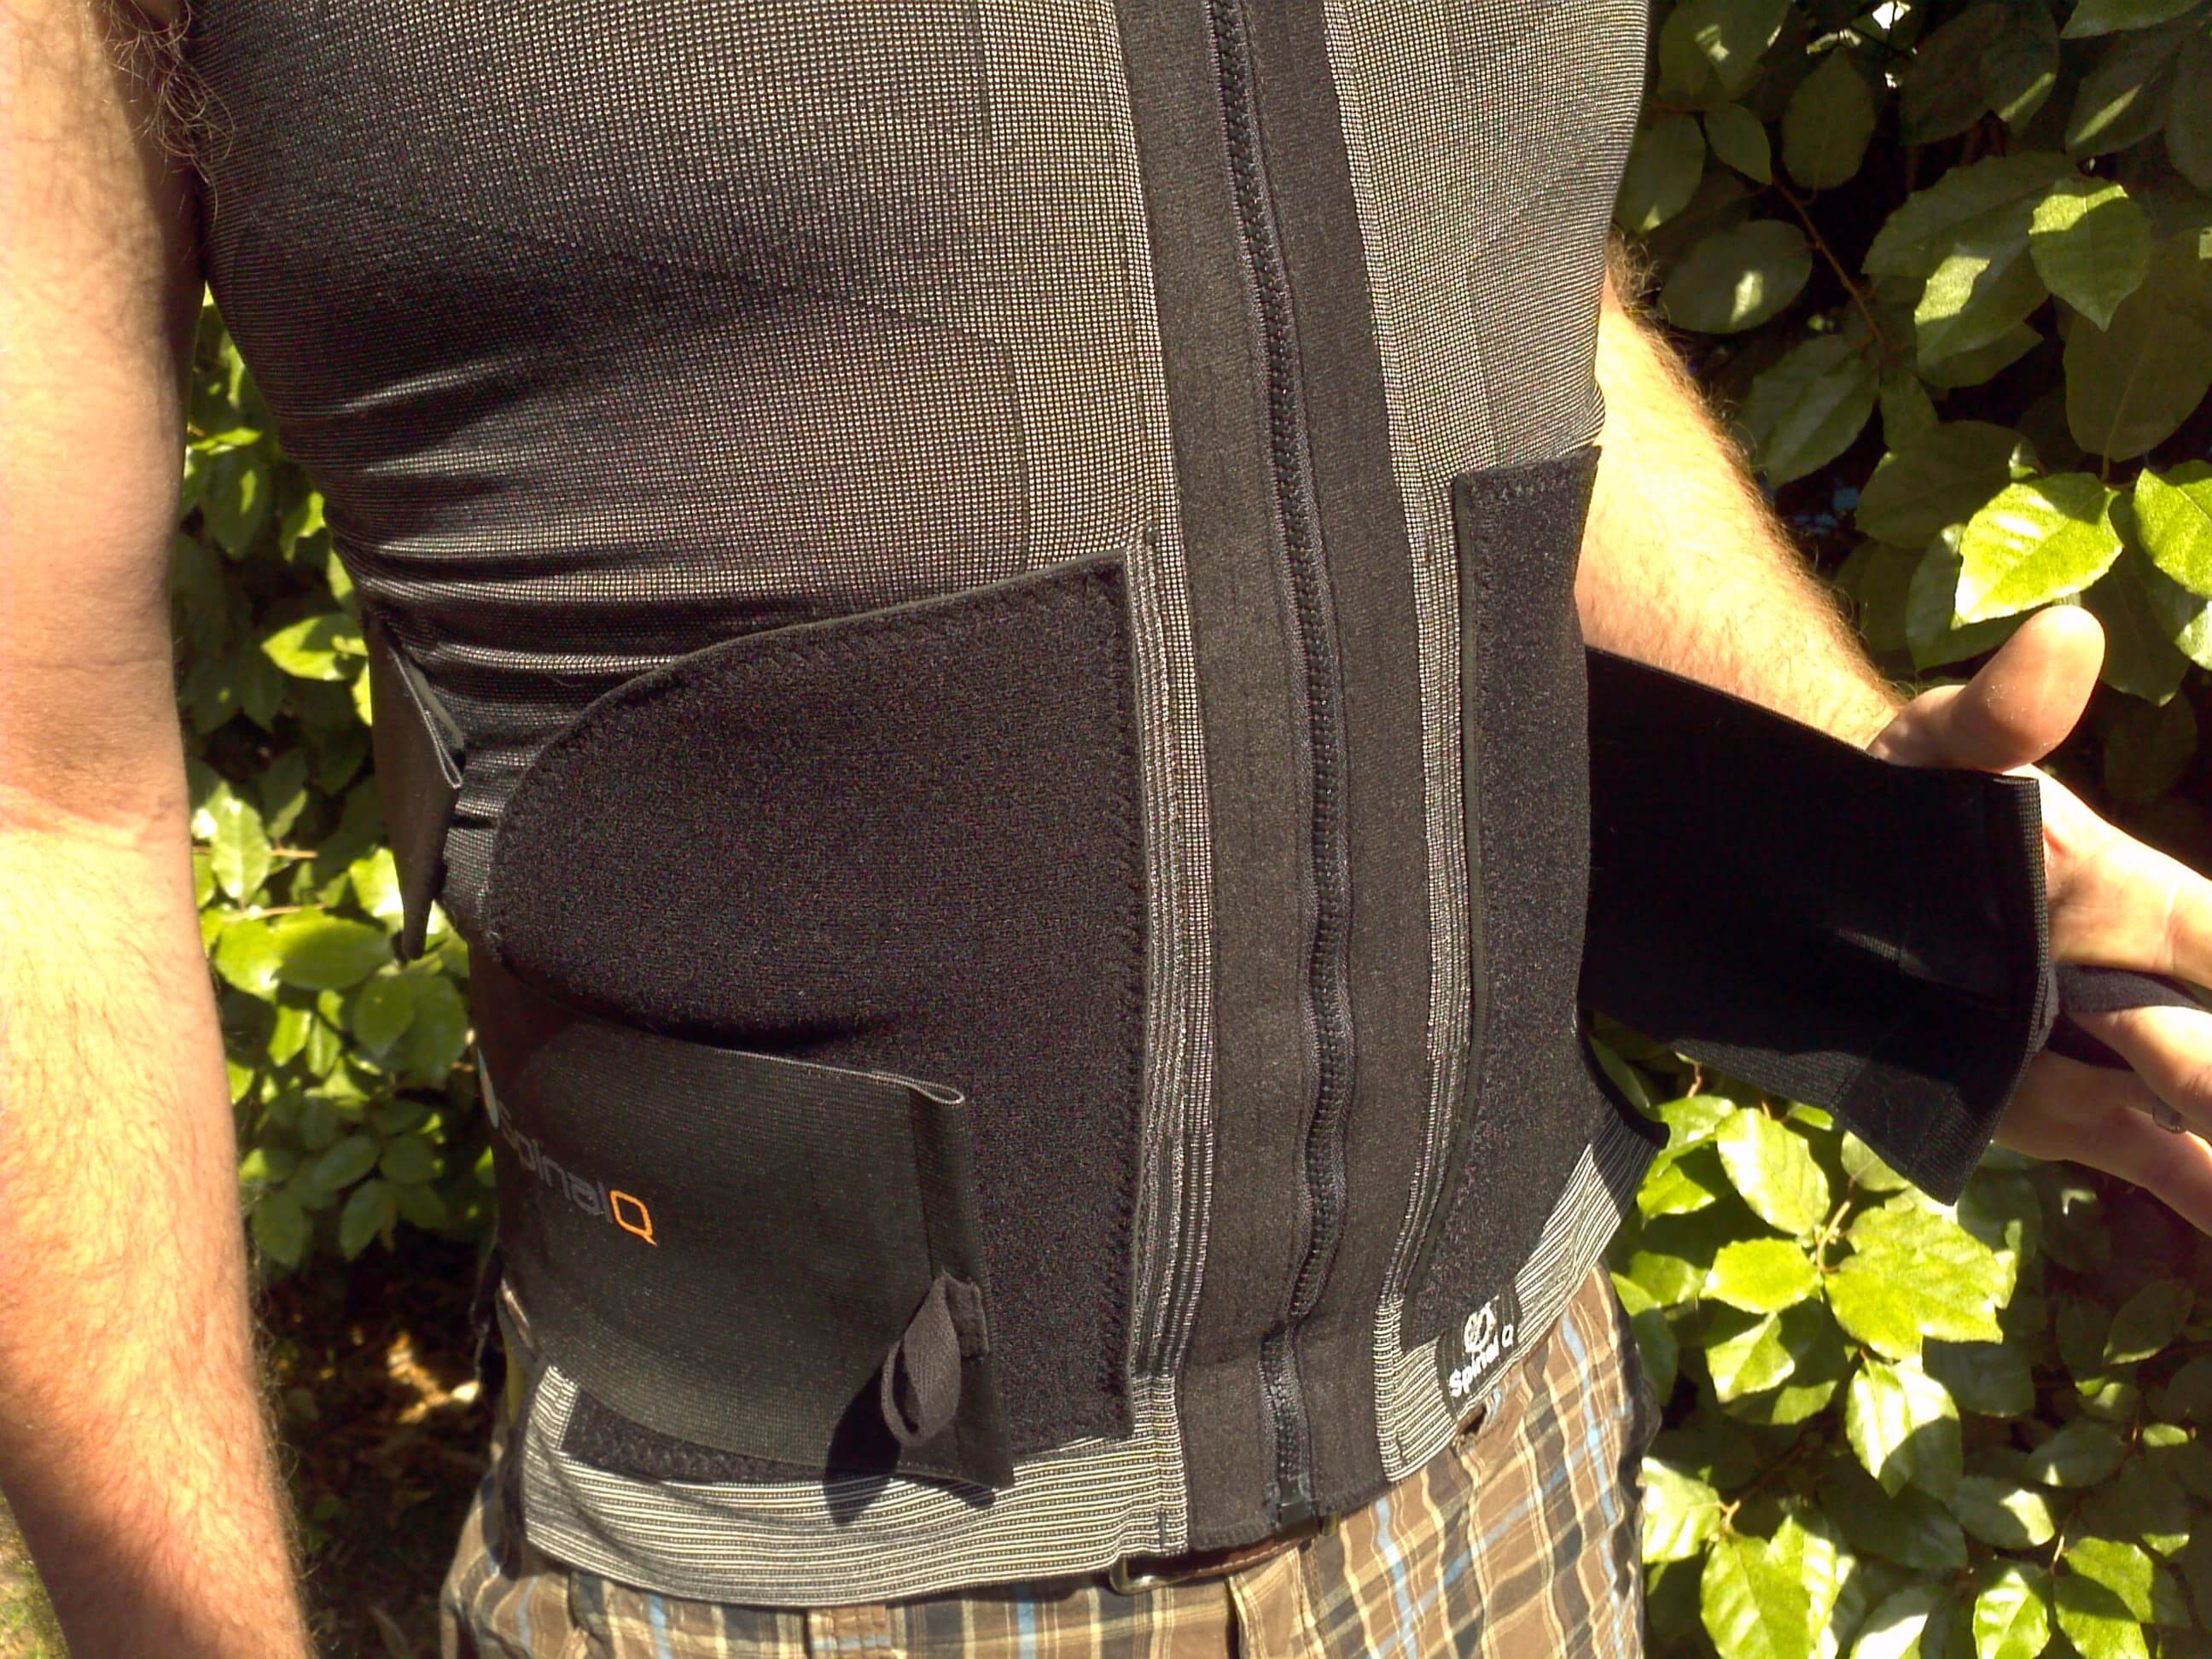
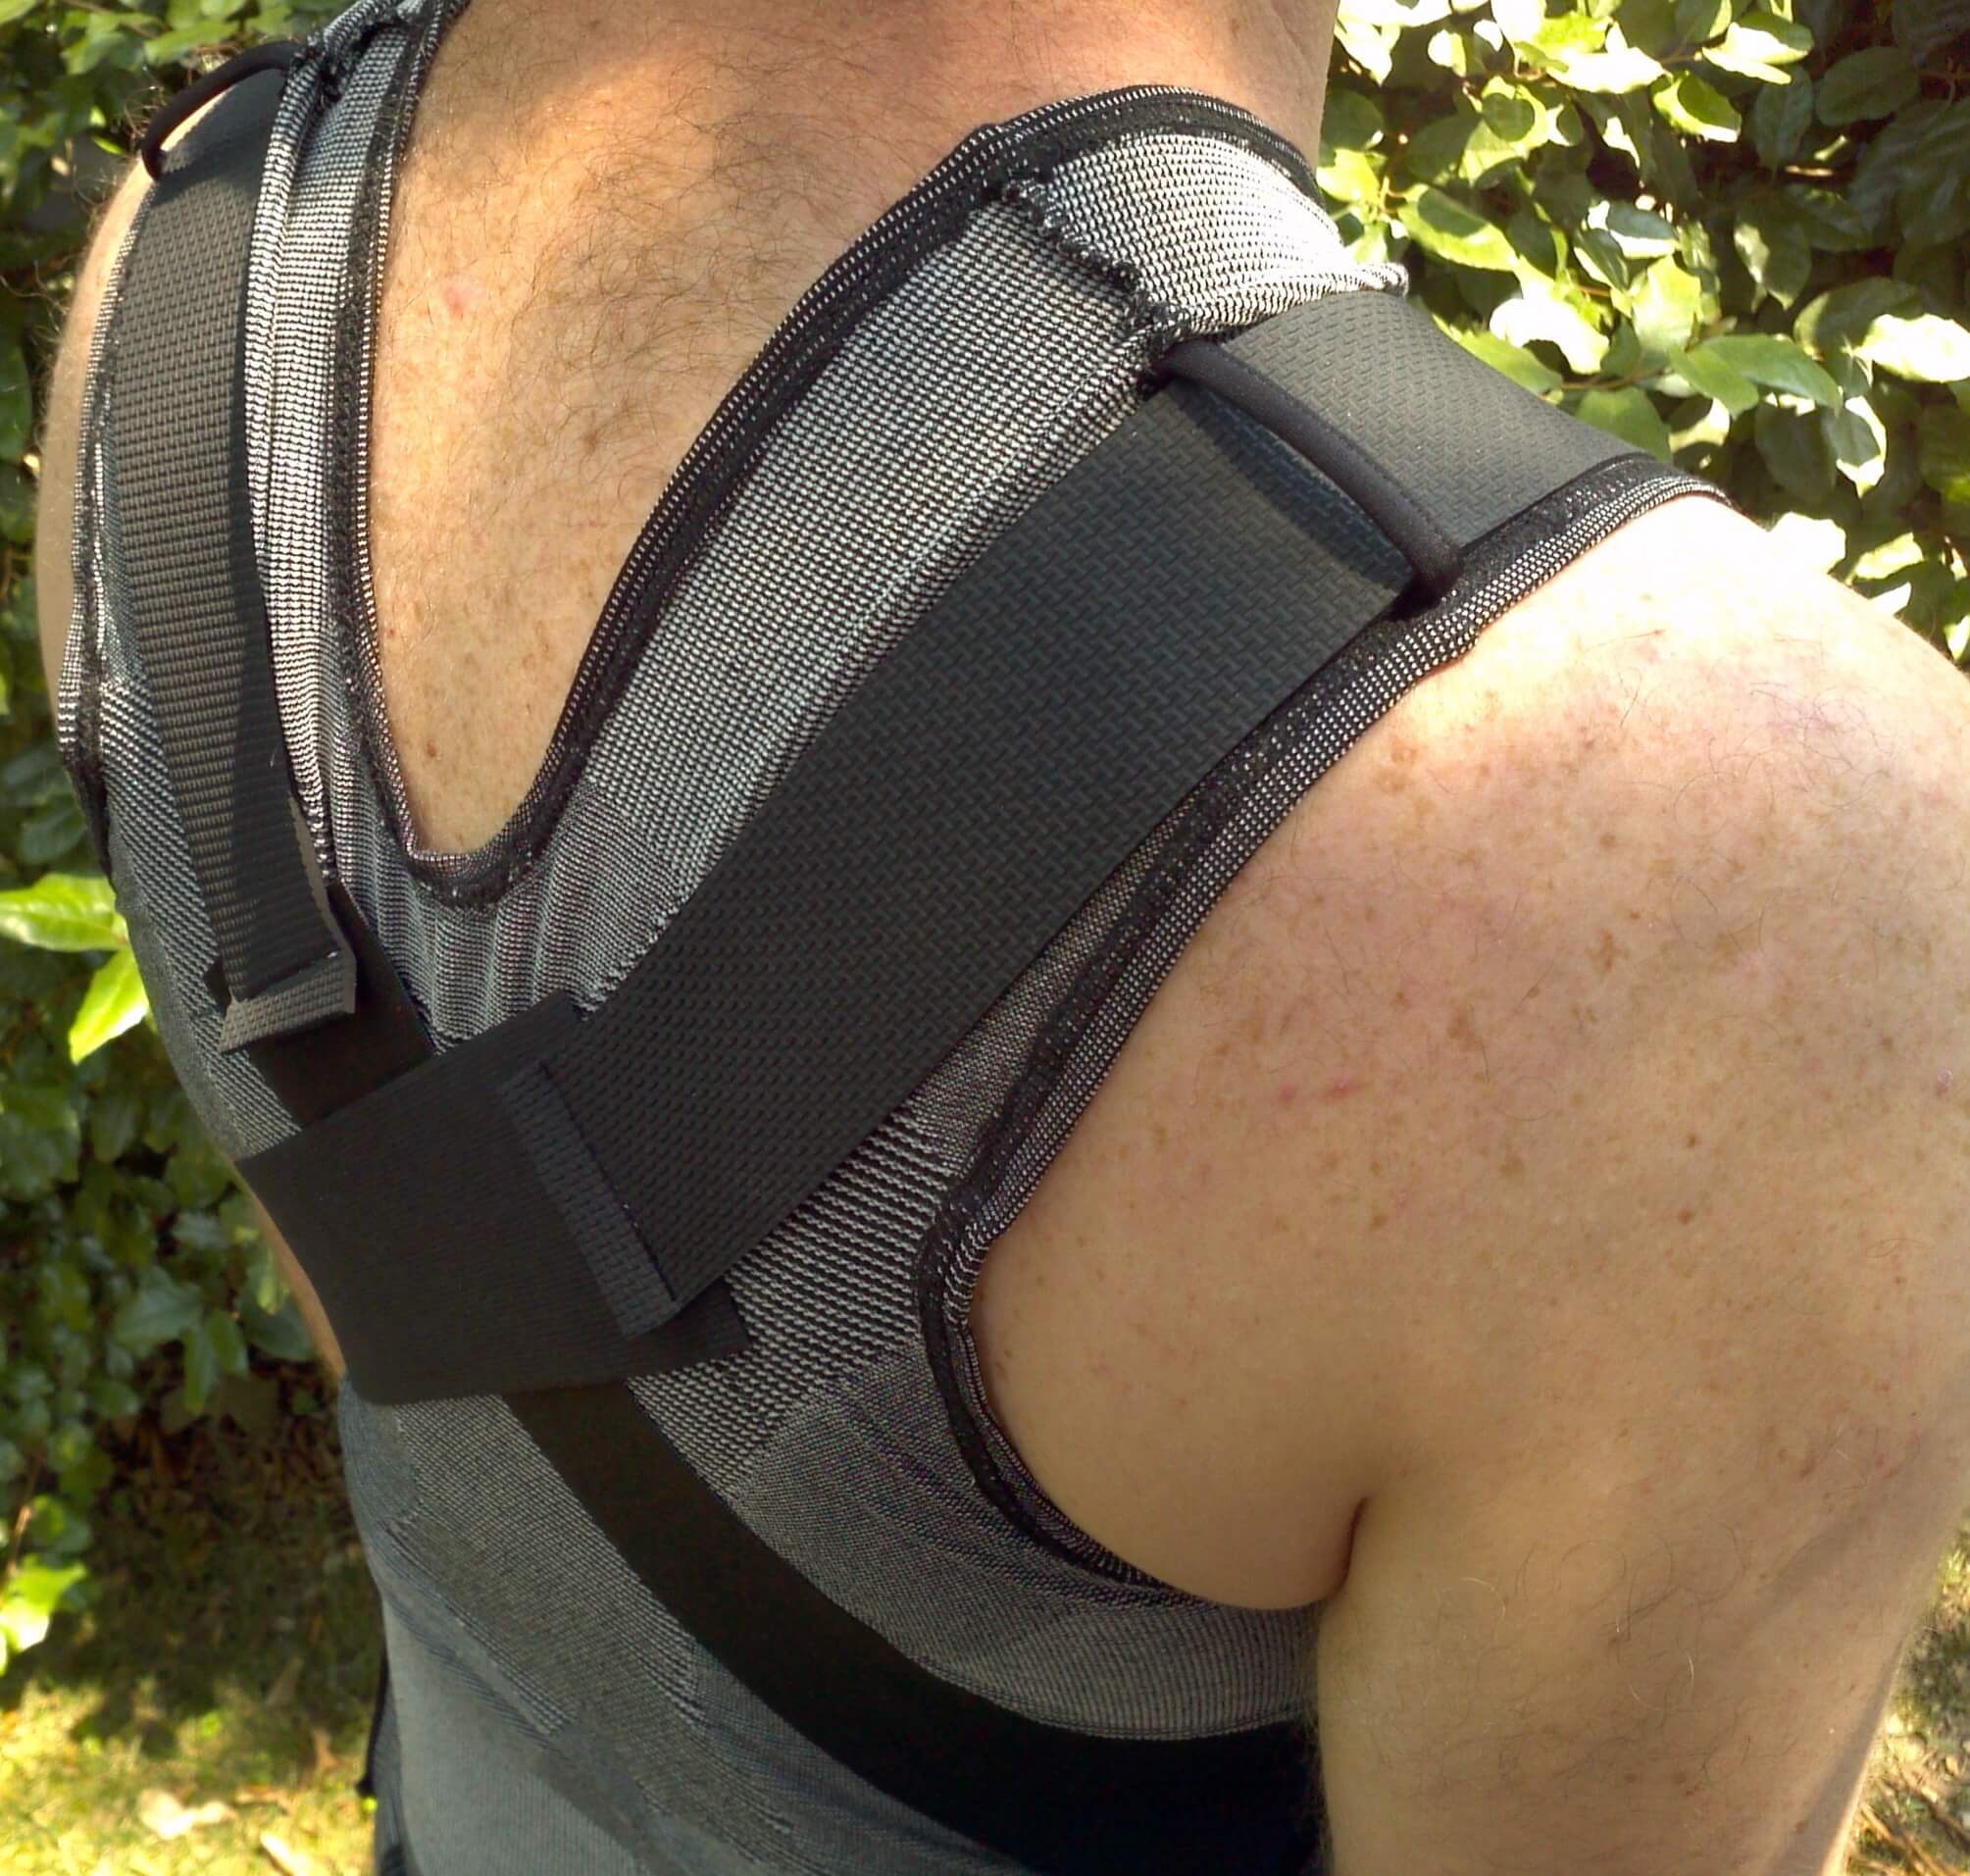
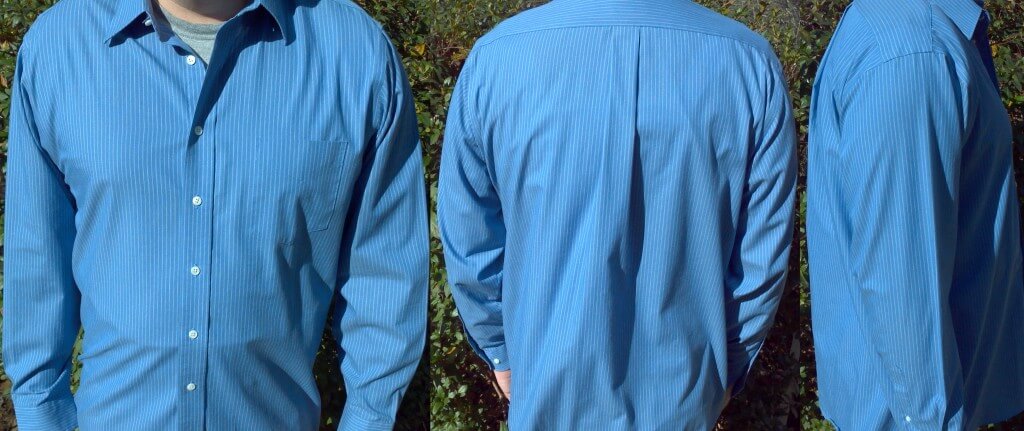 One concern that some may have is concealment of this product. The company advertises this product as being “unnoticeable under clothes”. While this claim is true to some degree, it’s important to note that some parts such as the shoulder pads and belt are visible if worn under tighter fitting garments.
Those who wear loser fitting clothing should have no problem concealing this support. It was virtually undetectable under most of my work attire while it showed through when worn under some T-shirts.
Overall thoughts and recommendation
 Overall, I would say that ITA-MED makes an excellent product that is comfortable, effective, durable, and well designed. A couple key features that I really like about this product were the additional pull straps which made it easy to provide extra support when needed (and less when not needed) and the durable yet soft and comfortable material which made it easy to wear for extended periods of time.
It’s a quality product that is made in the USA and is offered at an affordable price.
While not ideal to wear during a workout, it performed quite well during all other daily activities while at home or at work.
Being Medicare and Medicaid approved and covered by many major insurers is a plus. Even when purchasing outright, it is quite affordable in comparison to similar quality supports.
If you are searching for a product that will comfortably provide extra shoulder and back support and correct your posture, this is definitely a product that I would recommend.
Below are a few pros and cons that you may want to consider when deciding if this posture corrector may be right for you.
Pros
- Light weight and comfortable
- Well designed, well built
- Available in multiple sizes for all – men, women, and children
- Multiple adjustment points allow for a perfect fit
- Mid price range < $70
- Concealable in most instances
- Versatile
- Made in the USA
- May be covered by insurance
Cons
- Must be hand washed
- Not ideal for extreme physical activity
Still Need Help Choosing a Posture Brace?
From posture supports and resistance trainers to biofeedback shirts, there are well over 100 products that are currently being sold in stores and online. With so many to choose from, finding one that delivers can be challenging to say the least.
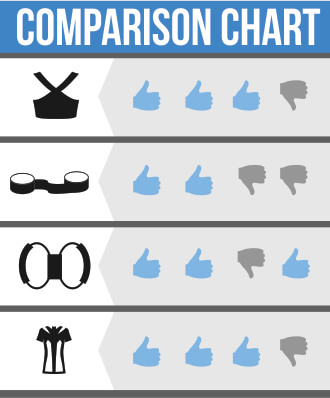
After evaluating over 25 of the most popular products being sold, I have created this Posture brace comparison table which assigns a ranking to each product based on criteria such as comfort, effectiveness, innovativeness, durability, and cost.

 The manufacturer suggests that this product has been evaluated using a research study and was found to reduce upper back pain by 79%, middle back pain by 72% and lower back pain by 38%.

 The Body-Rite can be purchased directly from the manufacturer, on Amazon, or from a number of retailers including big box stores such as Walmart and JcPenney.
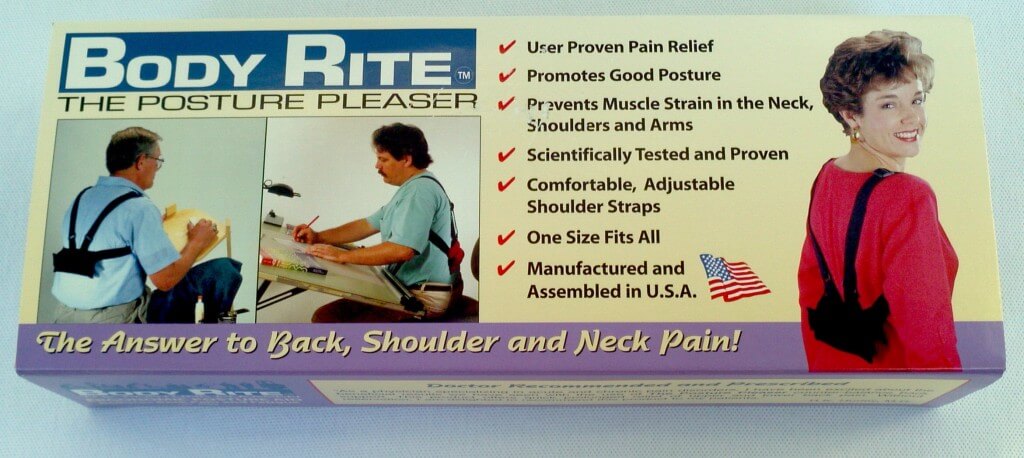
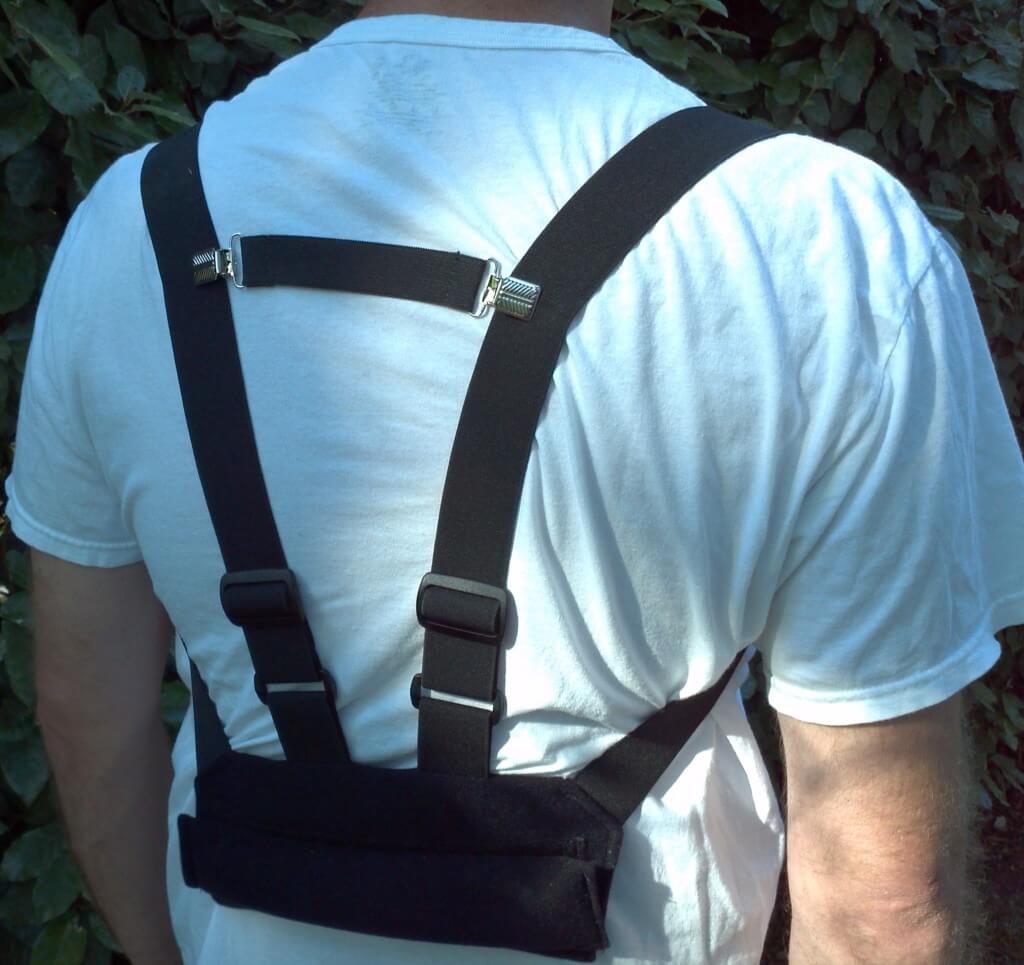
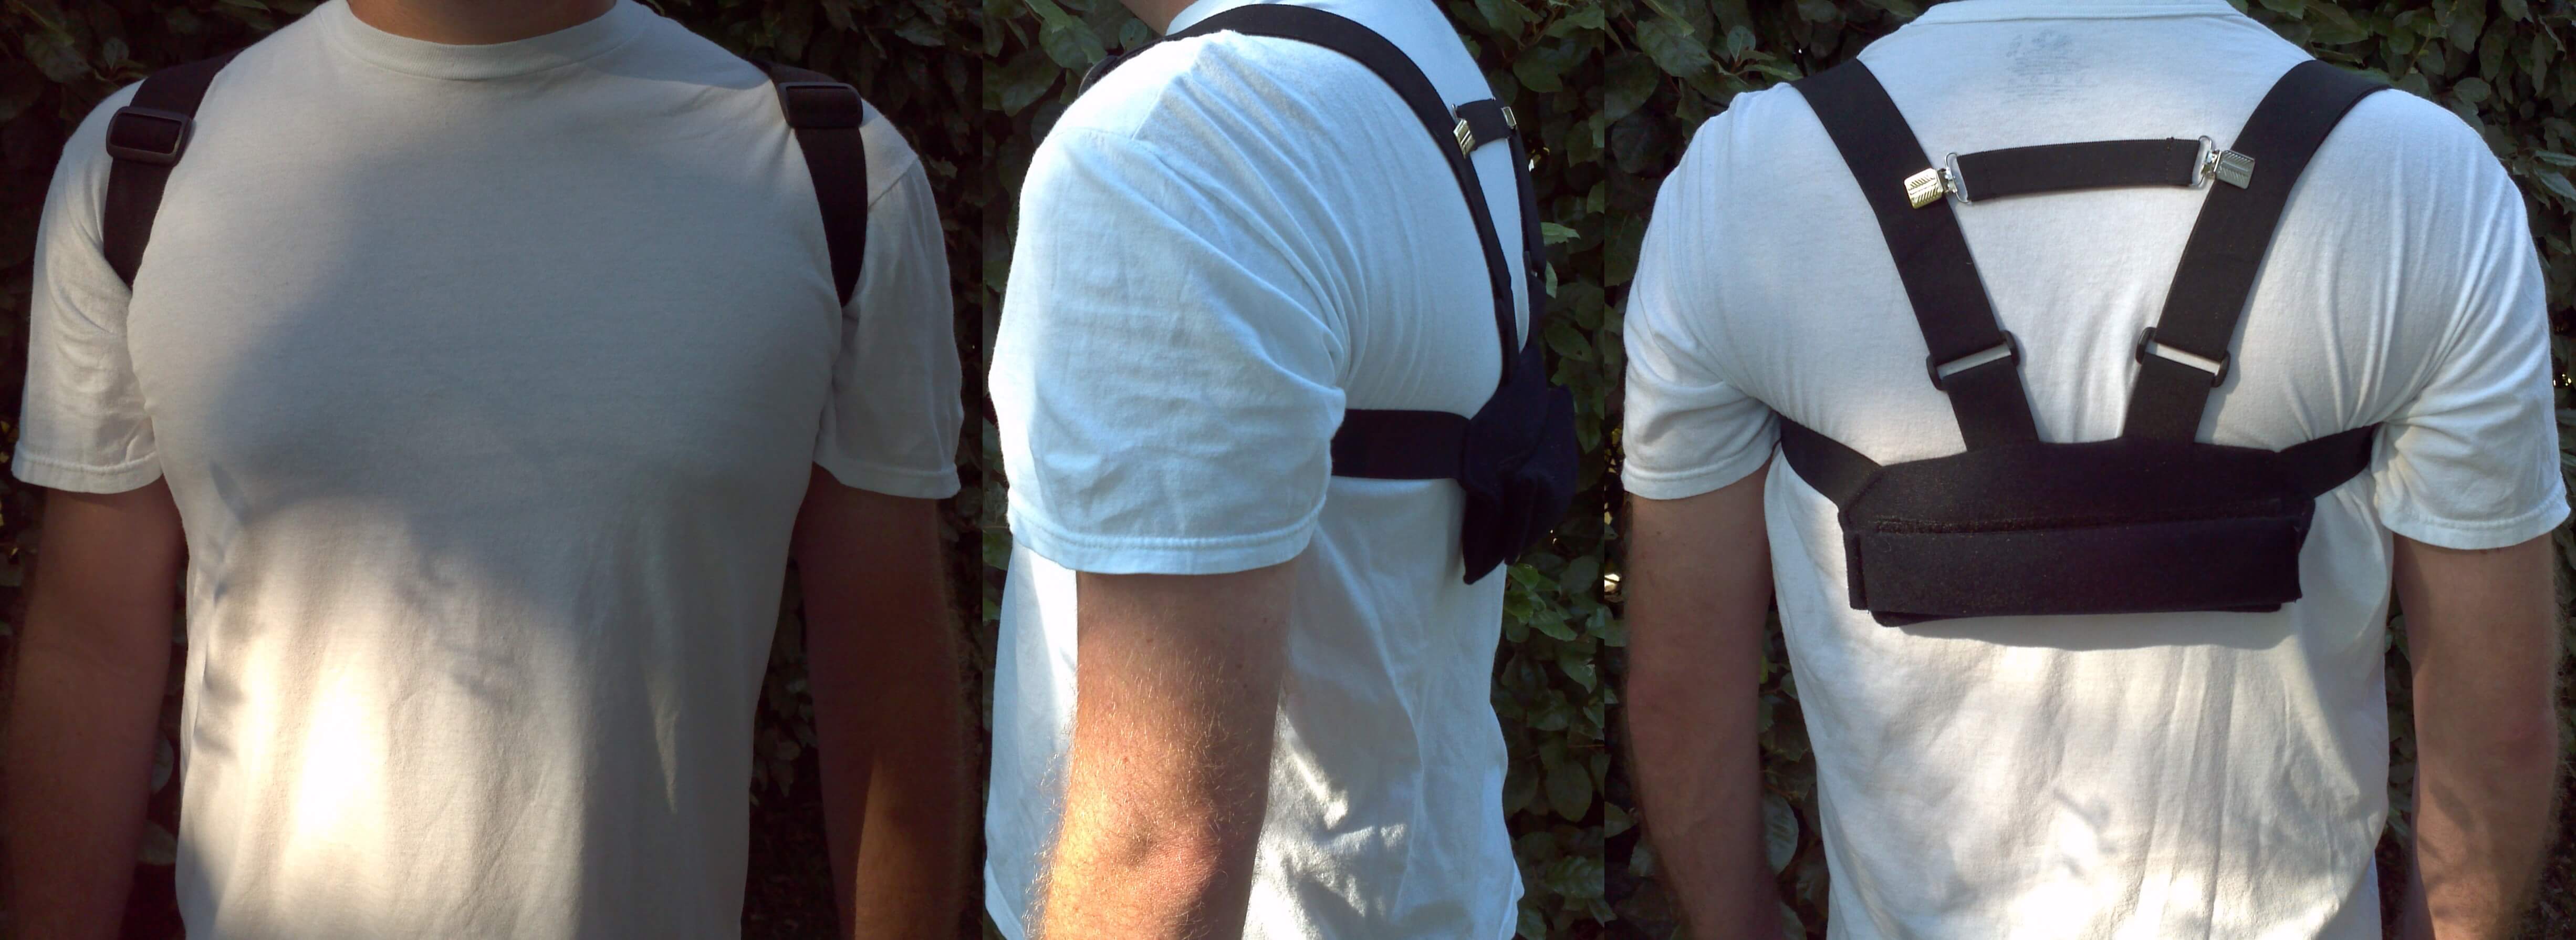
 I must admit, I was immediately skeptical when I first saw the dated packaging and instruction manual that came with the Body-Rite. My first impression of the device was that it seemed to be a pair of suspender straps with a bean bag mounted at the rear. After wearing it for the first hour I began to form an entirely different opinion. This product really works in an entirely different way than traditional posture correcting systems.
 In the information pamphlet the manufacturer offers some statistics concerning the reduction of back pain while using the BRPP. While these statistics seem impressive, no information is available to validate these claims.
 Pros
Pros Cons
Cons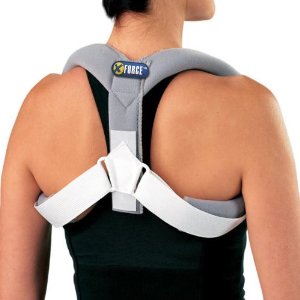
 It’s commonly believed that the “fix” for bad posture is to find a good posture brace and wear it every day. While doing so may give you the temporary appearance of good posture, it does not address the underlying causes of poor posture.
 The Xforce is produced by Surgik LC which is based out of Broken Arrow, OK. The company is headed by Luis Hernandez who is listed as the owner. They sell this support along with several others under the affiliated company name Ubraces.
 The Xforce currently sells for $19.95 with free 5-7 day ground shipping. You can upgrade the shipping to 2-5 day priority for an additional $6.50. In comparison to other posture supports, the overall cost is significantly less.
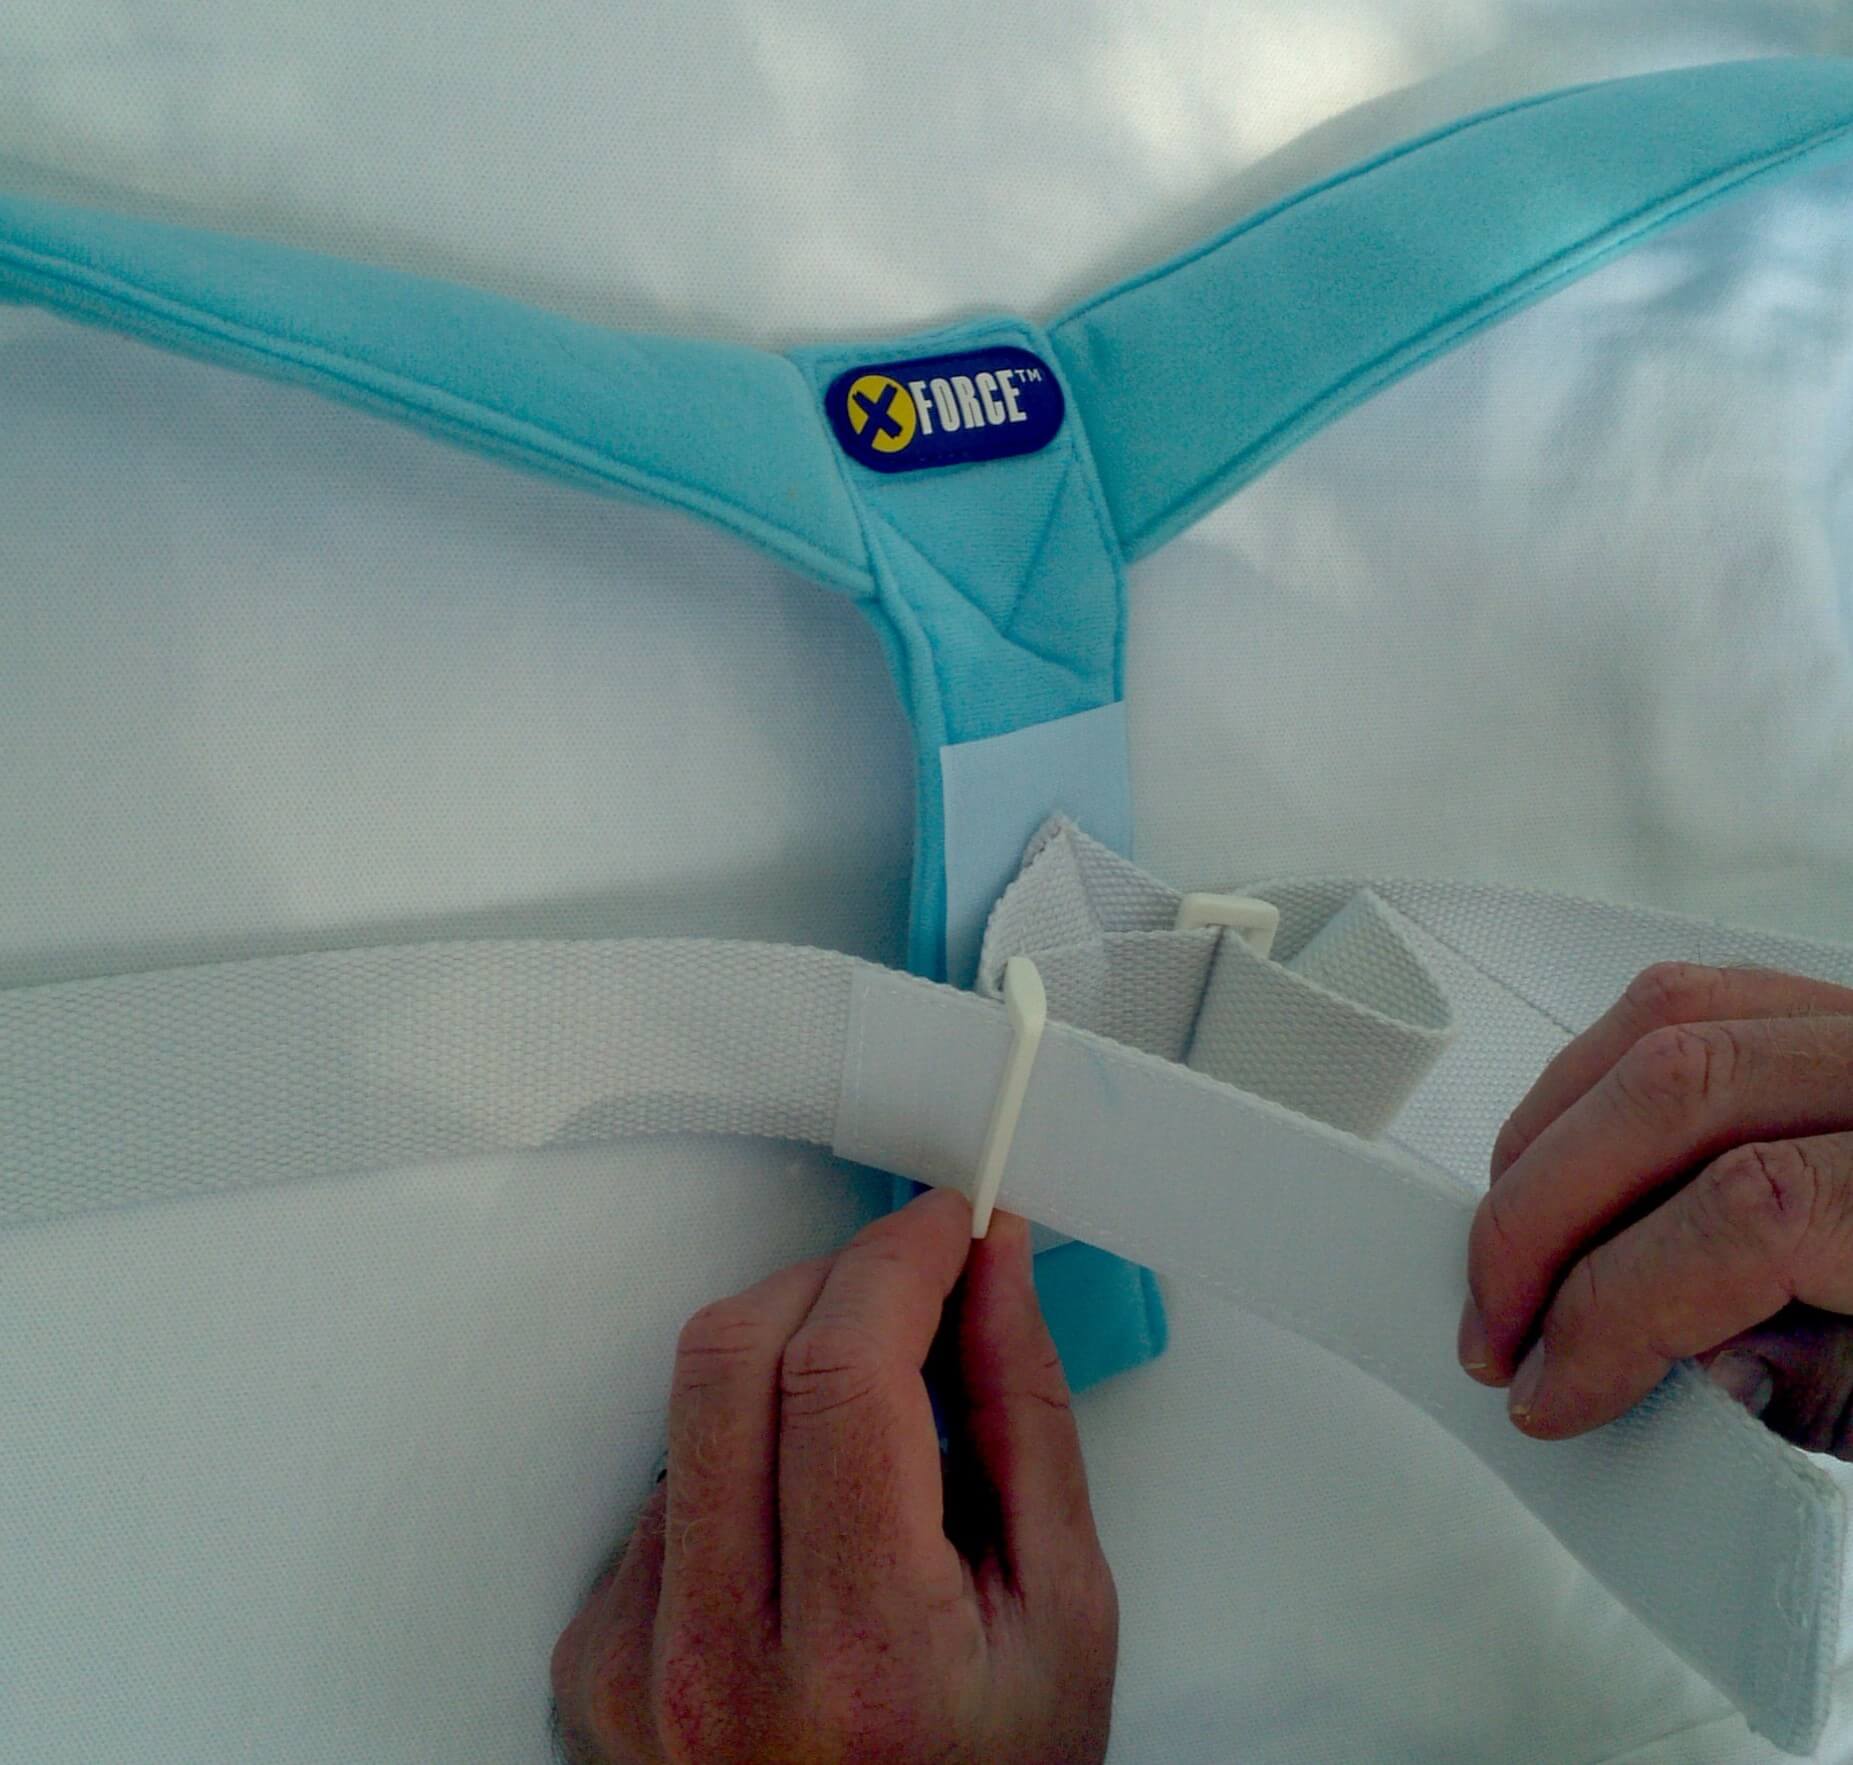


 Two conditions must be met in order to qualify:
 United Health Care classifies such devices as “
 Most traditional Aetna plans will cover a posture brace. They do specify that the device must be medically necessary to treat disease or injury.
 According to Cigna
 Tricare covers Durable Medical equipment, including posture braces as long as certain criteria are met. According to


 Both the original and lite versions sell for $49.95 each + $13.95 for domestic US shipping. International shipping is available at a cost of $27.95. Total cost shipped to your doorstep:
 The L3650 code classifies the ShouldersBack as a “Shoulder Orthosis, figure of eight design abduction restrainer, prefabricated, includes fitting and adjustment.”
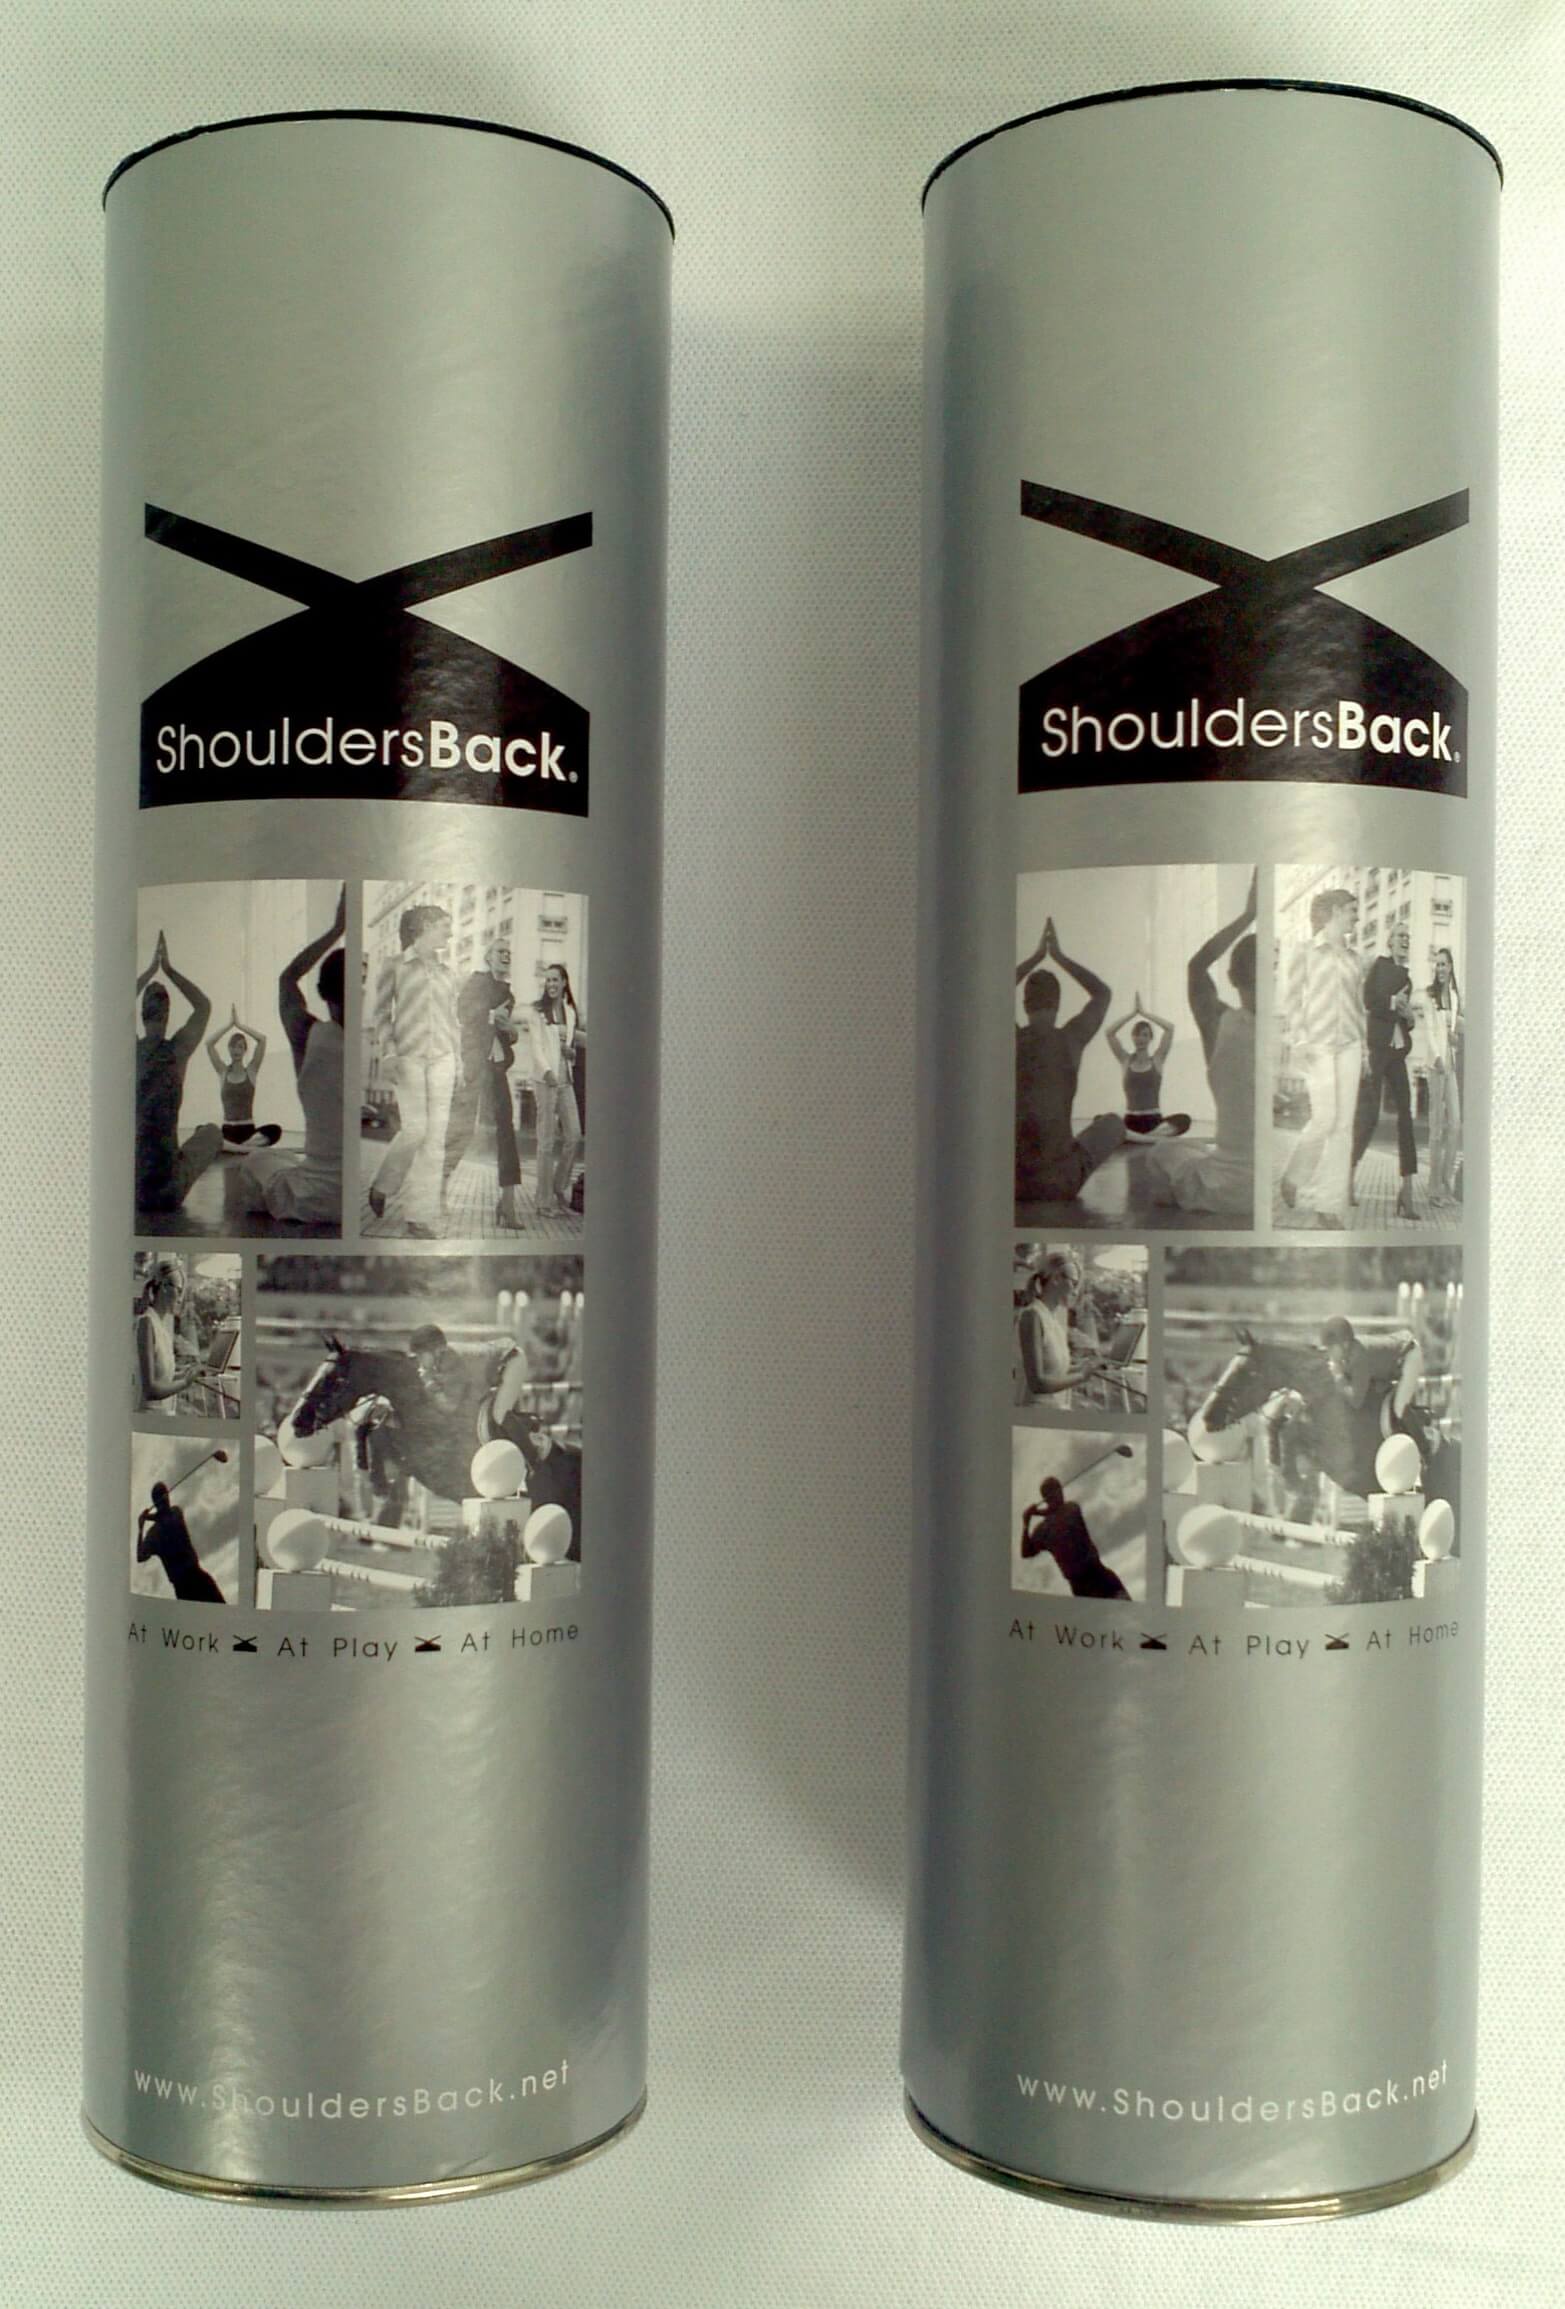
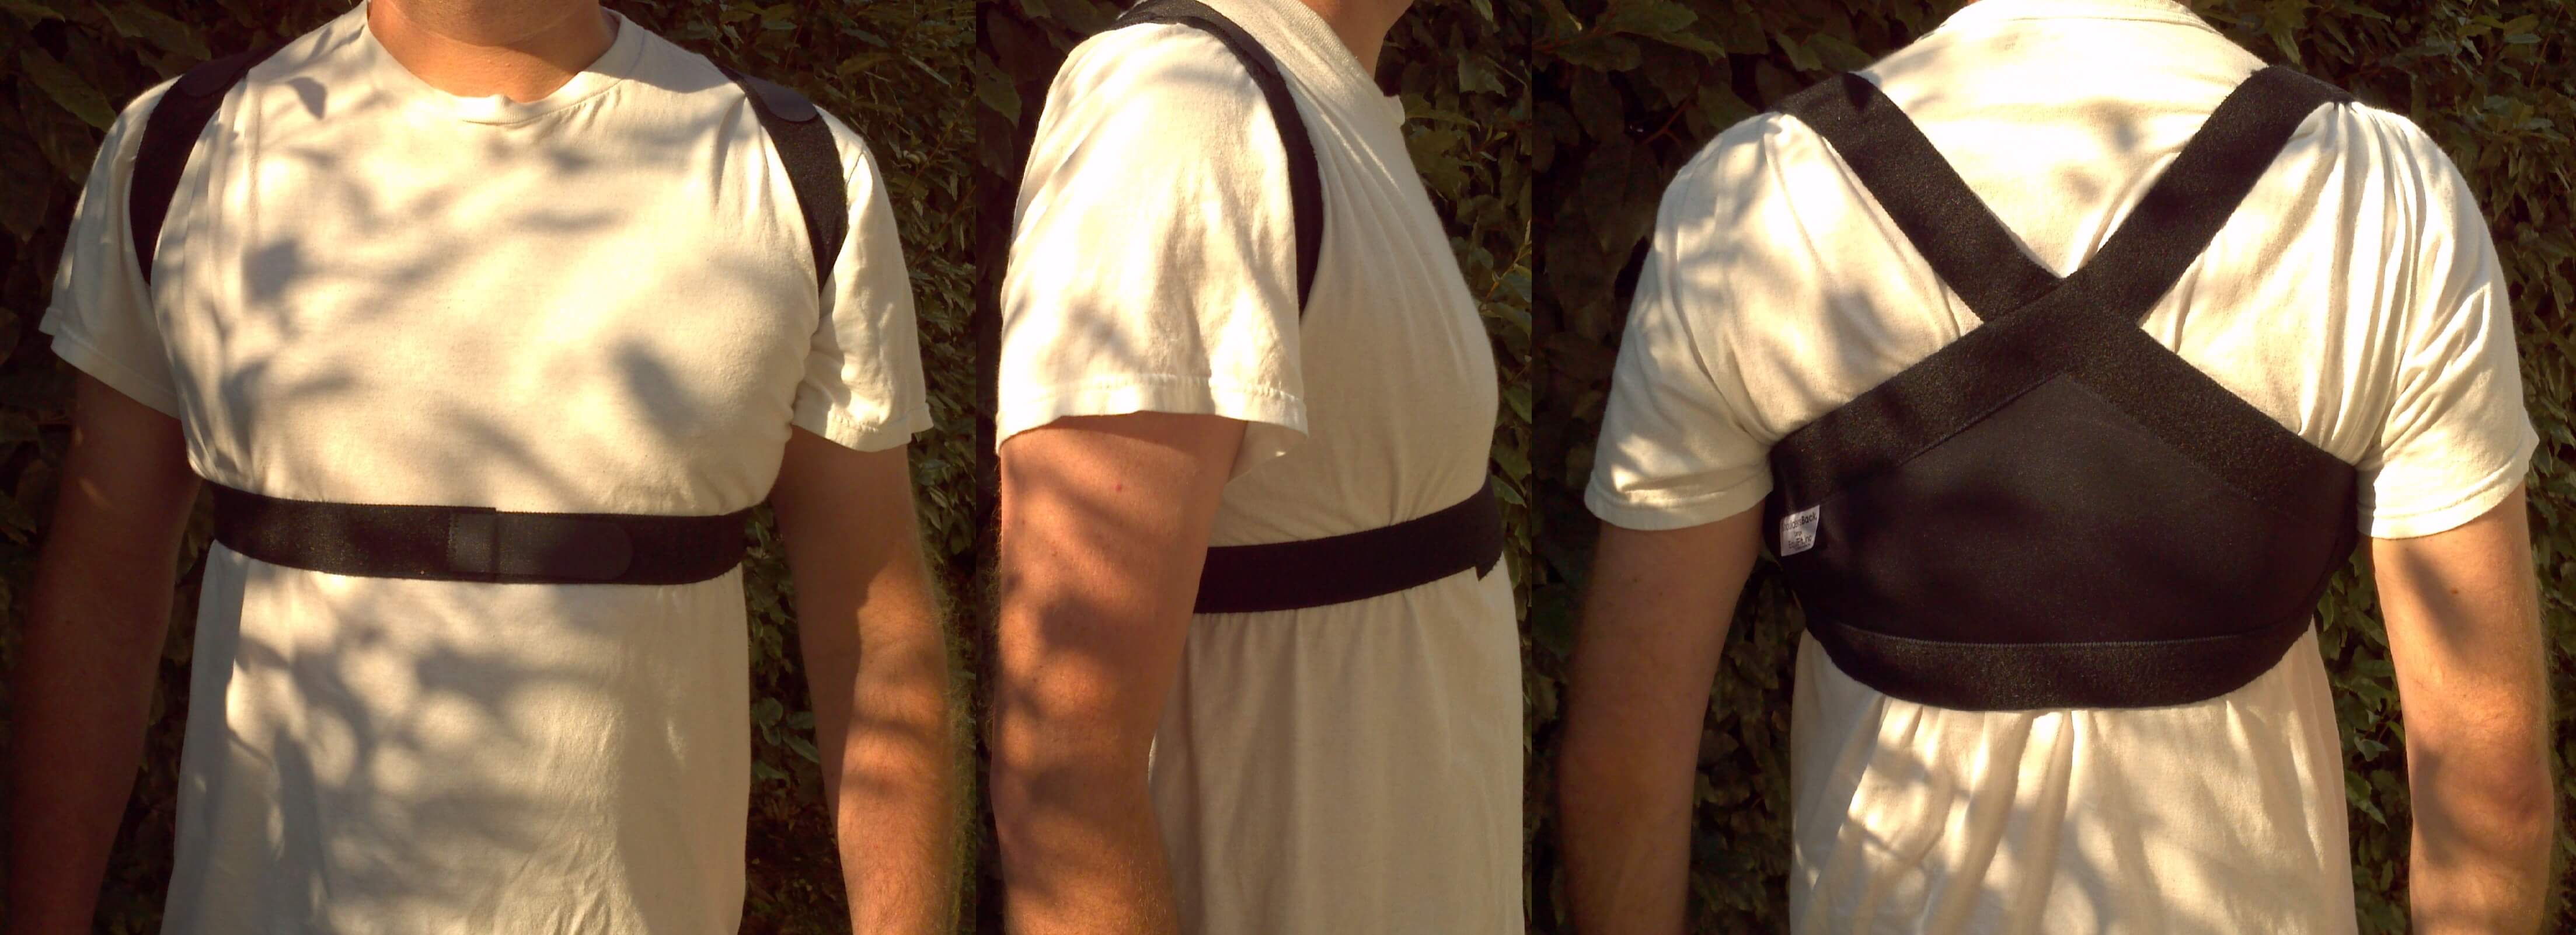
 The ShouldersBack performed well under nearly all conditions. The soft elastic bands consistently provided shoulder support while not restricting movement.


 The concept behind the PostureNow is very simple but still seems to be misunderstood by some. If you are in search of support style posture brace then you are going to be disappointed with this product simply because it is not designed to
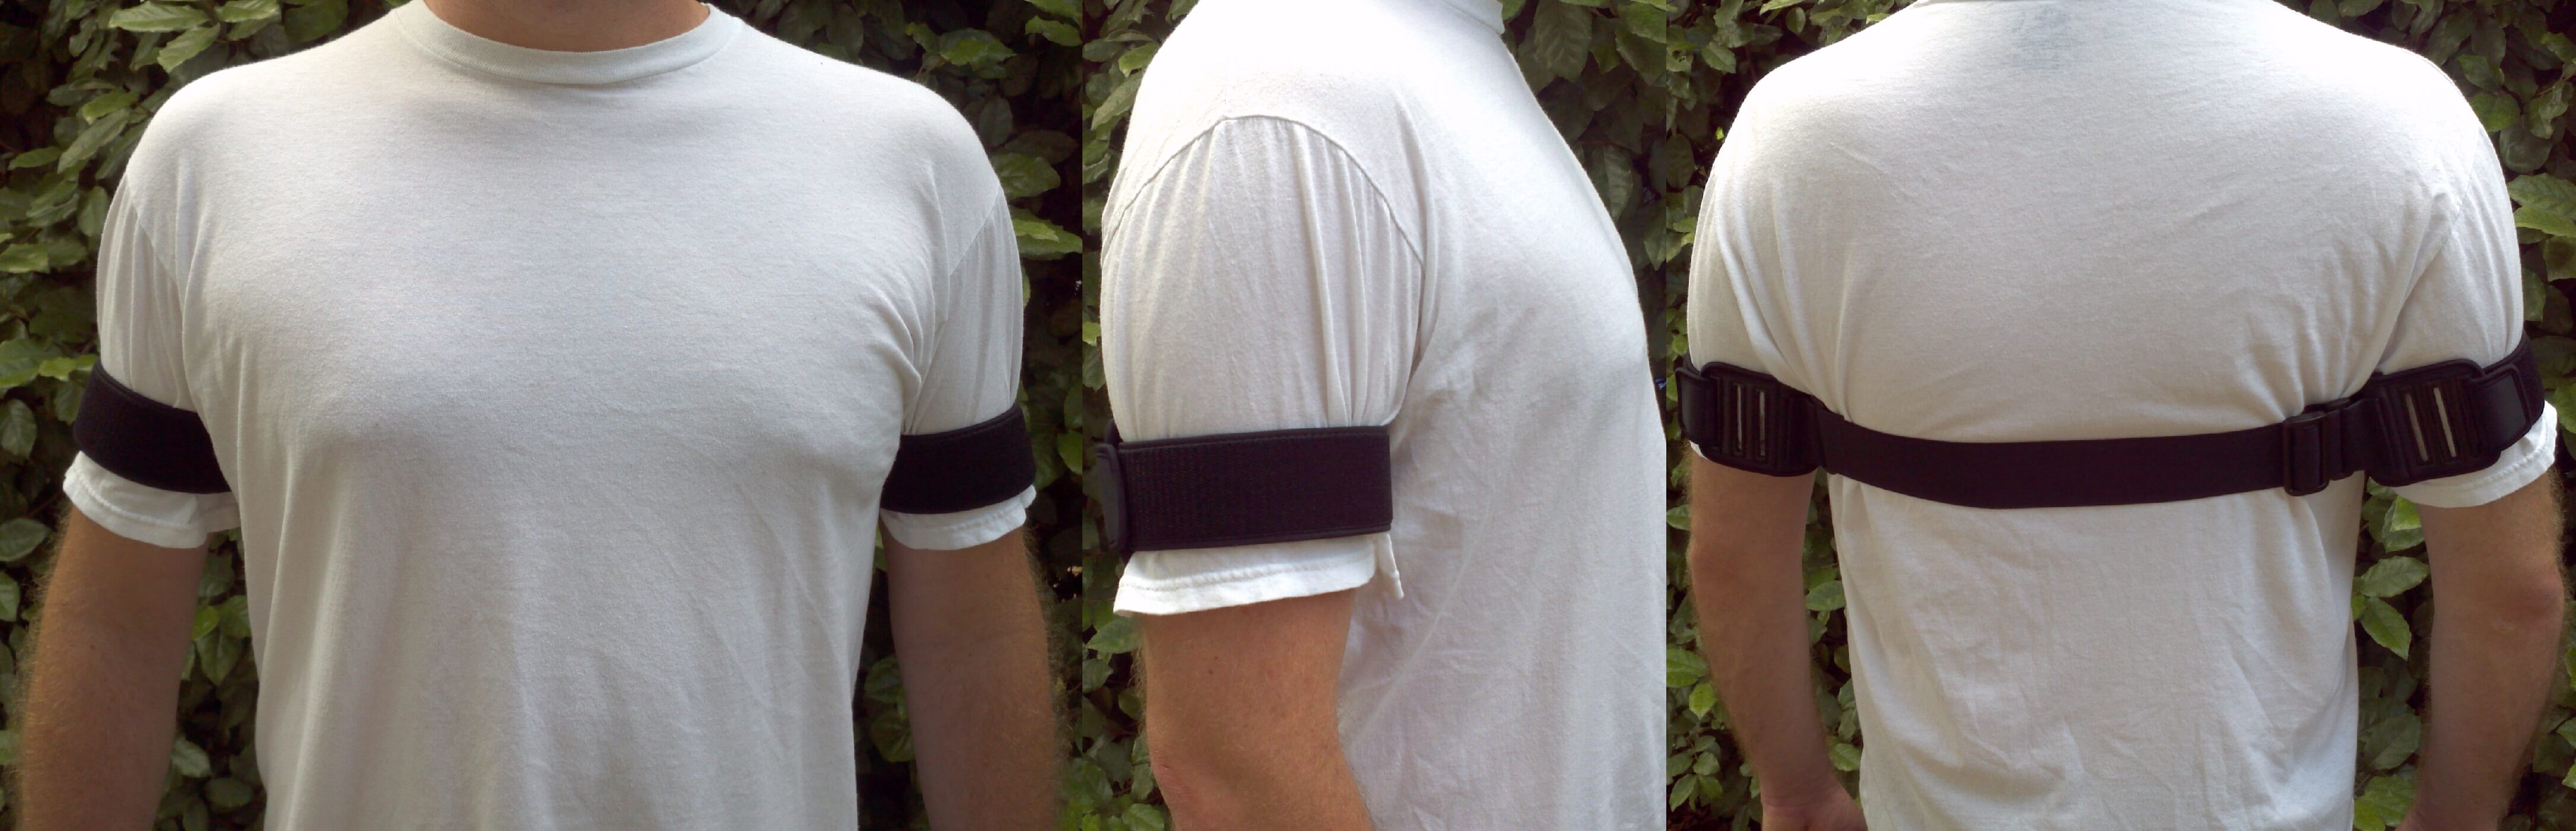
 Within the first week I was able to spend the whole 30 minutes upright while avoiding any stretching of the elastic band for the most part. After removing it I continued to be aware of my posture throughout the day and would often catch myself if and when I started to slouch.
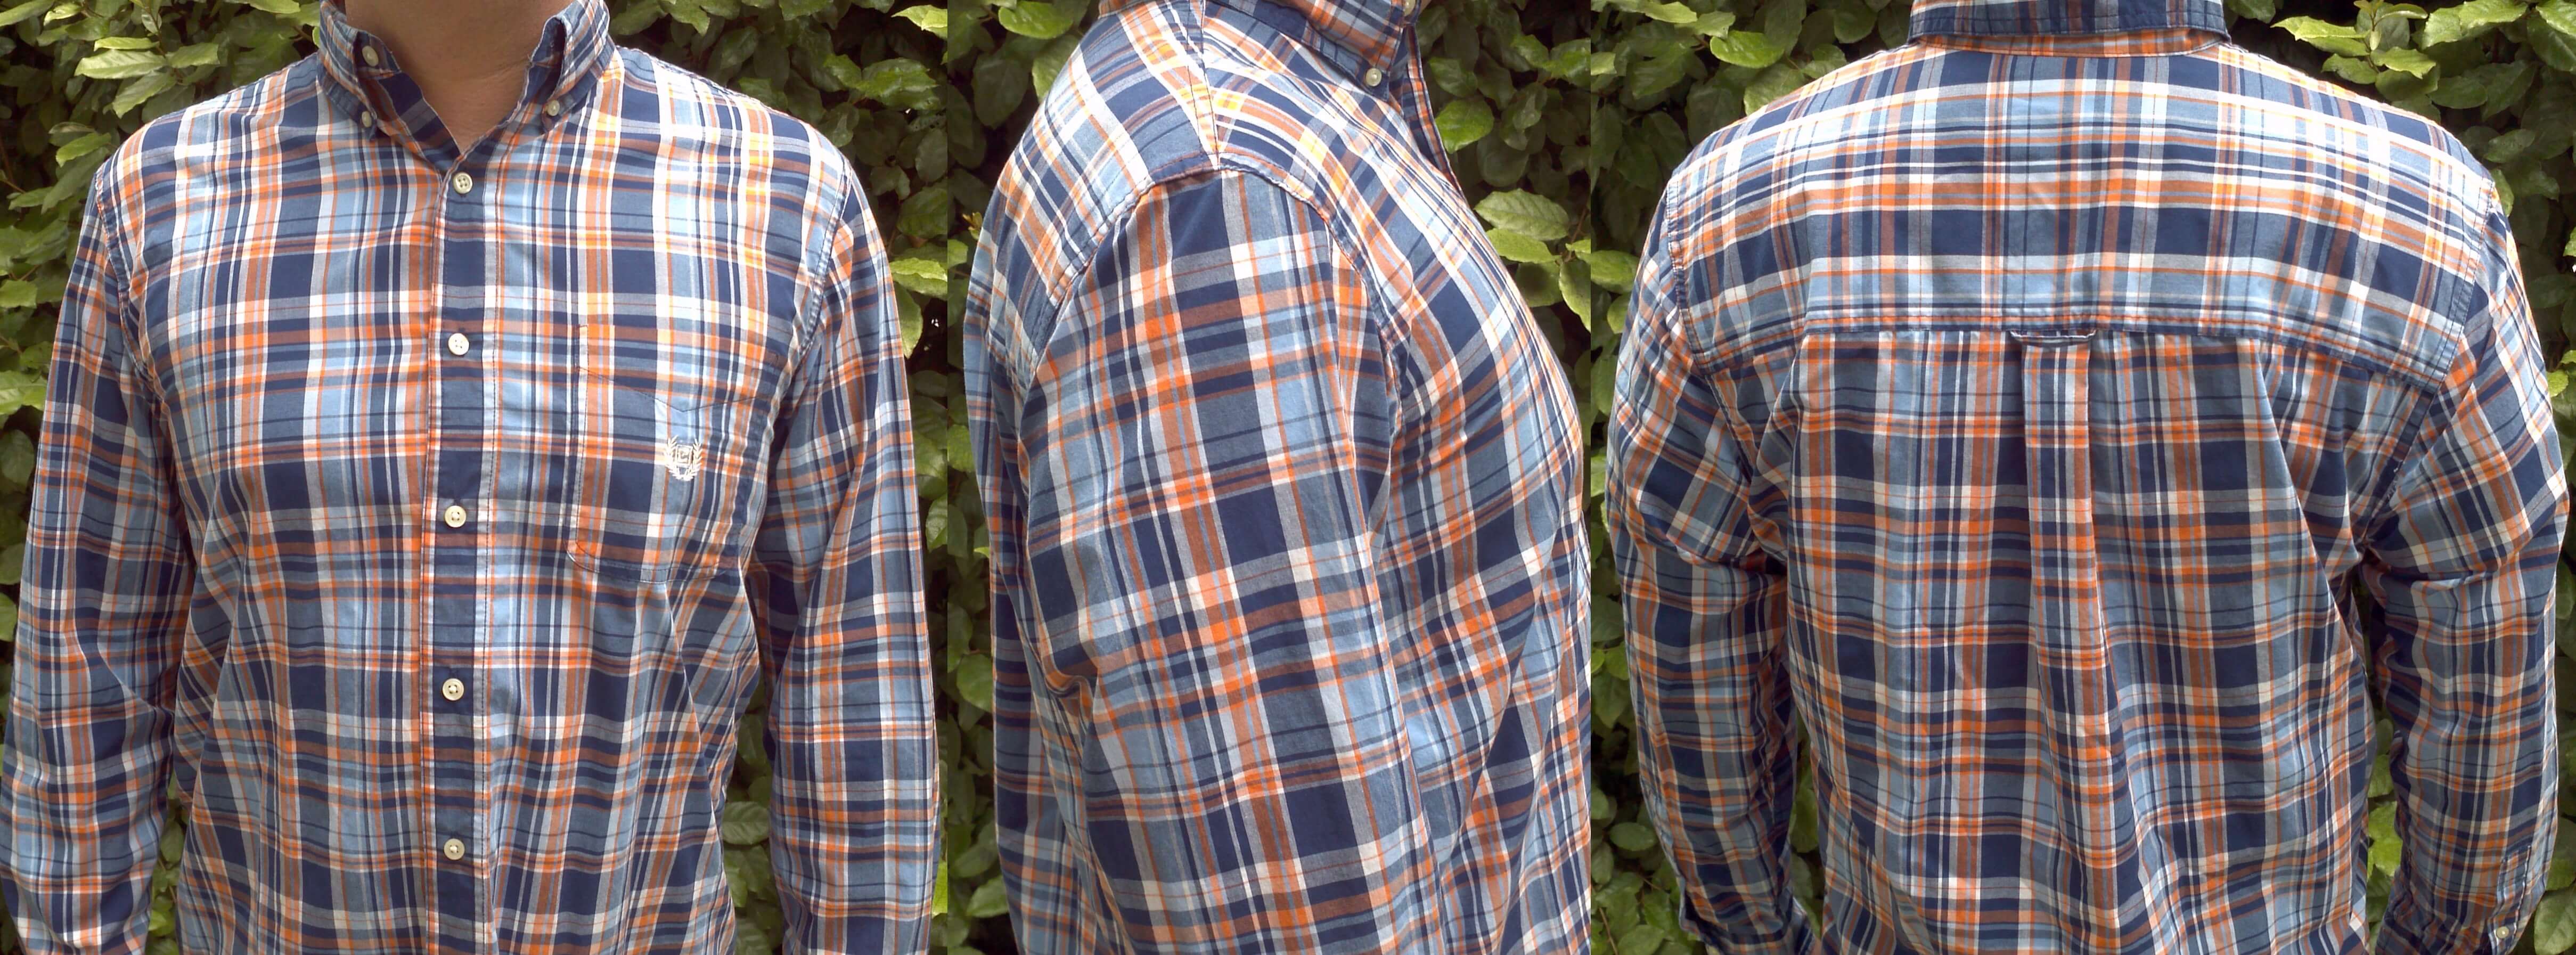
 When fitted properly and used as instructed, the PostureNow is a fantastic product that produces results. You must be committed to retraining your posture otherwise you will fail regardless of which posture training system that you choose. Using a training system such as the PostureNow opposed to a simple brace or support is almost always a better choice as you are retraining your posture which boils down to correcting a bad habit.

 This product has two different price points.
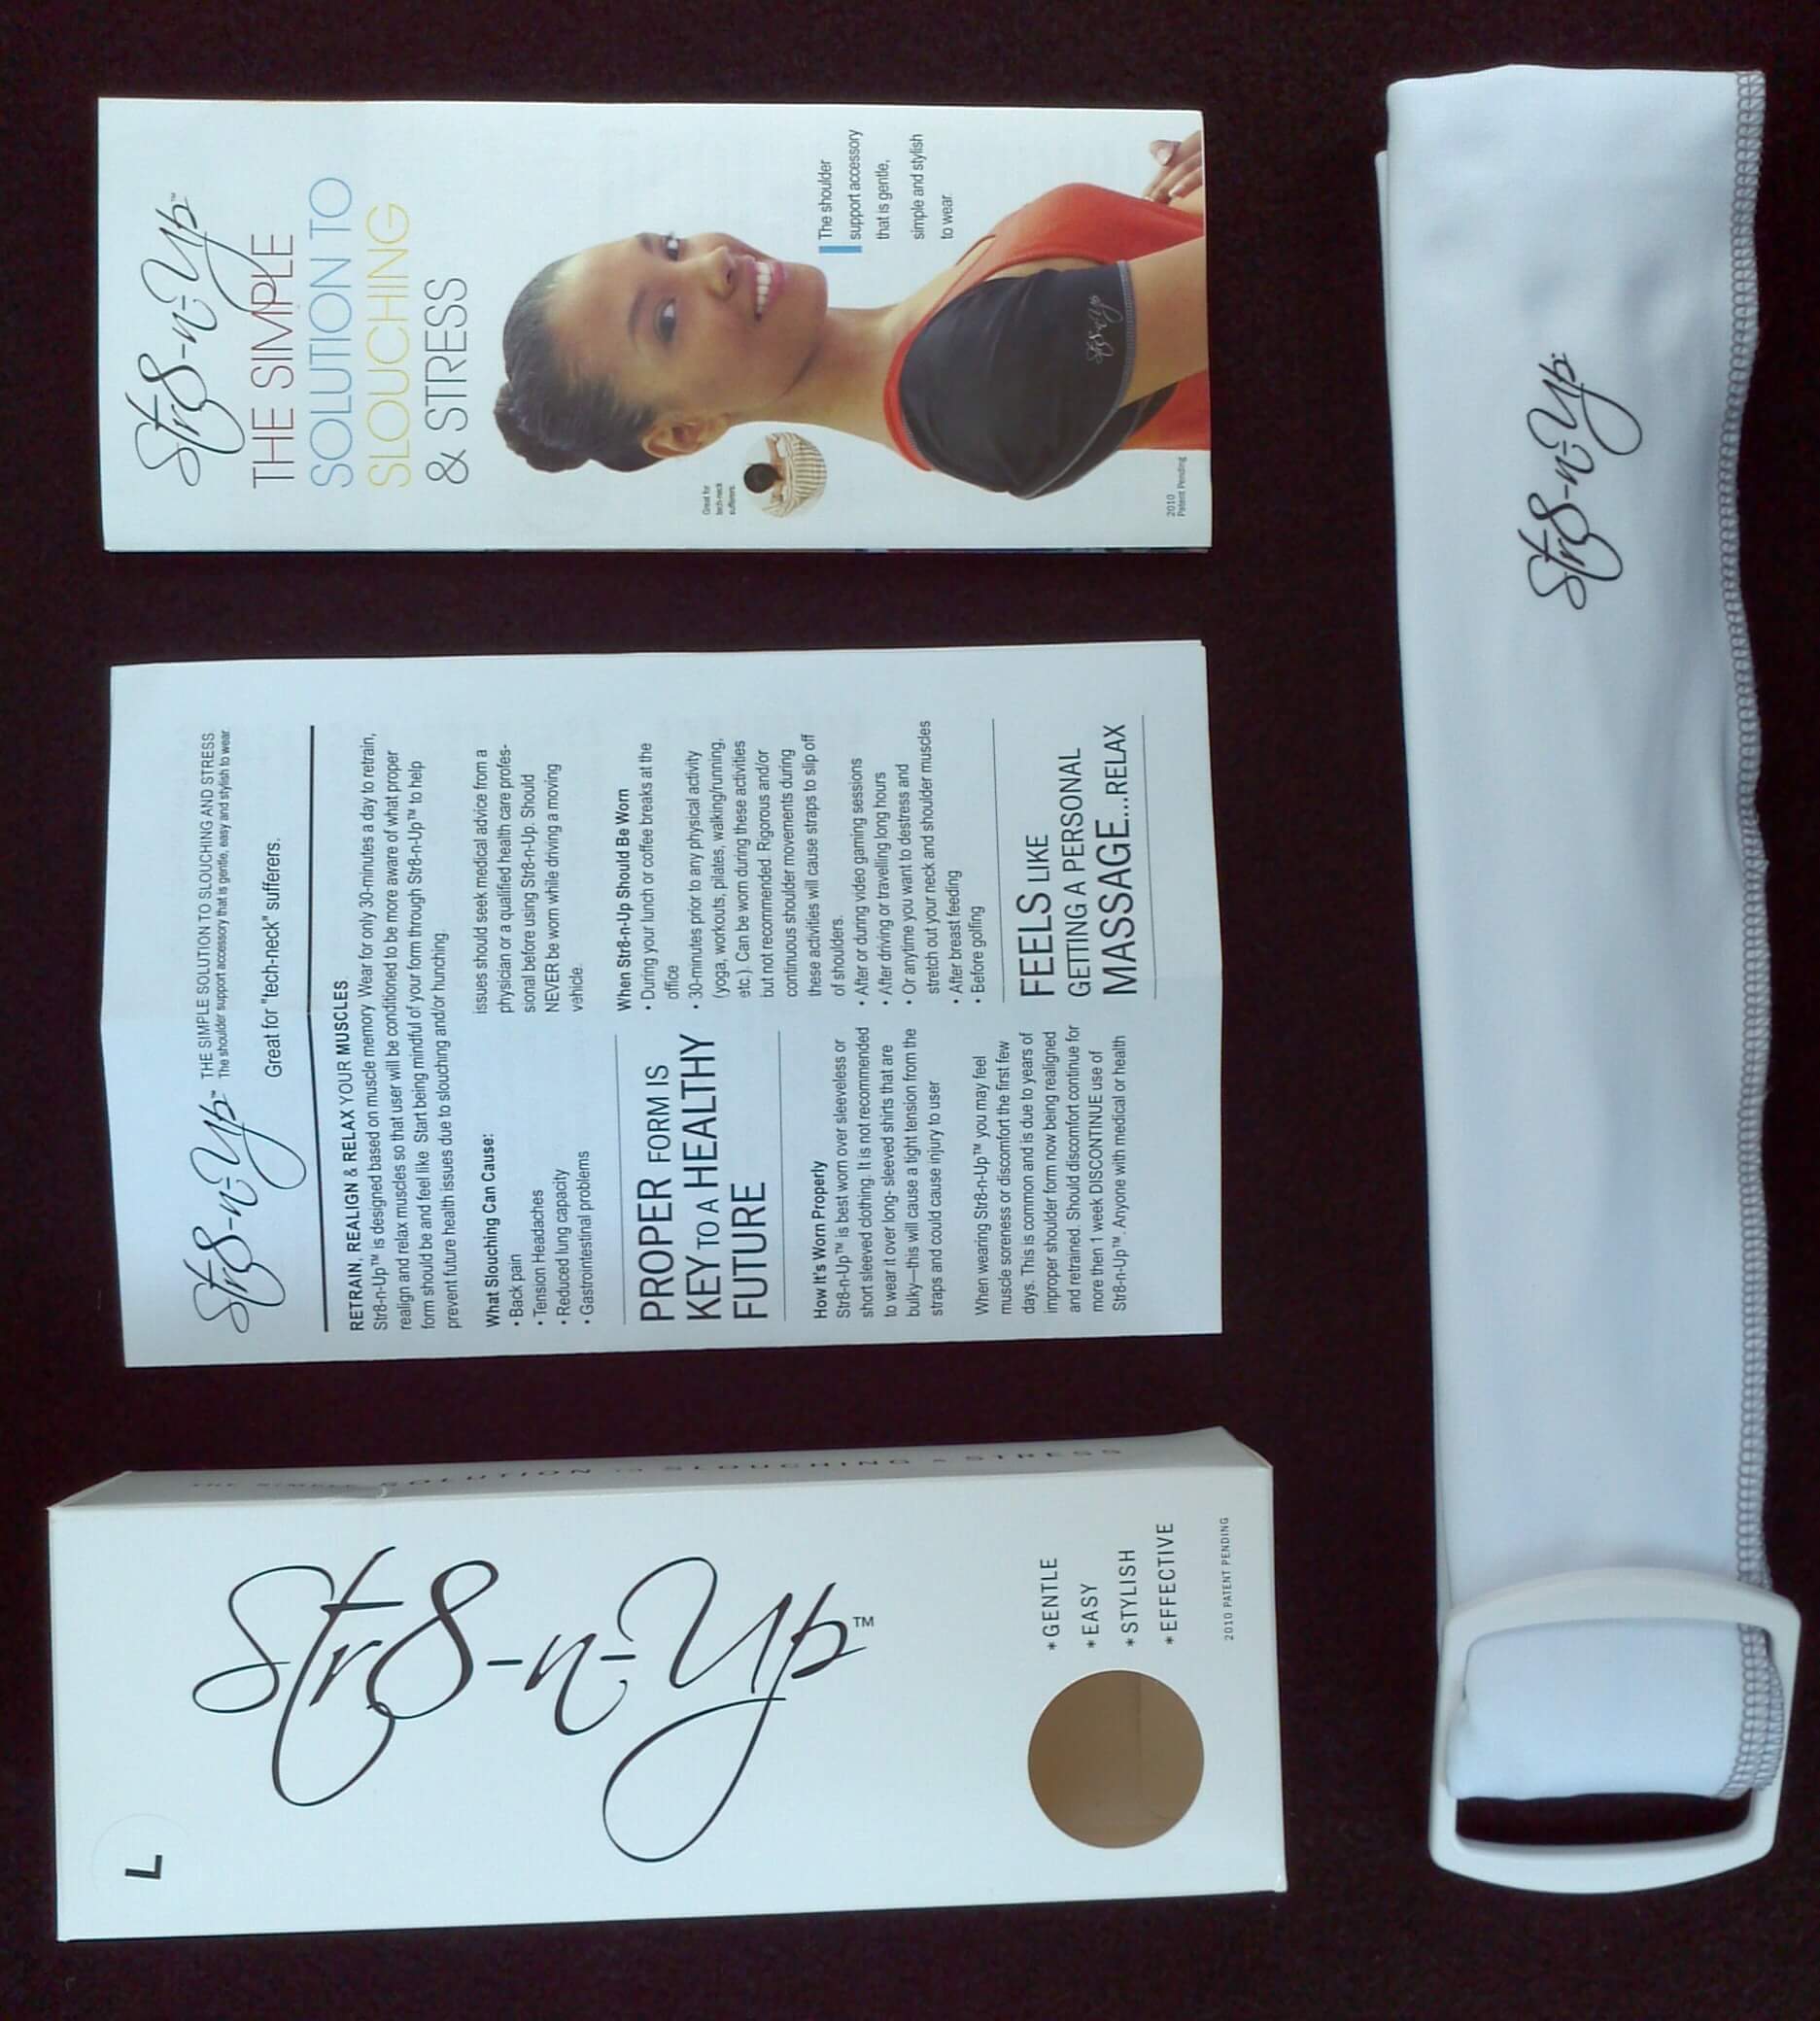
 For the next two weeks I wore it
  If asked to describe the Str8-n-Up in three words they would have to be simple, effective, and affordable. The company stands up to their claims as this support can be used as an effective tool to help you retrain your muscle memory by reminding you not to slouch. The downward resistance helps to relieve built up tension in the shoulders due to stress. The soft spandex material makes it very comfortable to wear. Unlike some of the other shoulder supports, this one is not extremely tight and does not leave red marks on your skin after using it.
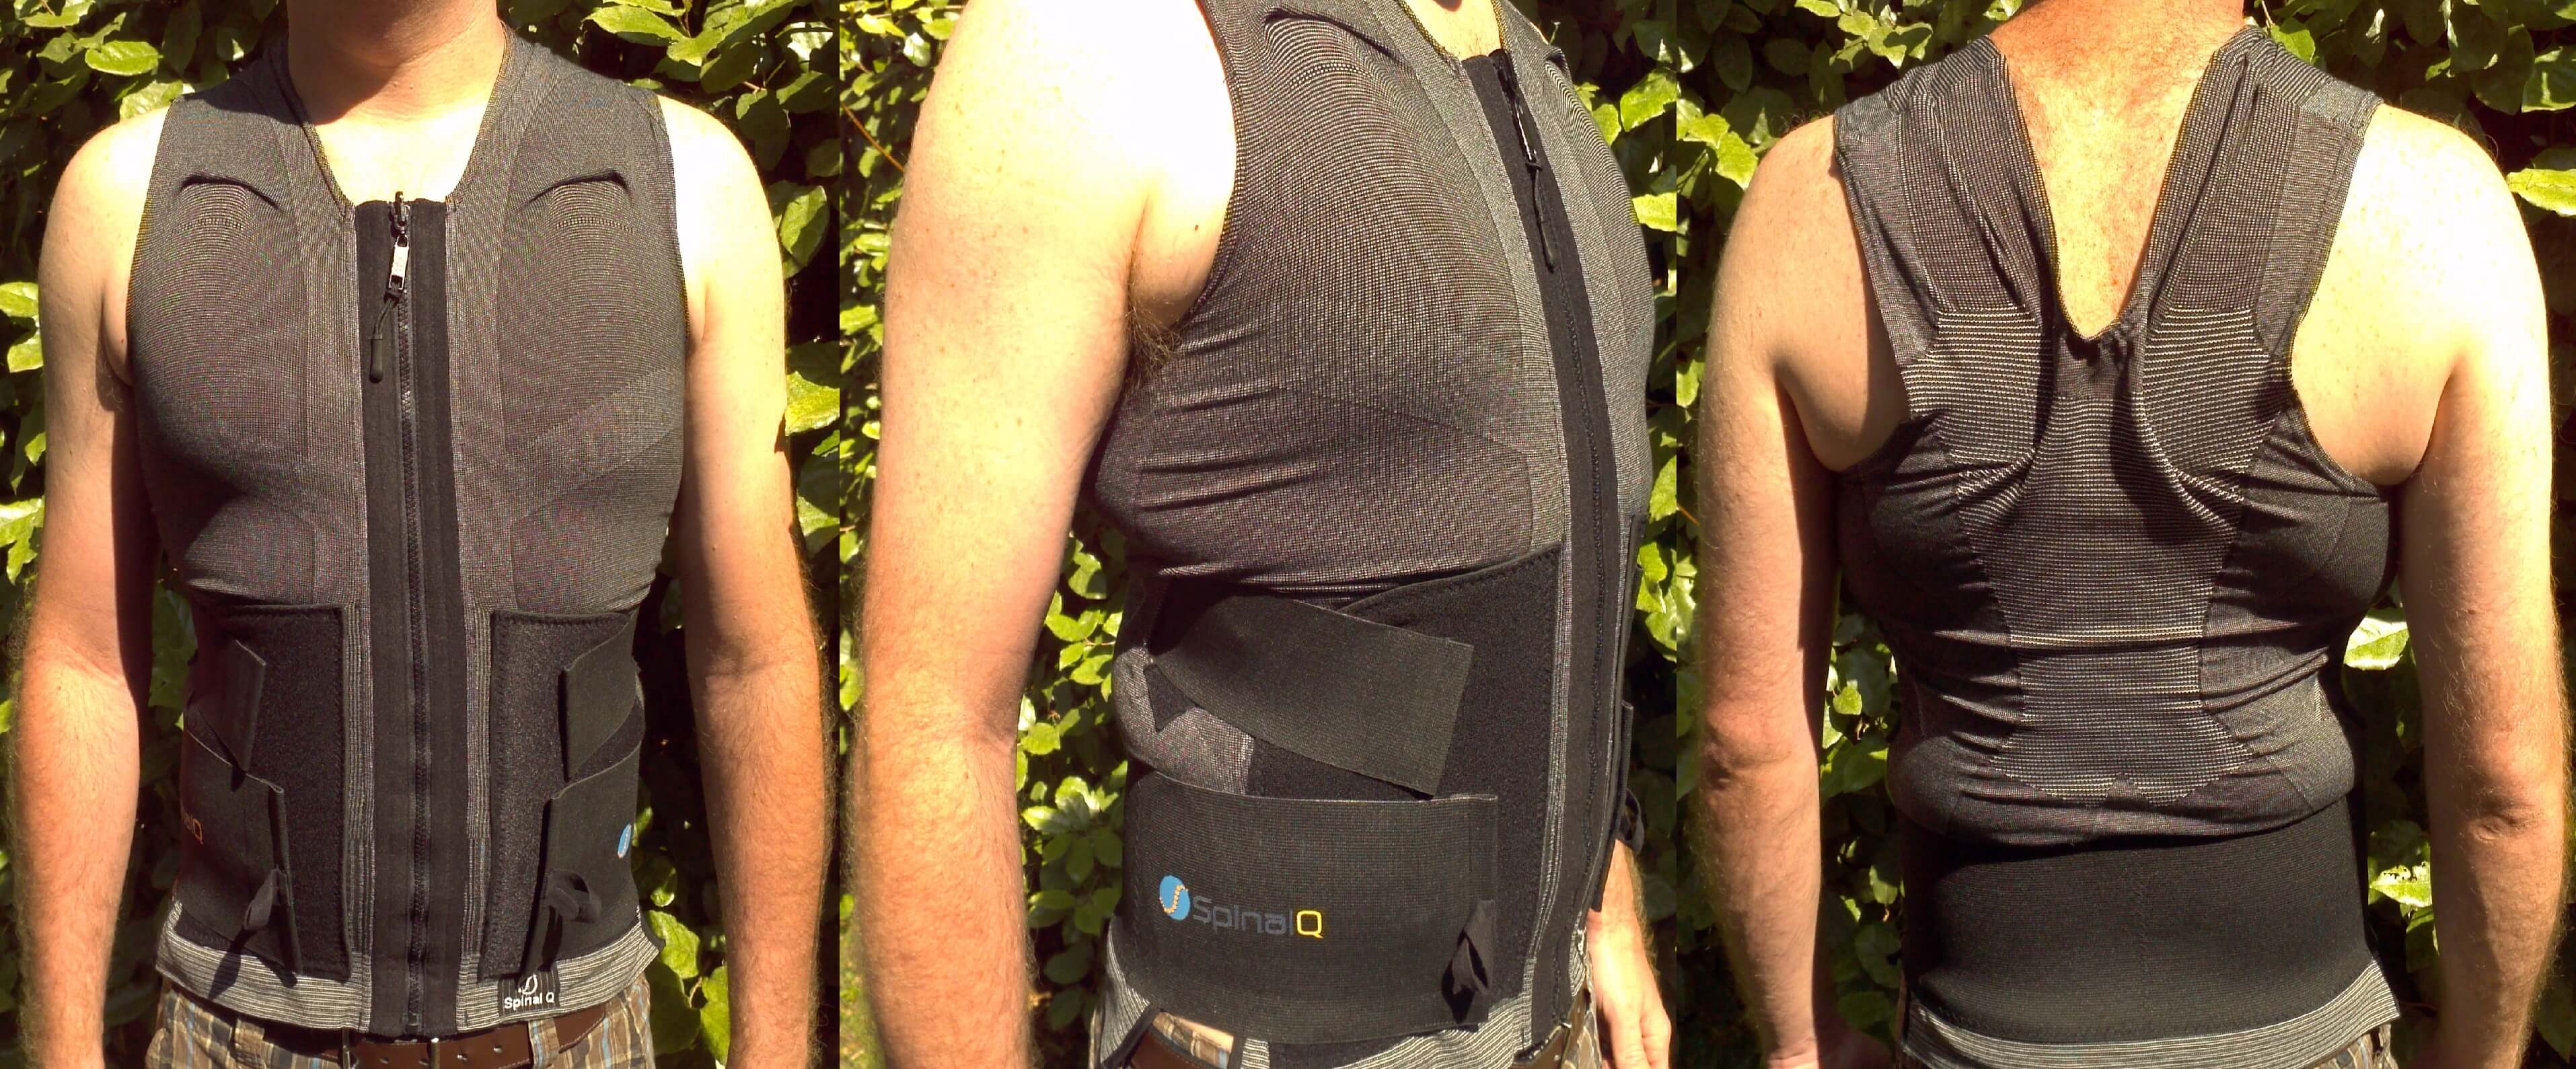
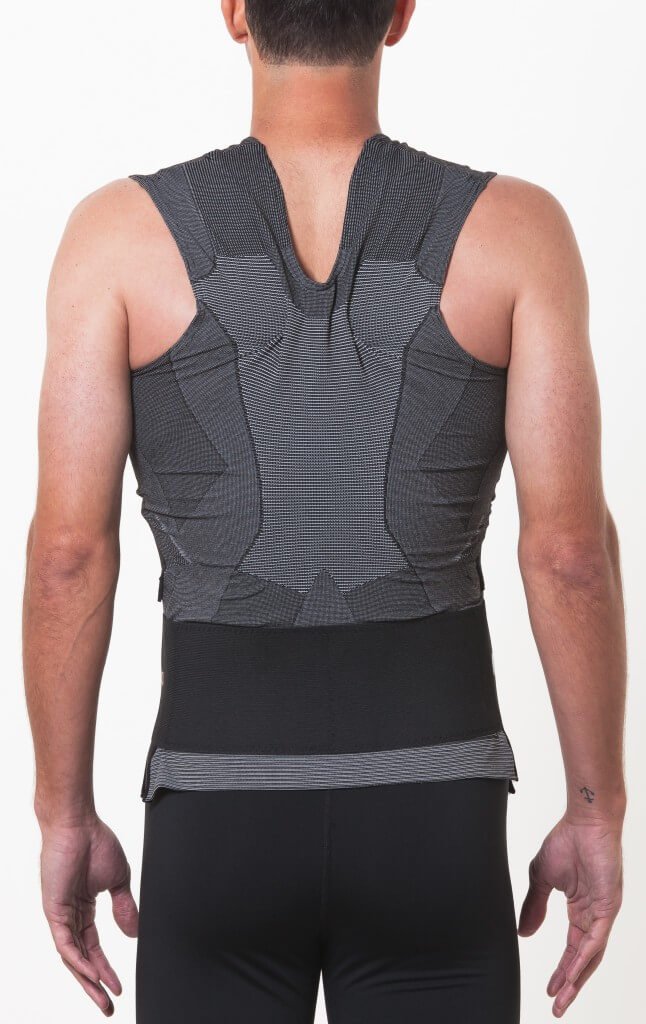 The S3 Spinal Q jacket by Alignmed is marketed as a rehabilitation jacket for medical issues such as poor posture,
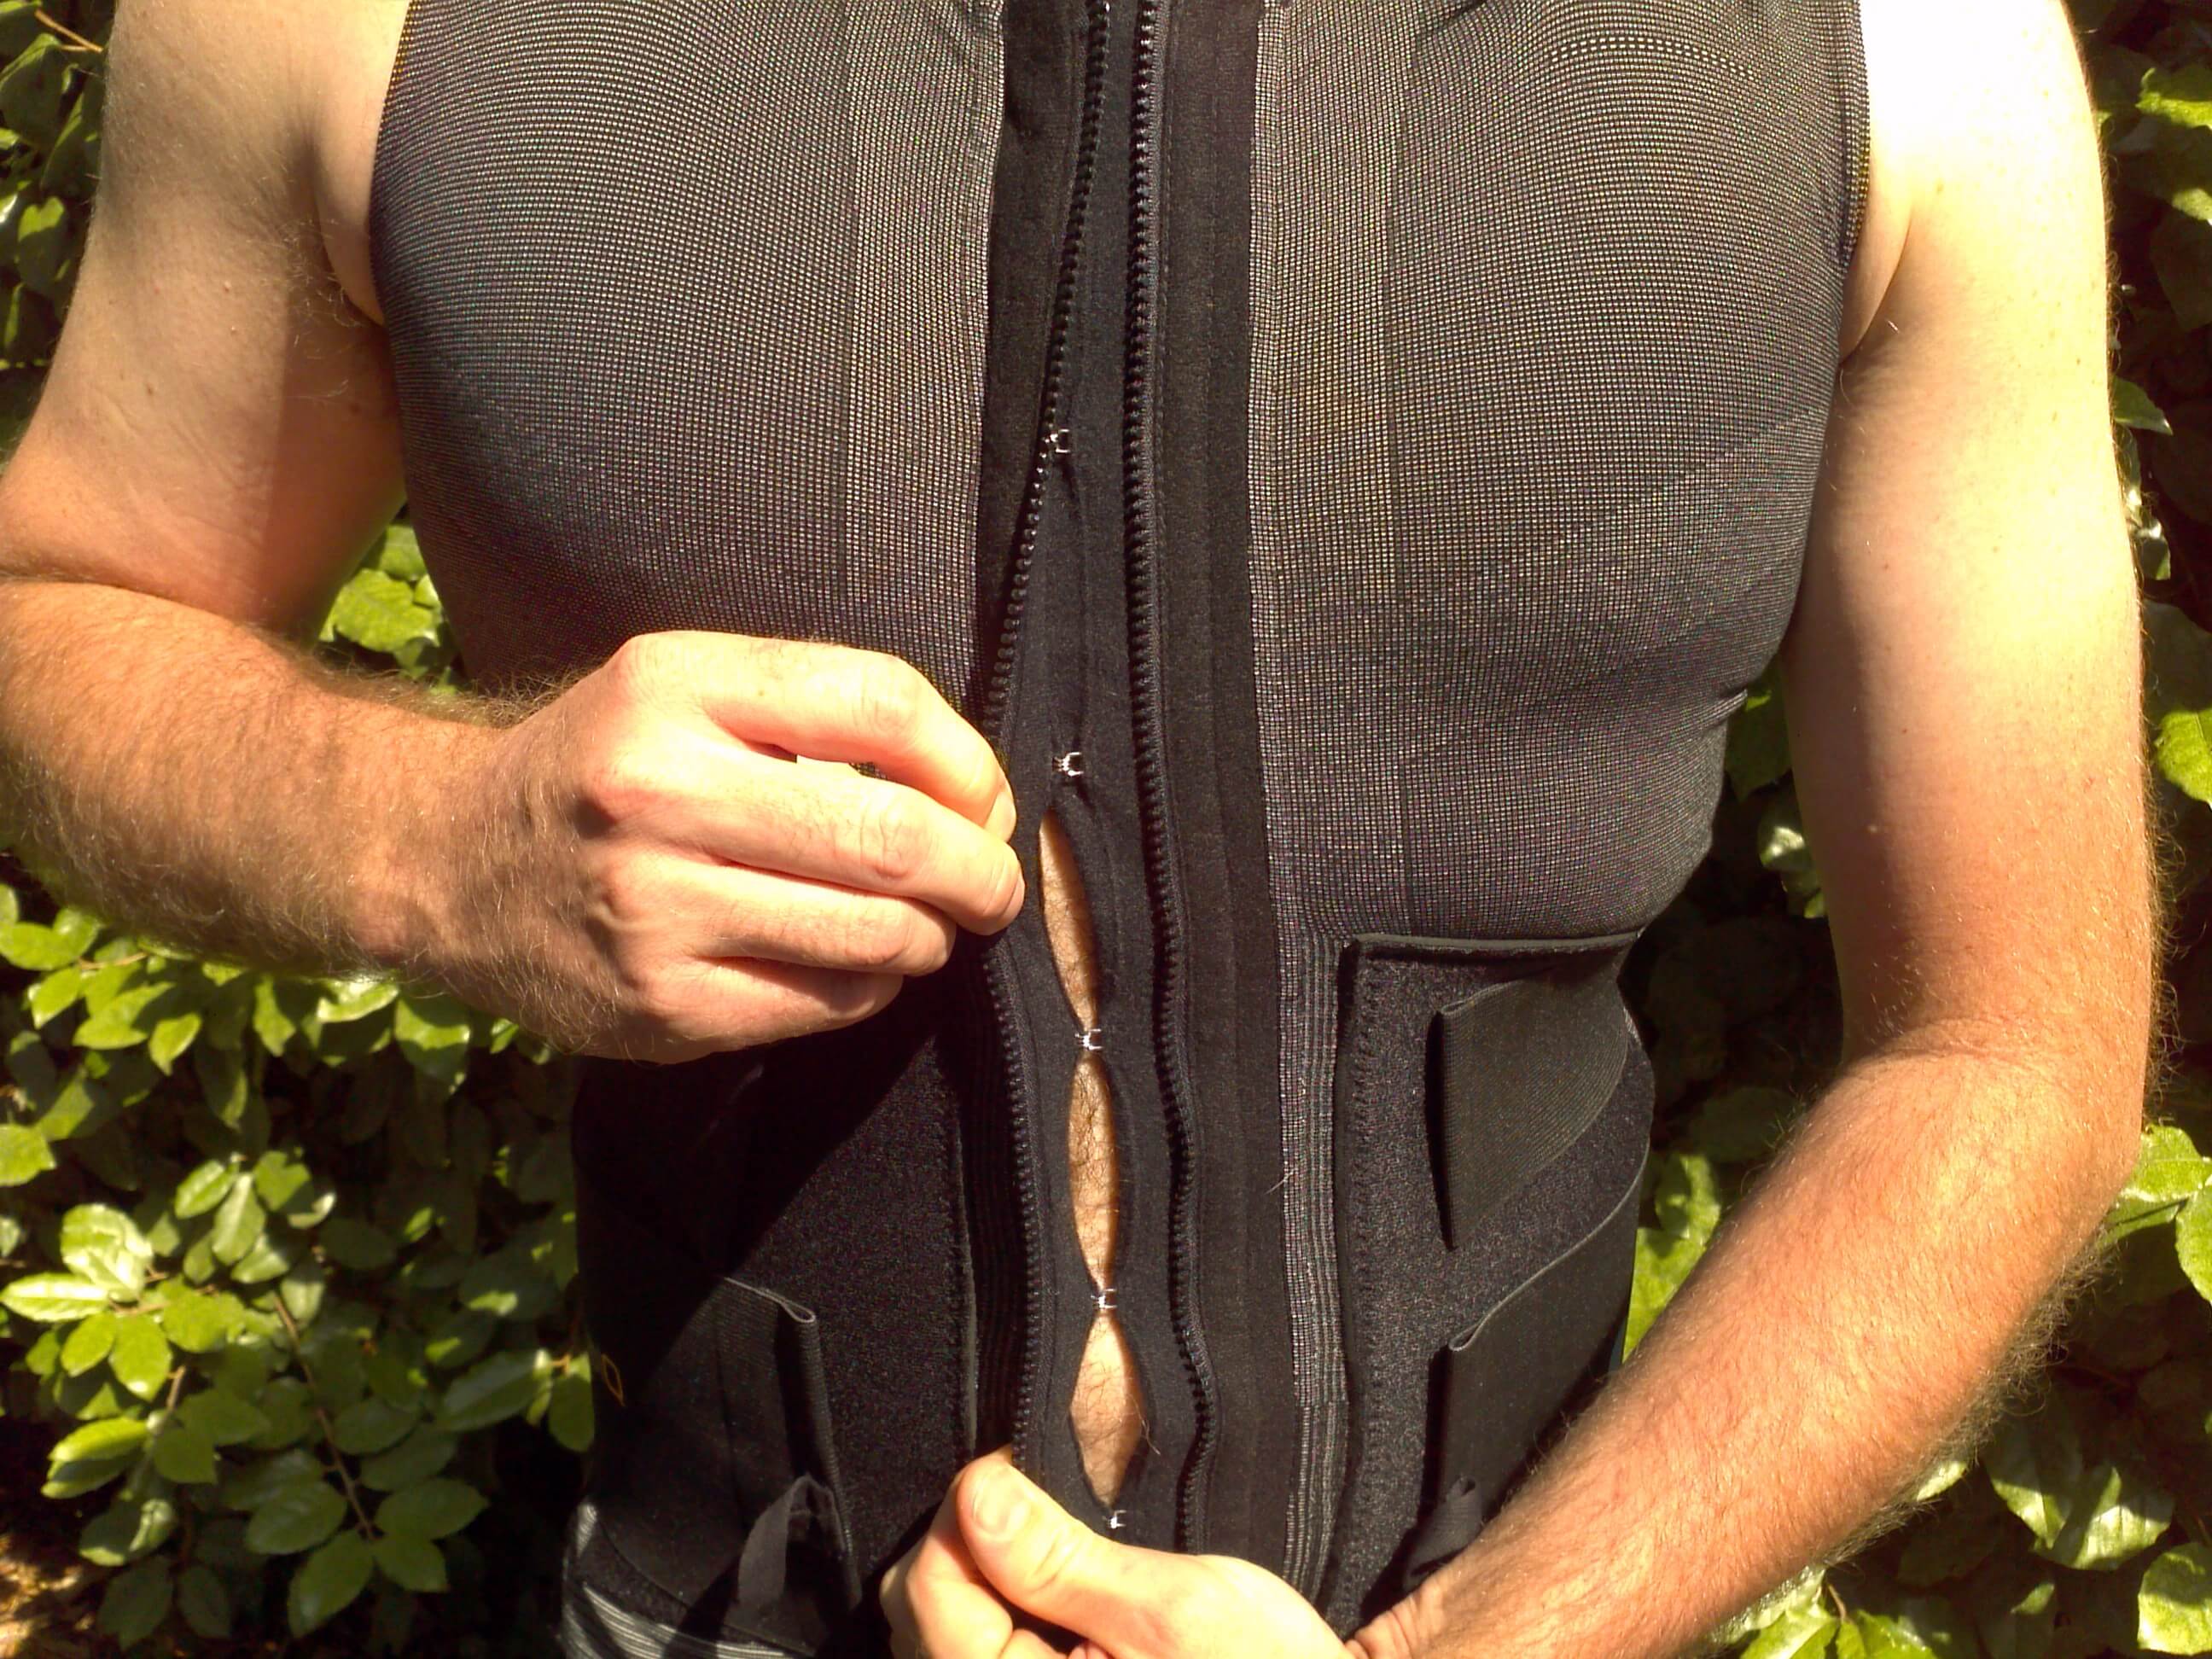
 What’s the price of the Spinal Q?
 With nearly fifty million people in the US on Medicare, many are likely interested in knowing whether or not Medicare will cover the Spinal Q. I emailed the manufacturer asking this exact question.
 In recent years, many have been turning to a posture brace to retrain muscle memory and regain great posture. The fact is, an ever increasing number Americans are living less active lifestyles. We are spending more time hunched over electronic devices such as cellphones, computer monitors, and television screens and less time moving around and being active. As a result, many of us have developed a “head-forward” posture, also known as tech neck, which ultimately causes a number of medical issues including aches, pains, headaches, difficulty breathing, and several other medical conditions.
 If you would like to allow medicare pay for a posture brace, you must first visit a doctor or practitioner and tell them that you are interested in using such a device. If deemed necessary, your doctor or practitioner will then complete a “Letter of Medical Necessity”
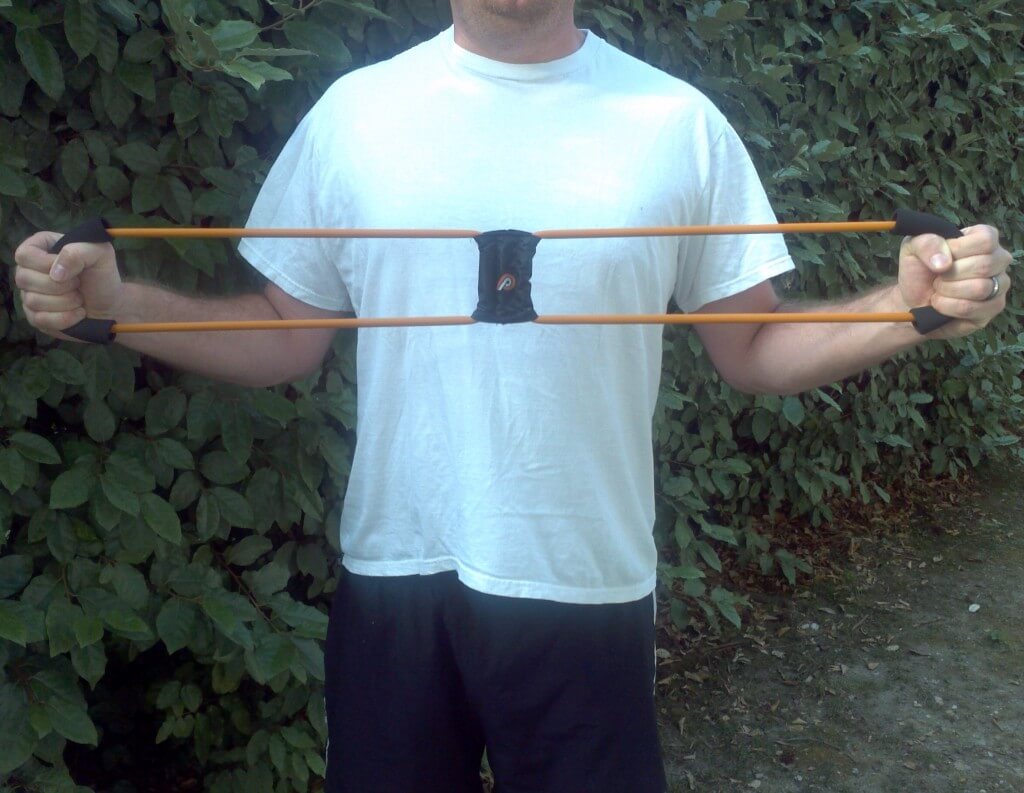
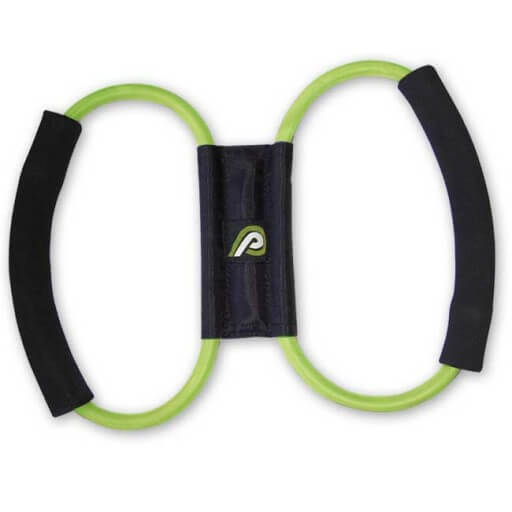 The Posture Medic could be best described as a hybrid exerciser and posture brace that can be used to help correct poor posture by retraining the core muscles.
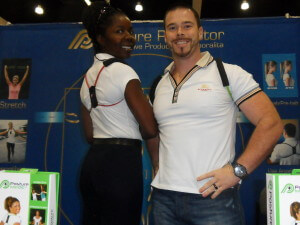
 Now that you have an idea of the many tasks that this product is capable of handling, you may be left wondering exactly how you are supposed to use it.
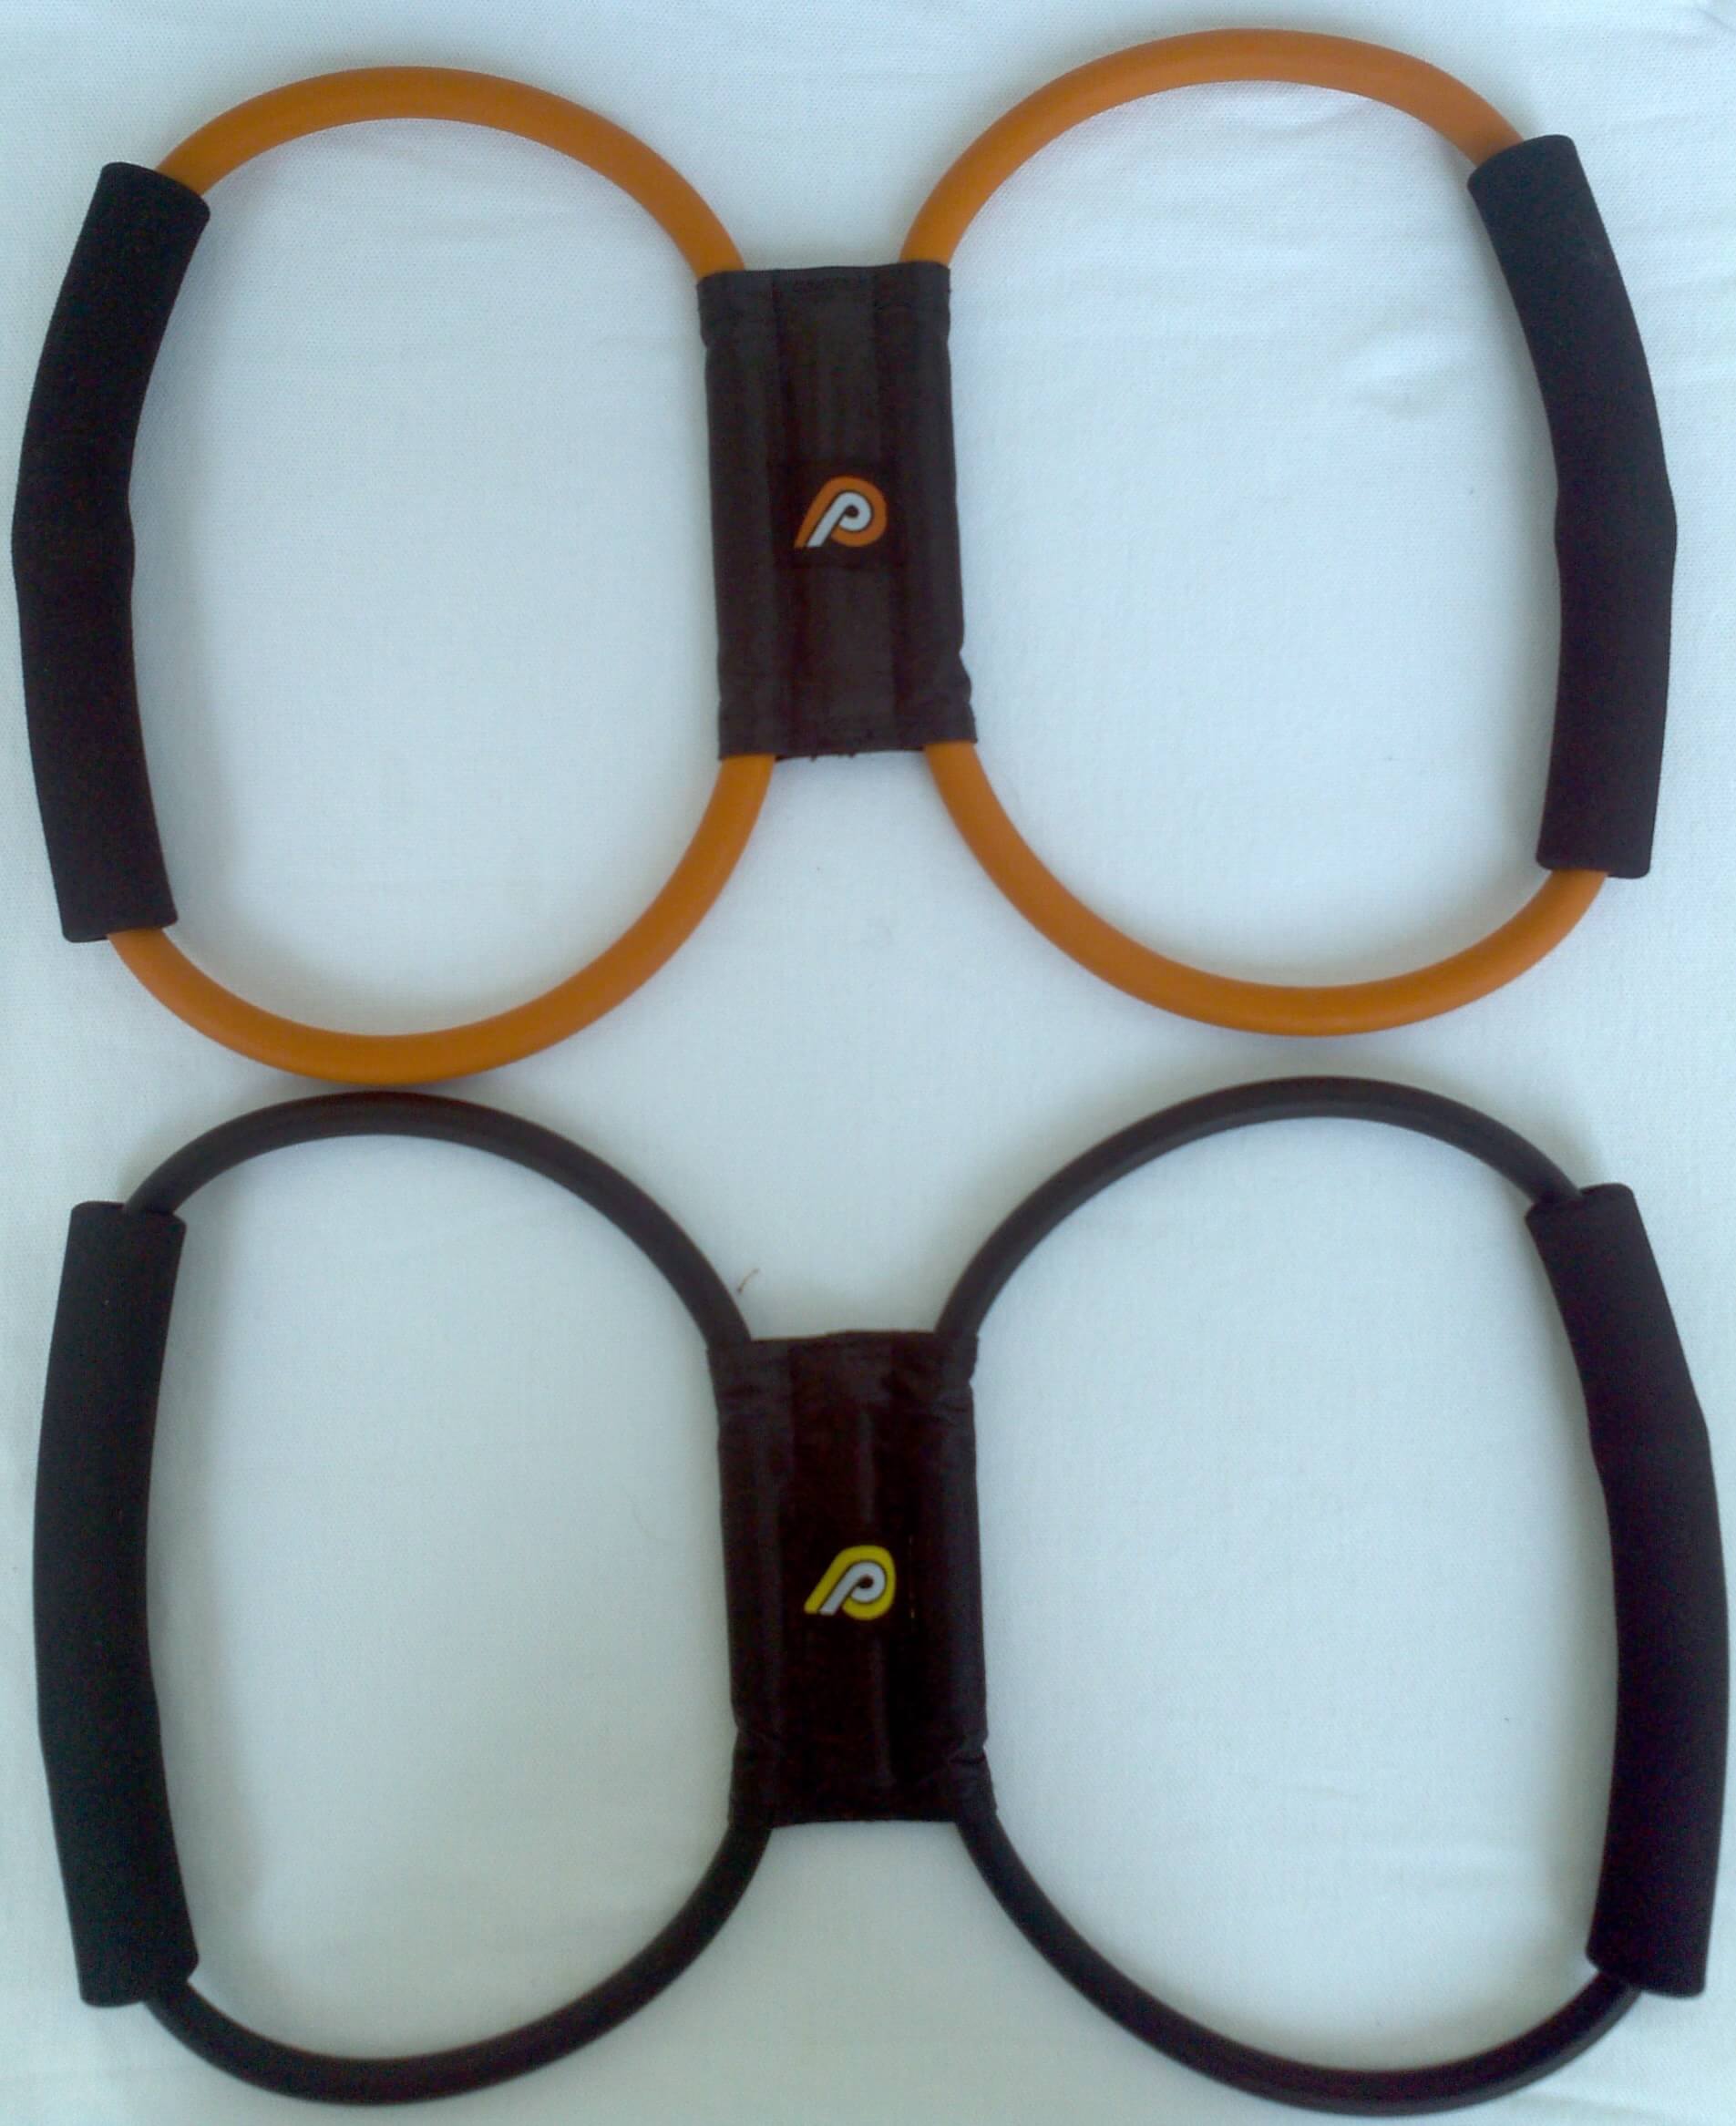
 I found the first week to be rather easy so I decided to give the plus strength a try. The second week I performed less stretches and more strength exercise while wearing it about 20 minutes per day 4x a day. The following is the schedule that I followed during this week:
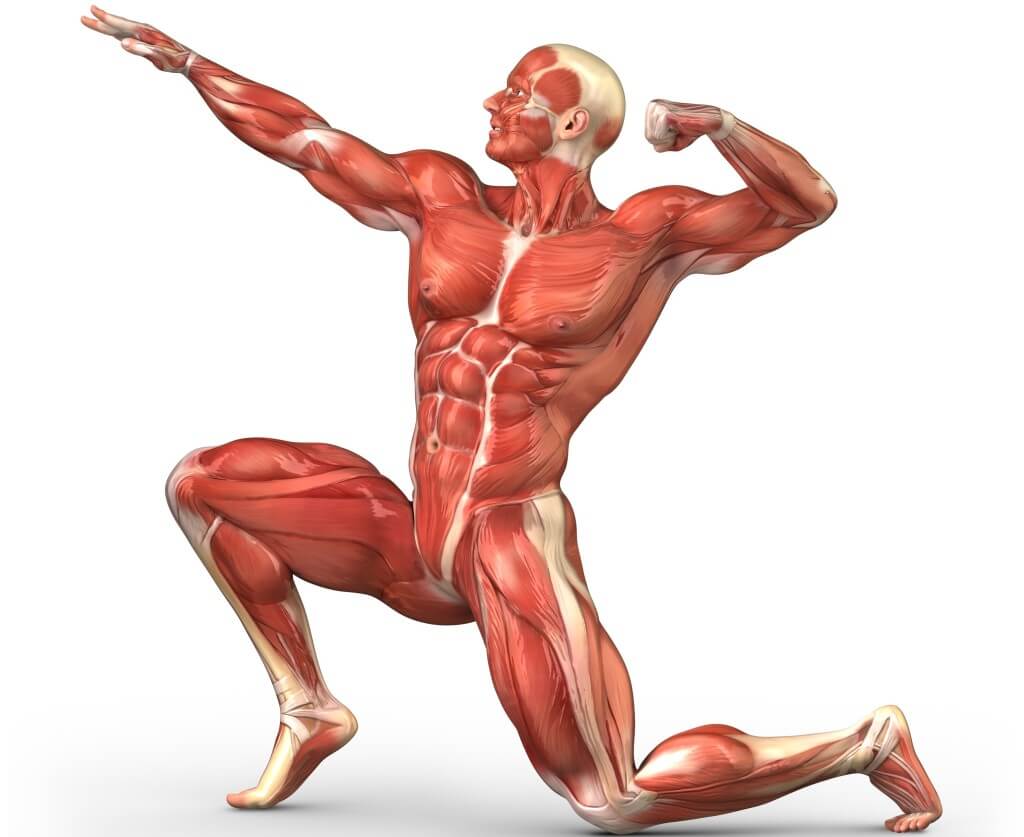
 While most posture correcting systems that are available focus exclusively on providing neck and shoulder support without use of exercise, the Posture Medic takes it a step further by incorporating an exercise program into their system which strengthens the
  As for choosing between the regular strength and the plus, both are effective however, the regular strength seems to satisfy my exercise needs. The plus model also works but definitely gives you that sore feeling if you’re not use to working your core muscle group. For most, the regular will work just fine. More athletic types might want to try the plus model.